Iron-on Photo Transfers: Capture Memories on Fabric
Iron-on photo transfers are a great way to add a personal touch to your fabric items. Whether you want to create unique gifts, home décor, or clothing items, iron-on photo transfers make it easy to do so. The process of using iron-on photo transfers is simple, and it can be done by anyone. All you need is a printer, transfer paper, and an iron. The transfer paper has a special coating that allows the ink to transfer to the fabric when heat is applied.
To start, you first need to choose the photo you want to transfer onto your fabric item. Once you have your photo, you need to print it onto the transfer paper. Make sure to follow the instructions on your transfer paper package, as different brands may have slightly different instructions. Next, you need to cut out the image from the transfer paper, leaving a small border around the edges.
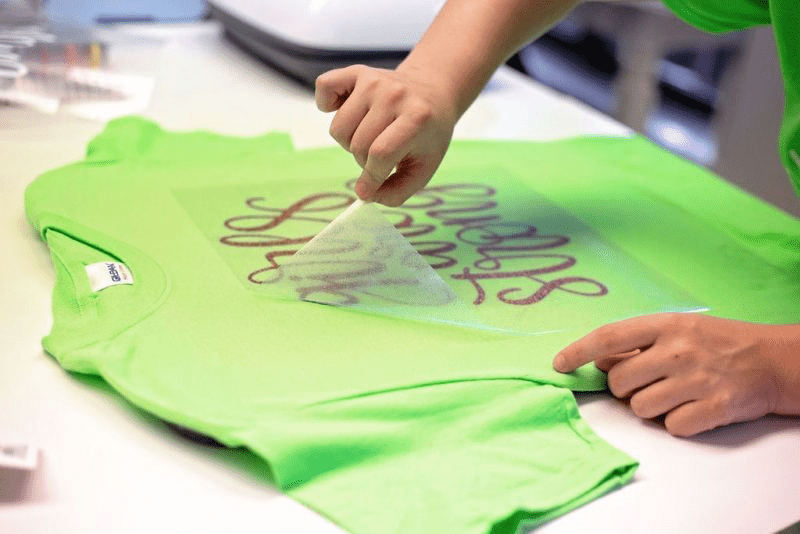
This border will help to prevent the transfer from peeling off once it’s applied to the fabric item. Now it’s time to apply the transfer to your fabric item. Place the transfer face down onto the fabric where you want it to be, and then apply heat with an iron set to the appropriate temperature. Again, make sure to follow the instructions on your transfer paper package for the correct temperature setting and time.
Once the transfer has been applied, let it cool for a few minutes before gently peeling off the transfer paper. And there you have it – a personalized fabric item with your favorite photo! Iron-on photo transfers can be applied to a variety of materials, including cotton, polyester, and blends. They are perfect for creating unique gifts, such as personalized t-shirts, tote bags, and pillows.
They can also be used to add a personal touch to your home décor, such as photo quilts or wall hangings. In conclusion, iron-on photo transfers are a fun and easy way to personalize your fabric items. With a little creativity, you can create one-of-a-kind pieces that are sure to impress. So why not give it a try and see what you can come up with?
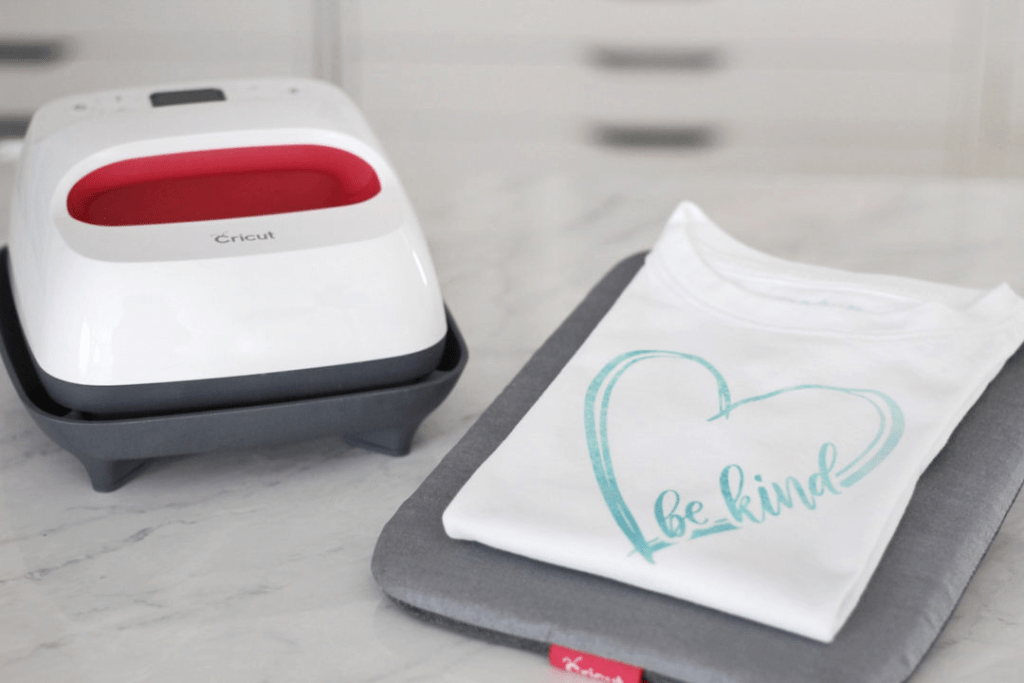
Materials Needed
- Inkjet printer
- Iron-on transfer paper
- Scissors
- Iron
- Fabric item
Instructions:
- Choose your photo: Select a high-quality photo that you want to transfer. The quality of the photo will affect the quality of the transfer.
- Print the photo: Print the photo onto iron-on transfer paper. Make sure to follow the instructions that come with the transfer paper.
- Cut out the photo: Cut out the photo around the edges. If you want to create a distressed look, you can leave some of the edges rough.
- Preheat the iron: Preheat your iron to the highest setting that is safe for the fabric you are using.
- Position the photo: Place the photo face down onto the fabric. Make sure that the photo is where you want it to be, as it will be difficult to move once it is ironed on.
- Iron the photo: Iron over the photo for 30-60 seconds, using firm pressure. Do not move the iron while you are ironing.
- Peel off the backing paper: Once the photo has been ironed on, carefully peel off the backing paper.
- Enjoy your creation: Your iron-on photo transfer is now complete! Enjoy your personalized fabric item.
Iron-On Transfer Tips
- If you are using a light-colored fabric, you can use a dark transfer paper. If you are using a dark-colored fabric, you can use a light transfer paper.
- If you are having trouble peeling off the backing paper, try using a damp cloth to help loosen it.
- If you want to make your transfer more durable, you can spray it with a fabric sealant.
Creative Ideas
- Create a personalized T-shirt or sweatshirt with a photo of your family or friends.
- Make a tote bag with a photo of your favorite pet.
- Create a pillow with a photo of a special memory.
- Design a quilt with photos of your loved ones.
- Personalize a pair of jeans with a photo of your favorite band.
Iron-on photo transfers are a fun and easy way to add a personal touch to your fabric items. With a little creativity, you can create one-of-a-kind gifts, home décor, and clothing items that will be cherished for years to come.