Nail Encapsulation: Embrace the art of embedding 3D elements for captivating manicures
Encapsulation nail art, also known as “embedding,” is a trending technique in the nail industry that elevates nail art to a whole new level. It involves enclosing 3D embellishments, such as glitter, sequins, dried flowers, or even tiny objects, within layers of acrylic or gel polish, creating a captivating dimensional effect. This intricate artistry allows you to showcase your creativity and transform your nails into miniature works of art.
What You’ll Need to Get Started
To embark on your nail encapsulation journey, you’ll need to gather a few essential supplies:
- High-quality acrylic or gel polish: Choose colors that complement your chosen embellishments and personal style. Any type of acrylic or gel polish will get the job done, but quality materials will give you better results. Take your time when applying your top coat encapsulation to avoid holes and looses embellishments.
- Base coat and top coat: These essential layers protect your natural nails and ensure a long-lasting manicure. If you will be using gel polish you want to lay your polish on thick. This is so that you objects and decals don’t go missing. Start with thin layers and cure after each coat. Build your gel or acrylic to your desired thickness before your final topp coat layer.
- Embellishments: Unleash your imagination and explore a wide variety of 3D elements, such as glitter, sequins, dried flowers, beads, or even tiny charms.
- Embedding tools: These include fine-tipped tweezers, a dotting tool, and an orangewood stick to precisely place and arrange your embellishments.
- UV or LED lamp: This is necessary to cure the acrylic or gel polish effectively.
Step-by-Step Guide to Encapsulation Nail Art
- Prepare your nails: Begin by shaping and filing your nails to your desired length and style. Gently push back your cuticles and apply a base coat to create a smooth canvas.
- Apply a layer of acrylic or gel polish: Choose a base color that complements your chosen embellishments. Cure the polish under a UV or LED lamp according to the manufacturer’s instructions.
- Position your embellishments: Using fine-tipped tweezers or a dotting tool, carefully place your chosen embellishments onto the wet layer of acrylic or gel polish. Arrange them creatively to achieve your desired design.
- Encapsulate the embellishments: Apply a thin layer of acrylic or gel polish over the embellishments, ensuring they are completely covered. Cure the polish under a UV or LED lamp.
- Repeat encapsulation: If desired, apply additional layers of acrylic or gel polish, encapsulating more embellishments to create depth and dimension.
- Finish with a top coat: Apply a generous layer of top coat to seal the design and protect it from chipping. Cure the top coat under a UV or LED lamp.
Encapsulation Pro Tips
- Work with thin layers: Avoid applying thick layers of acrylic or gel polish, as this can increase the risk of bubbles and trapping air pockets.
- Cure each layer thoroughly: Proper curing ensures a smooth, durable finish and prevents premature lifting or chipping.
- Embrace patience: Nail encapsulation requires precision and patience. Take your time to carefully place and encapsulate your embellishments.
Creative Encapsulation Nail Art
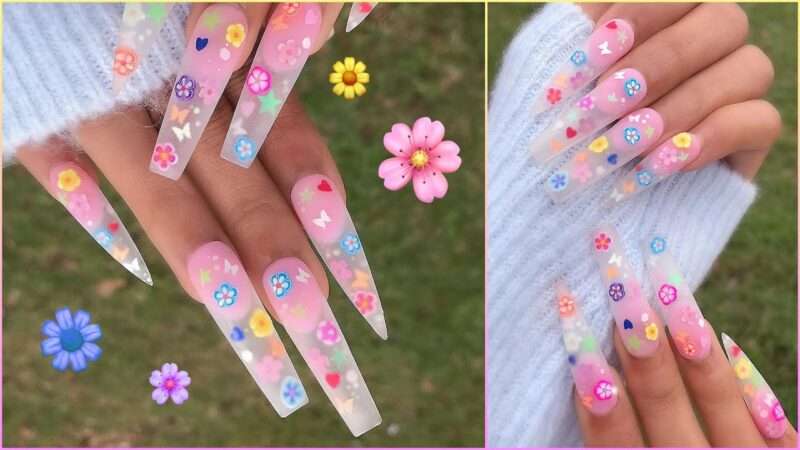
- Encapsulated dried flowers: Create a delicate and feminine look by embedding dried flowers in clear acrylic or gel polish.
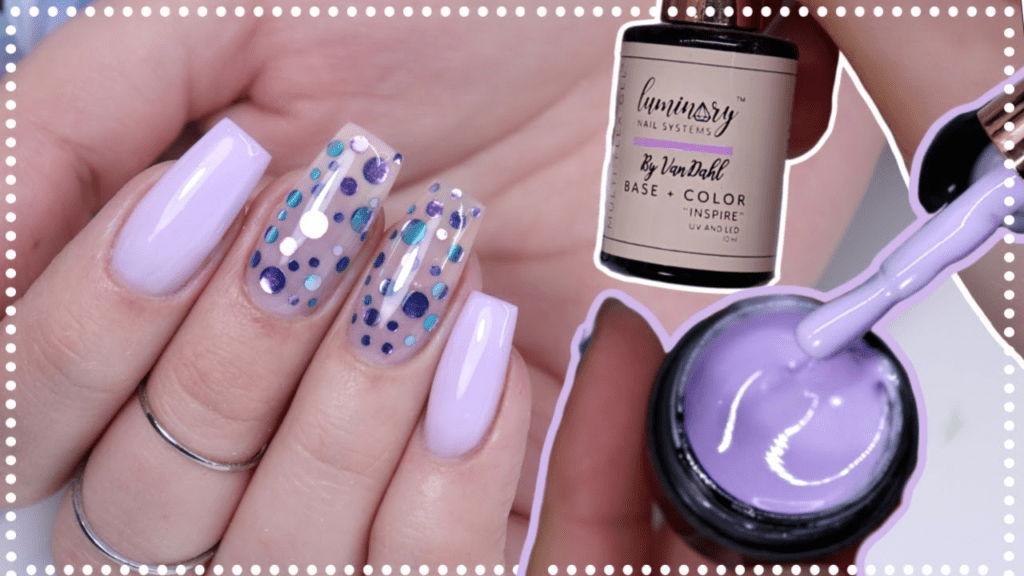
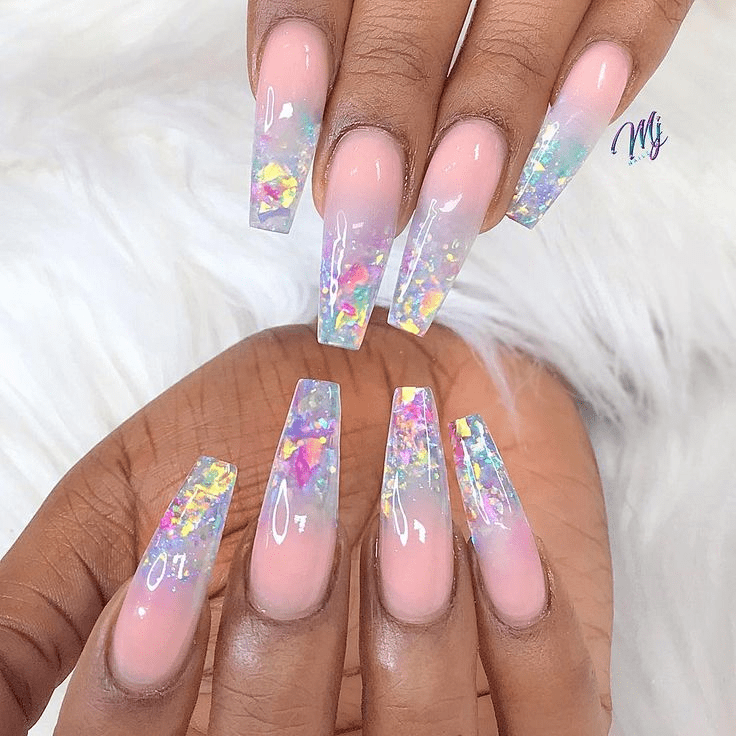
- Glitter encapsulation: Add sparkle and glamour to your nails by encapsulating glitter in various colors and shapes.
- 3D object encapsulation: Get creative by encapsulating tiny objects like beads, charms, or even miniature figurines.
- Gradient encapsulation: Create a mesmerizing ombre effect by encapsulating glitter in a gradient of colors.
Nail encapsulation is a versatile nail art technique that allows you to experiment with endless designs and express your unique style. Whether you prefer delicate floral designs or bold, glittery accents, let your creativity shine through your encapsulated nails.