Creating Enchanting Snow Globes: A Step-by-Step Guide to DIY Magic
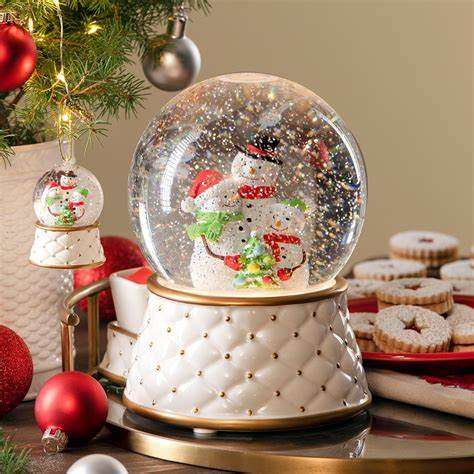
Snow globes, those mesmerizing miniature worlds filled with swirling snowflakes, have a timeless charm that captures the essence of winter. While store-bought snow globes can be delightful, crafting your own DIY snow globes offers a personalized touch and a sense of accomplishment. Whether you’re a craft enthusiast or a beginner seeking a fun activity, creating your own snow globes is a rewarding and creative endeavor.
Gathering the Essential Supplies
Before embarking on your snow globe-making journey, gather the necessary materials:
- Glass jars: Choose clear glass jars with tightly fitting lids. Various sizes and shapes can add visual interest.
- Water: Distilled water is recommended for its purity and lack of impurities that could affect clarity.
- Glycerin: Glycerin helps slow down the snowflakes’ descent, creating a more enchanting snowfall effect.
- Glitter: Opt for non-toxic glitter in shades of white, silver, or iridescent to mimic snow.
- Miniature figurines: Select small figurines that complement the snow globe’s theme. Consider Christmas characters, animals, or winter scenery.
- Glue: Strong adhesive is essential to secure the figurine to the jar’s lid.

Steps to Craft Your DIY Snow Globes
- Clean and Dry the Jar: Thoroughly wash and dry the jar to remove any dust or debris that could interfere with the snow globe’s appearance.
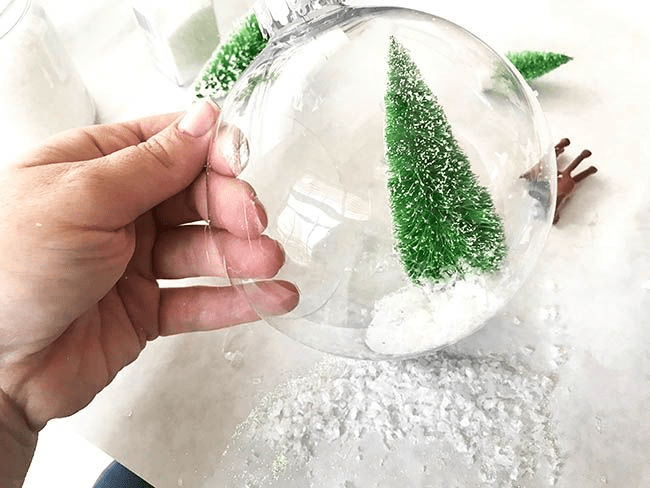
- Attach the Figurine: Using the glue, securely attach the chosen figurine to the underside of the jar’s lid. Allow the glue to dry completely before proceeding.
- Fill with Water and Glycerin: Carefully pour distilled water into the jar, filling it almost to the brim. Add a few drops of glycerin, gently swirling the jar to distribute it evenly.
- Incorporate Glitter: Sprinkle glitter into the jar, adding more or less depending on the desired snow intensity. A pinch of fine glitter can create a subtle snowfall, while a generous amount will result in a denser, snowier effect.
- Seal the Jar: Secure the lid tightly onto the jar, ensuring no water or glitter can escape. Wipe away any excess glitter that may have fallen onto the rim.
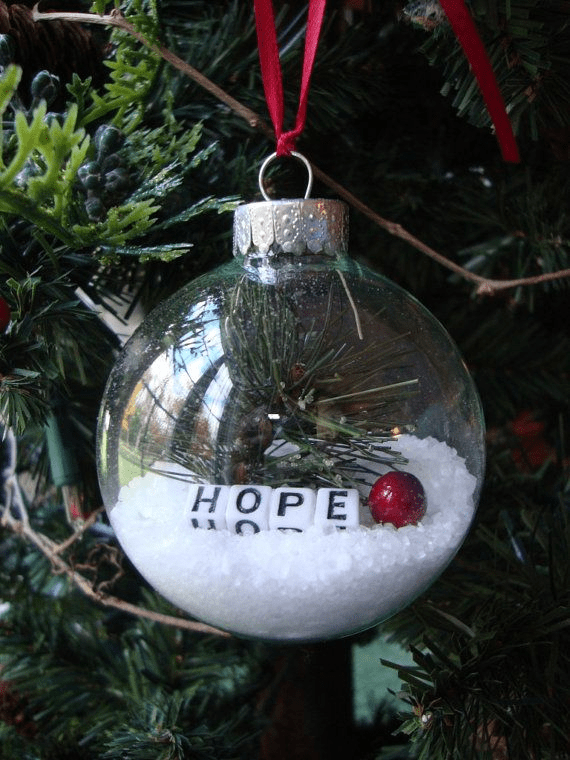
- Embellish the Exterior: For an extra touch of personalization, decorate the jar’s exterior with ribbons, stickers, or paint. Get creative and let your artistic flair shine through.
Tips for Enhancing Your Snow Globes
- Experiment with different glitter colors: Try using various shades of white, silver, and iridescent glitter to create a more dynamic snowfall effect.
- Incorporate color-changing glitter: Opt for glitter that reacts to temperature changes, adding an element of surprise and delight to your snow globe.
- Utilize multiple figurines: Combine a variety of small figurines to create a miniature scene within your snow globe.
- Personalize the lid: Hand-paint the jar’s lid with a wintery motif or write a special message to make your snow globe extra special.
Creating DIY snow globes is a fun and rewarding experience that can be enjoyed by individuals of all ages and crafting skill levels. With a bit of creativity and imagination, you can transform ordinary glass jars into enchanting miniature worlds that capture the spirit of winter and bring joy to your home.