In the era of DIY projects, cardboard box shelves stand out as a versatile and eco-friendly solution for organizing your belongings and enhancing your interior décor. These ingenious creations offer a surprising level of durability and adaptability, making them a popular choice among DIY enthusiasts and savvy storage seekers alike.
Reimagine Your Storage with DIY Cardboard Box Shelves
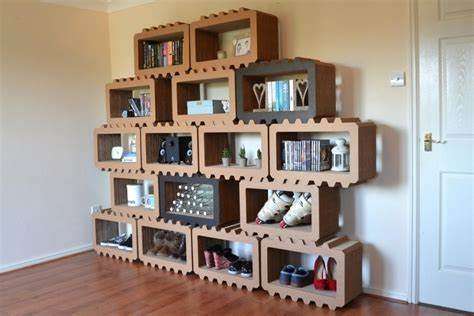
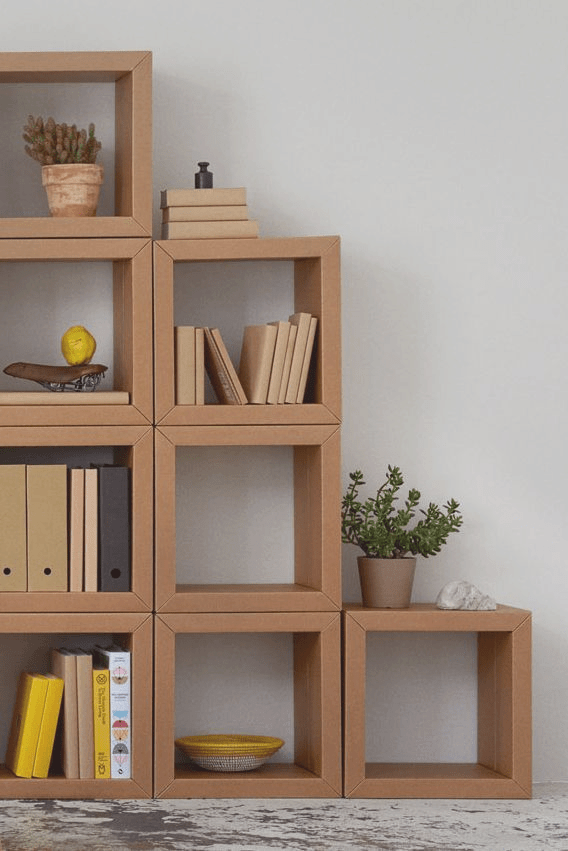
Cardboard box shelves can be tailored to fit any space, whether you’re seeking a compact unit for a nook or a grand structure to fill an entire wall. Their modular design allows for easy customization, enabling you to adjust the height, width, and depth of your shelves to accommodate your specific needs.
Transforming Waste into Functional Furniture
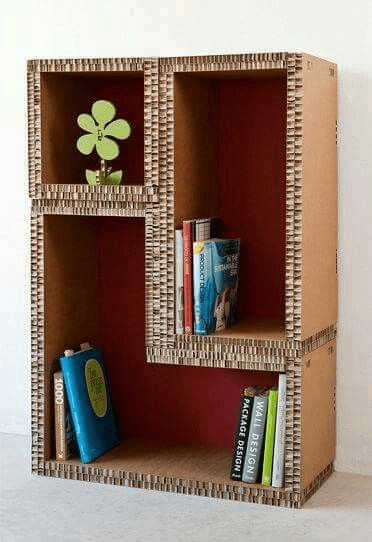
The beauty of cardboard box shelves lies in their ability to transform everyday waste into functional furniture. By repurposing discarded cardboard boxes, you not only contribute to environmental sustainability but also unleash your creativity by crafting unique and personalized storage solutions.
Crafting Your Custom Cardboard Box Shelves
To embark on your cardboard box shelves and DIY cardboard furniture creation journey, gather a few essential supplies:
- Sturdy cardboard boxes: Select boxes that can support the weight of your intended items.
- Utility knife: This tool will be your faithful companion for cutting and shaping the cardboard pieces.
- Duct tape or hot glue: These adhesives will bind the cardboard components securely.
- Ruler and pencil: These tools will aid in precise measurements and marking.
- Cutting board and work surface: Protect your workspace from accidental scratches or marks.
Embarking on the Construction Process
- Design and Planning: Visualize the desired dimensions and layout of your cardboard box shelves. Sketch a plan to guide your construction process.
- Cutting and Shaping: Using your utility knife, carefully cut the cardboard boxes according to your plan. Create individual panels for the shelves, sides, and back of your structure.
- Assembling the Framework: Begin by constructing the main framework of your shelves. Use duct tape or hot glue to securely attach the side panels and back support.
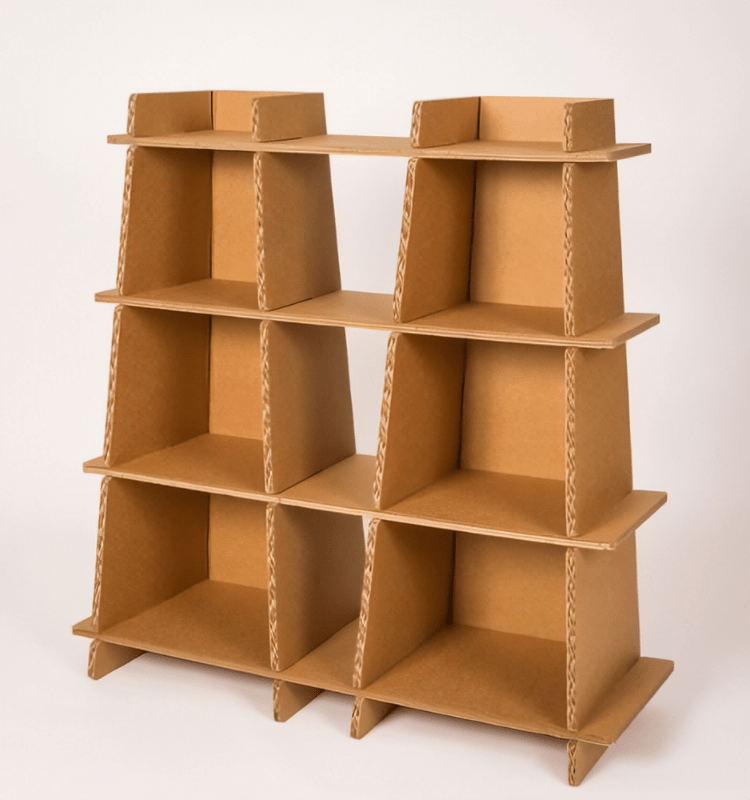
- Adding the Shelves: Attach the individual shelf panels to the framework, ensuring they are evenly spaced and securely fastened.
- Reinforcing and Enhancing: Apply additional layers of duct tape or hot glue to reinforce stress points and enhance the overall stability of your shelves.
- Personalizing Your Creation: Unleash your creativity by decorating your shelves with paint, fabric, or other embellishments that match your décor style.
Additional Tips For Shelving Success
- Choose strong and thick cardboard boxes for optimal support.
- Consider reinforcing the shelves with cardboard dividers or additional layers of cardboard.
- Apply multiple layers of tape or glue to create strong and durable joints.
- Test the weight capacity of your shelves before placing heavy items.
Embrace the versatility and eco-friendliness of cardboard box shelves, and transform your home into a haven of organized beauty. With a touch of creativity and a dash of DIY ingenuity, you can create functional and visually appealing storage solutions that perfectly complement your living spaces.
Your article helped me a lot, is there any more related content? Thanks!