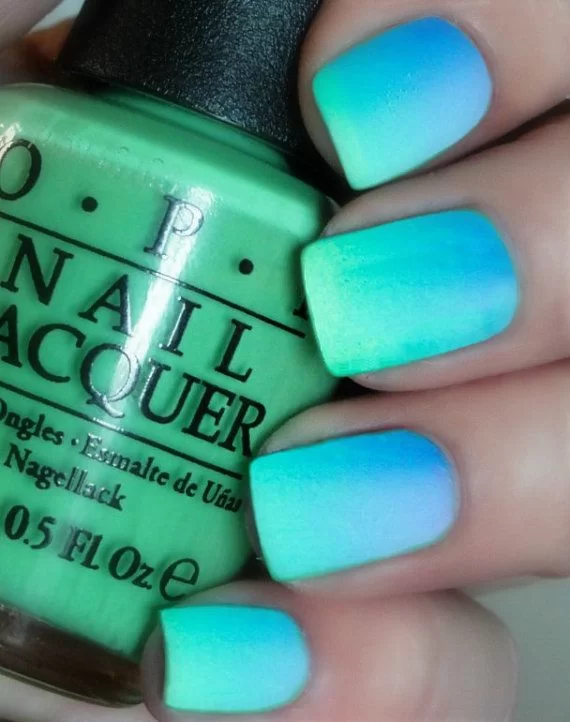
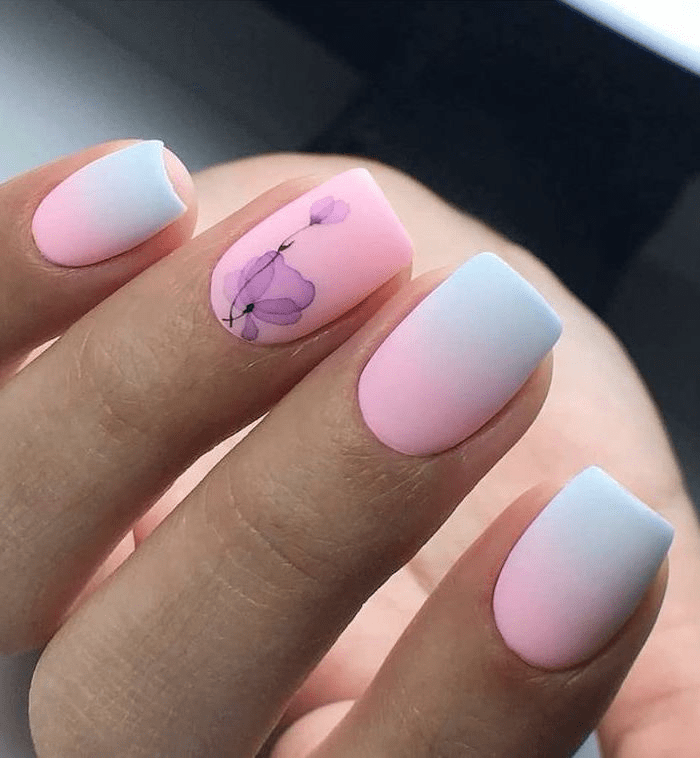
Ombre nail art, also known as gradient nails, has taken the world of nail design by storm, captivating fashionistas and beauty enthusiasts alike with its mesmerizing blend of hues. The technique of creating ombre nail designs includes a seamless transition between two or more colors. This results in a stunning visual effect that mimics the natural gradation of shades found in nature.
Regardless of your level of experience, a seasoned nail artist or a novice just starting out, this step-by-step guide will equip you with the knowledge and skills necessary to master the art of ombre nails and achieve gradient perfection.
Mastering the Art of Ombre Nail Designs
Before embarking on your ombre nail art journey, it’s essential to gather the necessary tools and supplies. The items below are a few simple tools needed to create your ombre nail designs. The tools you need to get started include the following:
| Small Nail Art Brush | Nail Polish Remover |
| Ombre Nail Brush | Acetone |
| Base Coat | Disposable Paper Towels |
| Top Coat | Makeup Sponge |
| Nail Polish (2-3 Shades) | Nail Decals (Oprional) |
Prep Your Nails for Perfection
Begin by preparing your nails for the ombre treatment. Remove any existing nail polish using nail polish remover and cotton swabs. Gently file and shape your nails to your desired form. Apply a base coat to protect your nails from the staining effects of the polish.
Creating the Ombre Effect
- Layering the Colors:
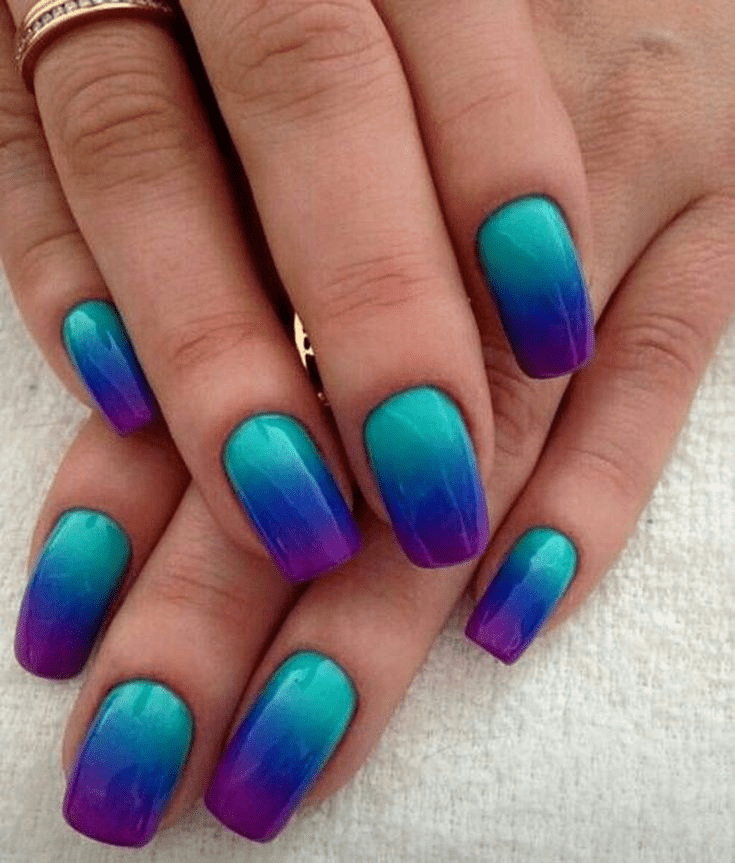
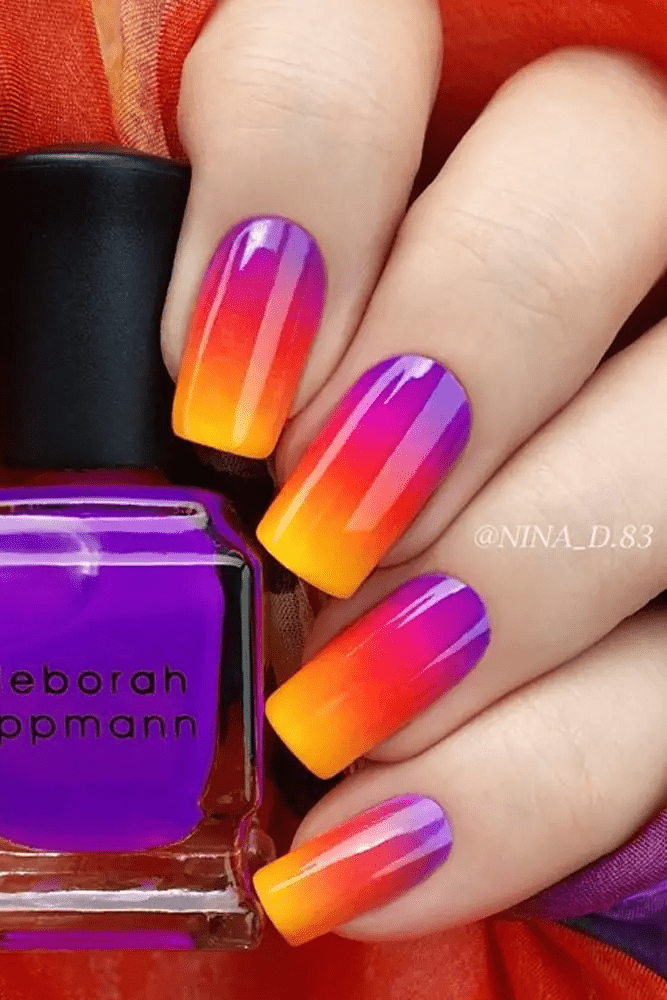
- Select two or three nail polish shades that complement each other well. For a subtle ombre effect, choose shades within the same color family. For a bolder look, opt for contrasting shades.
- Apply a thin layer of the lightest shade of nail polish to all of your nails. Allow the first layer to dry completely before proceeding to the next step.
- Using a makeup sponge or nail art brush, apply the second shade of nail polish to the tips of your nails. Ensure the application is slightly thicker than the first layer.
- While the second shade is still wet, use the sponge or brush to gently blend the two colors together, creating a seamless transition.
- Enhancing the Gradient:
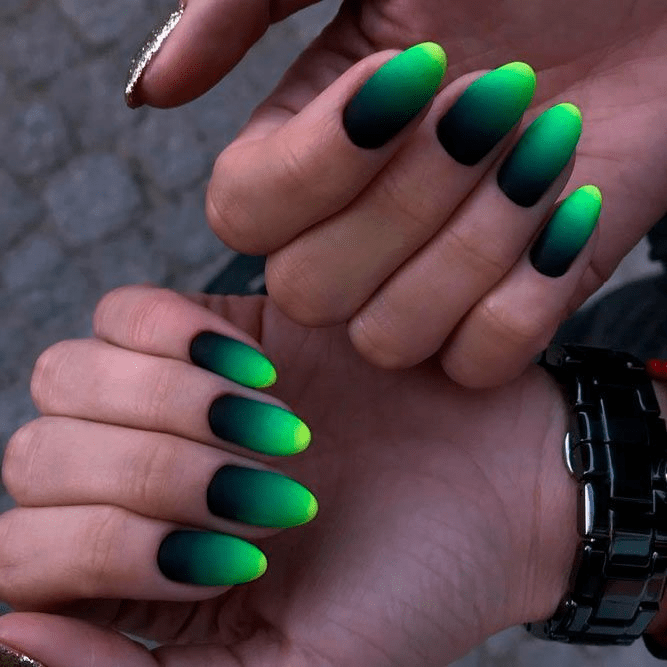
- For a more defined ombre effect, apply a small amount of the darkest shade of nail polish to the very tips of your nails.
- Once again, use the sponge or brush to blend the darkest shade into the existing gradient, ensuring a smooth transition between all three colors.
- Repeat this process until you achieve the desired level of intensity and vibrancy.
Applying the Finishing Touches:
- Top Coat for Shine and Protection:
- Once the ombre gradient is complete and thoroughly dry, apply a generous layer of top coat to seal in the colors and add a high-gloss shine.
- Allow the top coat to dry completely before admiring your masterpiece.
- Cleanup and Polish:
- Using a small nail art brush dipped in acetone, carefully clean up any excess polish around the edges of your nails.
- Apply cuticle oil to nourish and hydrate your cuticles, completing your ombre nail art experience.
Ombre Nail Art Variations
The beauty of ombre nail art lies in its versatility. Experiment with different color combinations, techniques, and design elements to create unique and personalized nail art masterpieces.
- Vertical Ombre: Apply the ombre gradient vertically instead of horizontally, creating a dramatic and eye-catching effect.
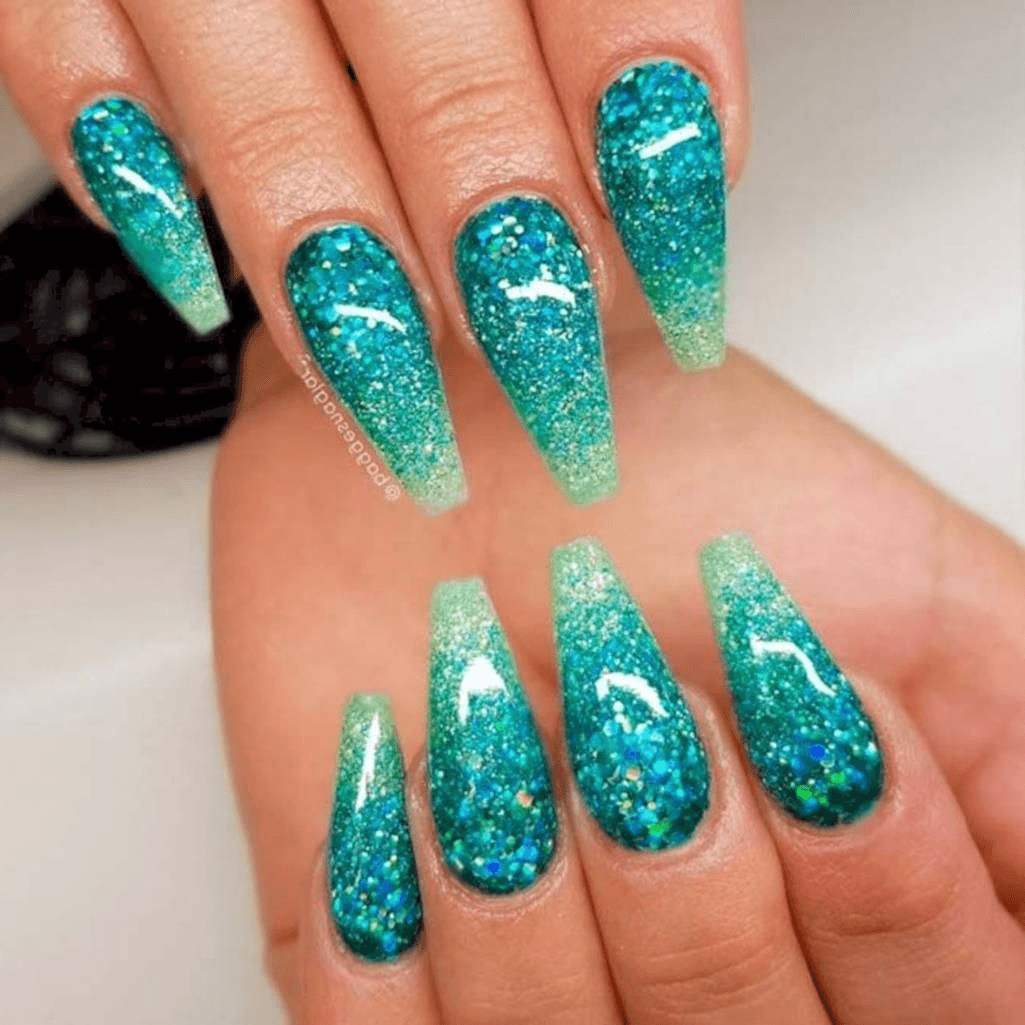
- Sparkling Ombre: Incorporate glitter or shimmery polishes into your ombre design for an extra touch of glamour.
- French Ombre: Combine the classic French manicure with ombre techniques, creating a sophisticated and modern twist on the traditional style.
Embrace the Ombre Trend:
With its endless possibilities and captivating aesthetic, ombre nail art has become a staple in the world of nail design. Embrace the trend and let your creativity shine through as you master the art of gradient perfection.