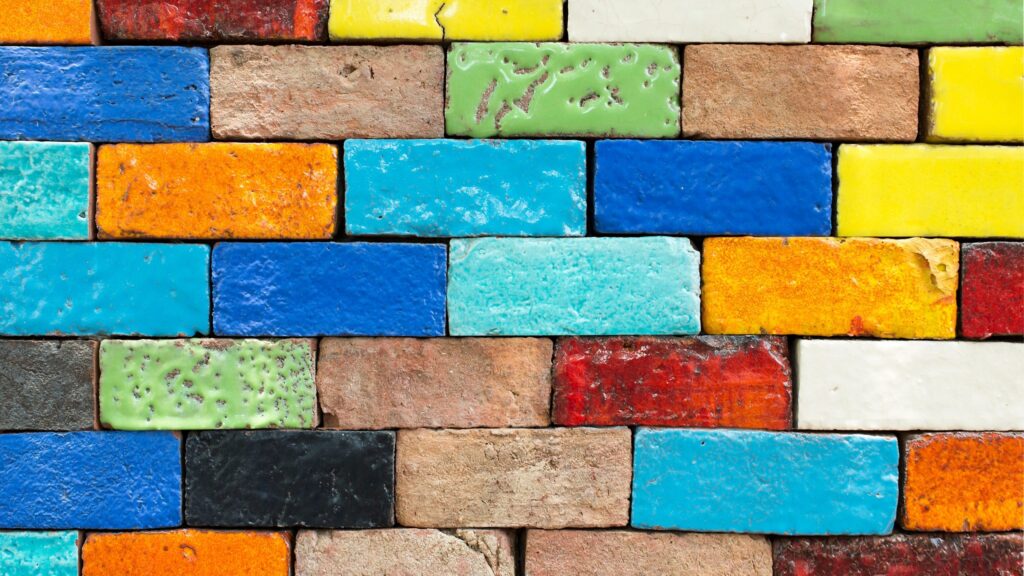
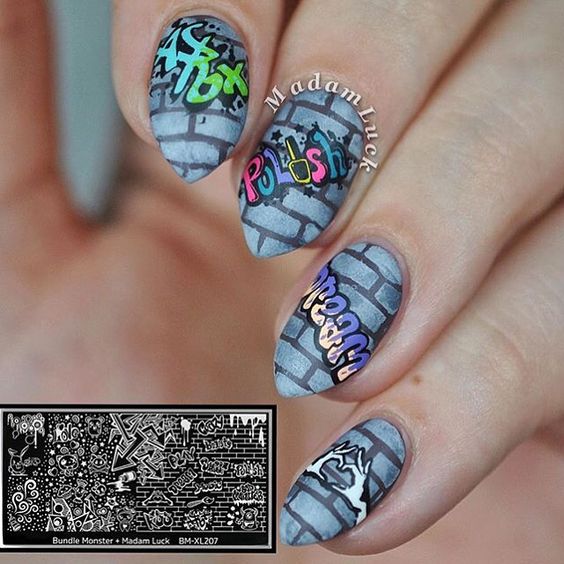
As I was doing my research, I decided that I should probably take a “brick” from work. I will admit that creating and maintaining a website and blog is very time-consuming. So I was organizing my Pinterest nail artboards and came across a picture of a set of nails that I thought were dope. This initially seemed like a simple design for nail art. I had no idea how the actual nail art design was created but decided to attempt it.
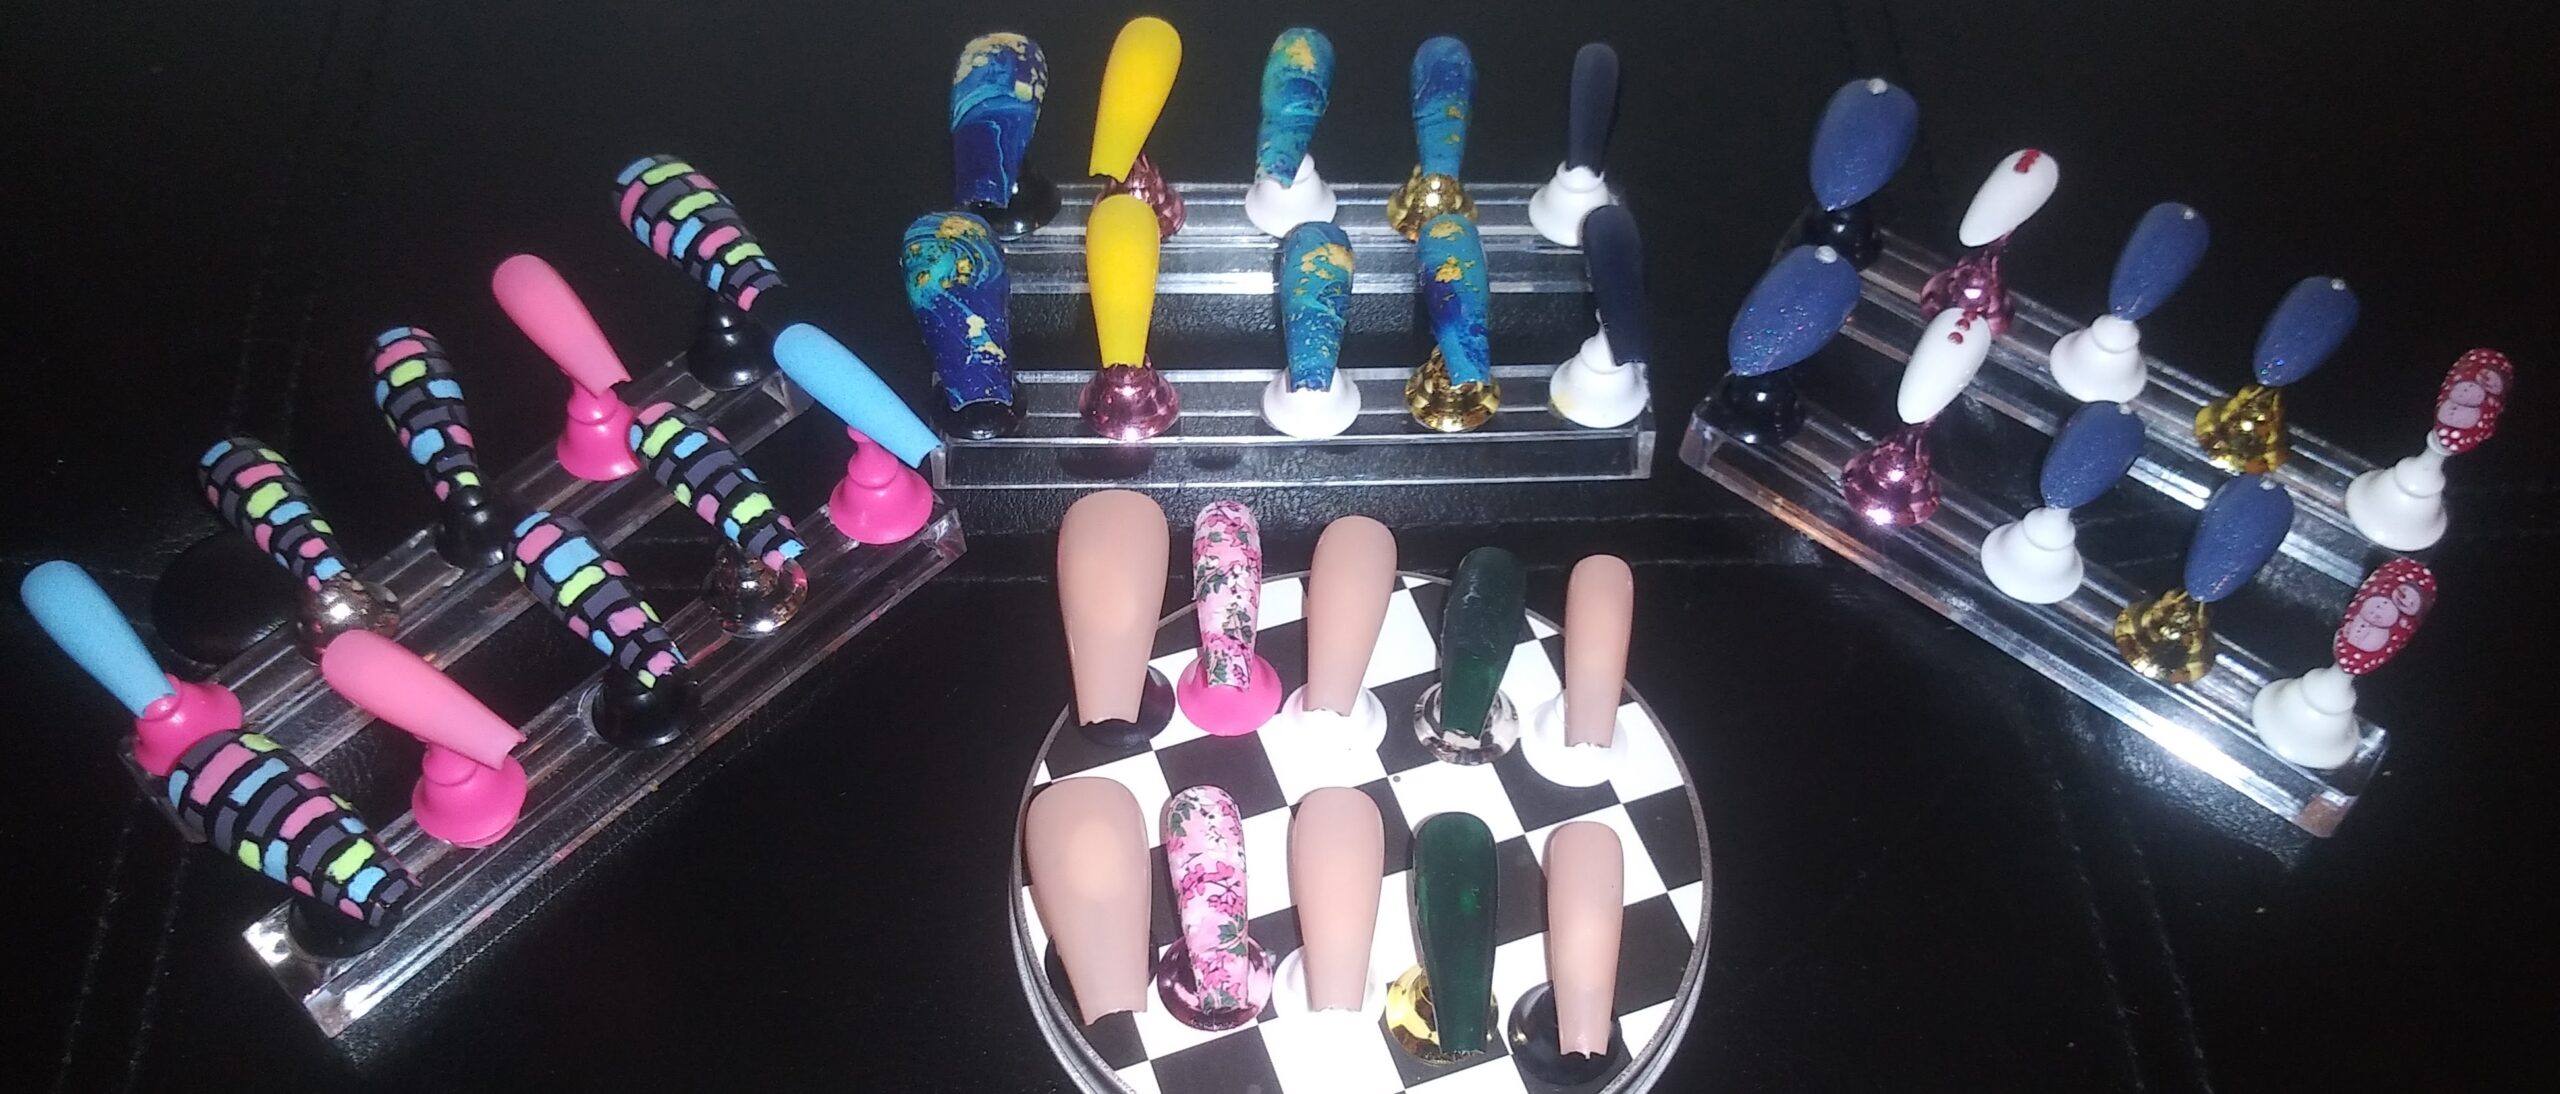
I wouldn’t say that I was a beginner when it came to simple nail art designs. I will say that I appreciate all the nail technicians and designers out there. I can kinda look at a nail design and create it mentally before transforming it into the nail. If you have never tried to recreate a look you saw online, you don’t feel my pain. I just knew it was going to be a simple design for nail art and would be an easy set to create. It was a clear picture in my mind, but the execution didn’t agree with me. Anyway, here are the nails that I ended up with.
While it didn’t quite come out like the photo from my Pinterest nail art board that I started with, I came up with my own cool design to recreate. Yall don’t beat me up since it isn’t the greatest, but I haven’t been doing nails as often because I have been obsessed with my hair and this website’s creation. Plus, I’m not going to lie, I rushed through these. (Insert laugh here.) Here are the other nails that I created while doing my Brick Grafitti nail art set.

Brick Grafitti Nail Art
Creating the brick DIY nail art design was simple and easy. The way I did these is very beginner-friendly, but it will take a steady hand and possibly a bit more tools than I used. To begin, decide on the colors you want for your nails. I chose to use a gray, light pink, sky blue, and neon green color scheme. I painted all the nails and let them dry. The gray nails were the nails that I would be using for the rick pattern and would leave all the other nails plain or solid colored.
To create the brick design I painted straight lines going horizontally across the nail bed. I did about 7 or 8 lines using a liner nail polish brush. After that was done I painted small vertical lines going downward in an alternating fashion. This means placing my lines inward on one block and outward on the next block until the design was complete. You can basically do your lines as large or as small as you wish. It is entirely up to you.

I was placing them anywhere and in any size, not trying to make them perfect, just attempting to see if I could create the design. I would suggest using nail liner tape for straighter lines, but I did not use it when doing this look. After creating the block-style pattern, I placed a small drop of polish on a plastic sheet that would be used to fill in the colored squares. I would suggest that you only use a small amount each time so that you do not waste your polish. The paint will dry quickly, and you may end up with thick, sticky paint, which will be very messy.
I used the three colors to fill in the blocks without using a specific placement method. You can add color to any design you like. You can even color in all the squares; I thought it would be overcrowded. After letting the color blocks dry, I painted them with a top coat and set them to the side. Mission complete. The design didn’t come out quite like the photograph, but all in all, I was pleased with how they came out. And here is my token to the simple design for the nail art collection.

