What Are Nail Decals?
Nail decals are any type of item that can be used on your nails in addition to nail polish. Using nail decals can be a great way to spice up your nail designs. They add a sense of flash and flair, which can be very appealing. It can be a way to add interest to your hands and feet or attract potential clients.
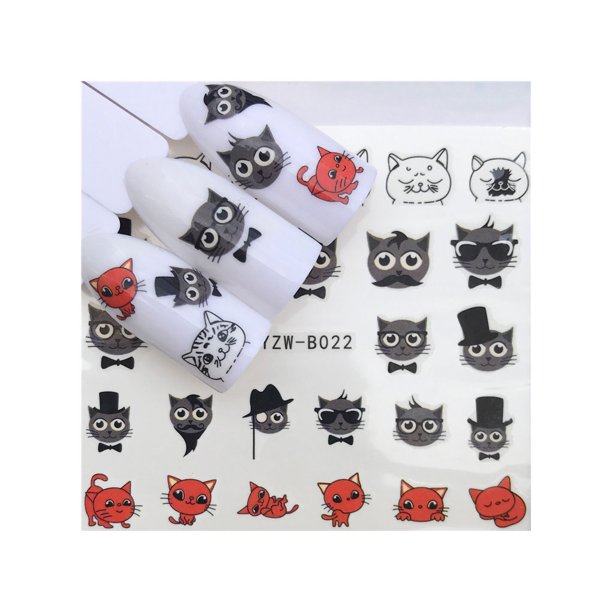
Nail Art Stickers
Nail art stickers are an easy nail art design staple. They typically come in sheets that can be placed onto your nails. They can be used by moistening them with water. Cut the size of the sticker you will be using then wet it with water. Allow it to soak for about 10-15 seconds before applying them to your nails. After applying them slide off the paper backing and seal with a top coat.
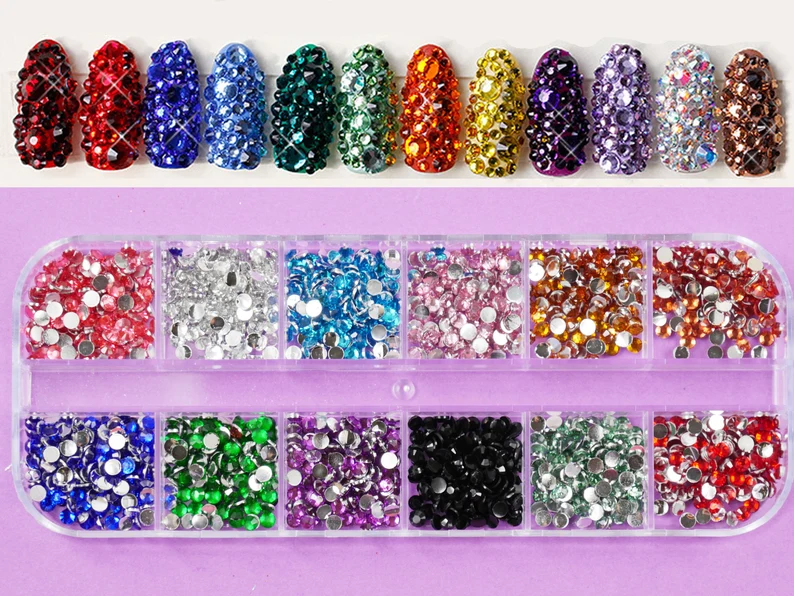
Rhinestones
Rhinestones are another must-have in your nail art kit. This can make decorating your nails simple and easy. If you aren’t quite confident about your design skills just add a few rhinestones to your polished nails. To apply your rhinestones use rhinestone nail glue. Super glue or nail glue can also be applied. The only downside to using superglue is that it can be a bit messy. It also dries fairly quickly and may leave a hard white residue. Rhinestone glue is preferred because it takes a few minutes before it dries completely. This is great for moving the stones around if you make a mistake or want to change the design.
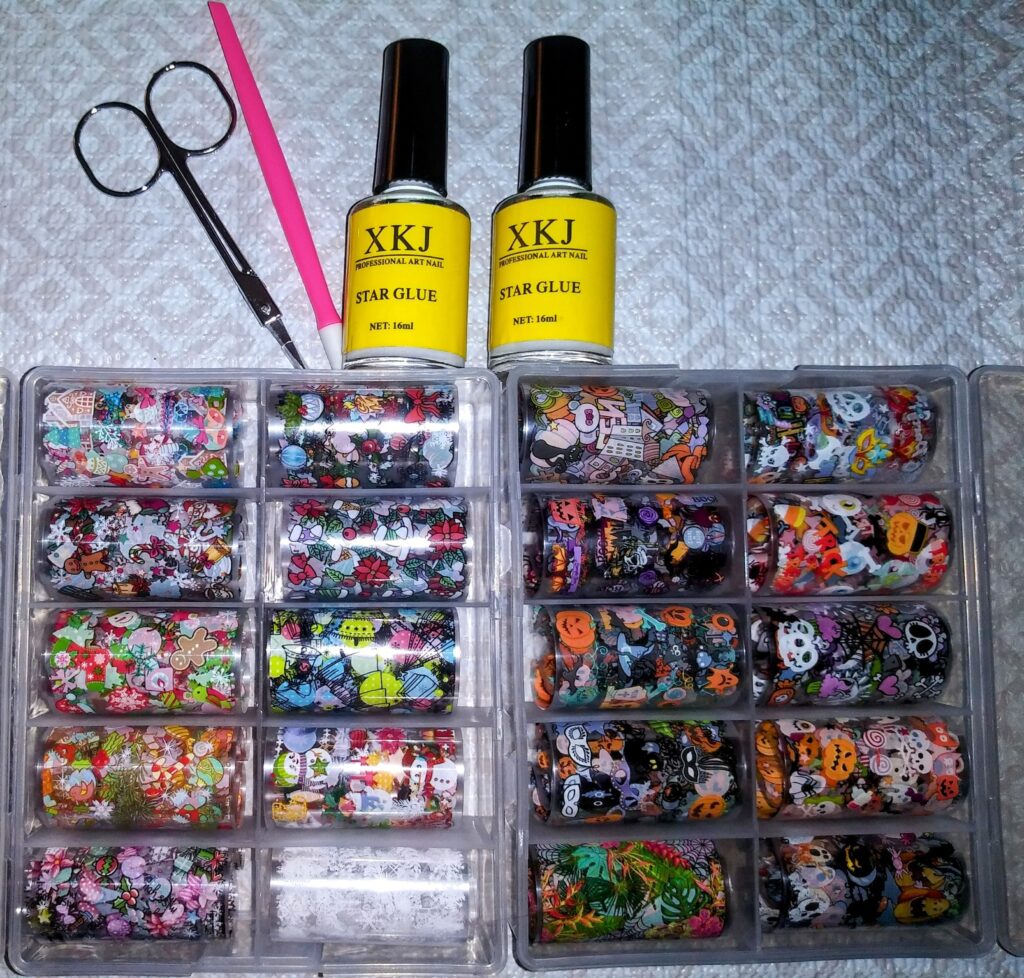
Foil Sheets
Using foil sheets can enhance your nail design tremendously. This is an easy way to get a beautiful set of nails in the fastest amount of time. Foil sheets can also be very complicated to use. The process is fairly easy but it may take a couple of tries before you get the perfect set. This is a better option compared to having to polish your nails and create nail art designs by hand. If you make a mistake you will need to remove the polish and start over.
If you use the foil sheets incorrectly, you may easily remove the design by buffing it off with a nail file. After buffing the nail, wipe it with an alcohol pad and reapply the nail foil glue. Let it dry until it turns clear, then reapply the foil. You can repeat this method until you get it right. Typically, you get a long sheet of nail foil, so it will be okay if you have to reapply the nail design to the nails.

Glitter
Nail glitter is an easy way to add shimmer and shine to your nails. You can use nail powder, glitter nail polish, or nail liner for application. This can be applied over your regular nail polish to add a shimmery effect. It can also be used to add shimmer to a select portion of your nail within the nail design. Using glitter on a whole nail can add a bit of spice to your nails. This works well if you are using solid colors without nail art.
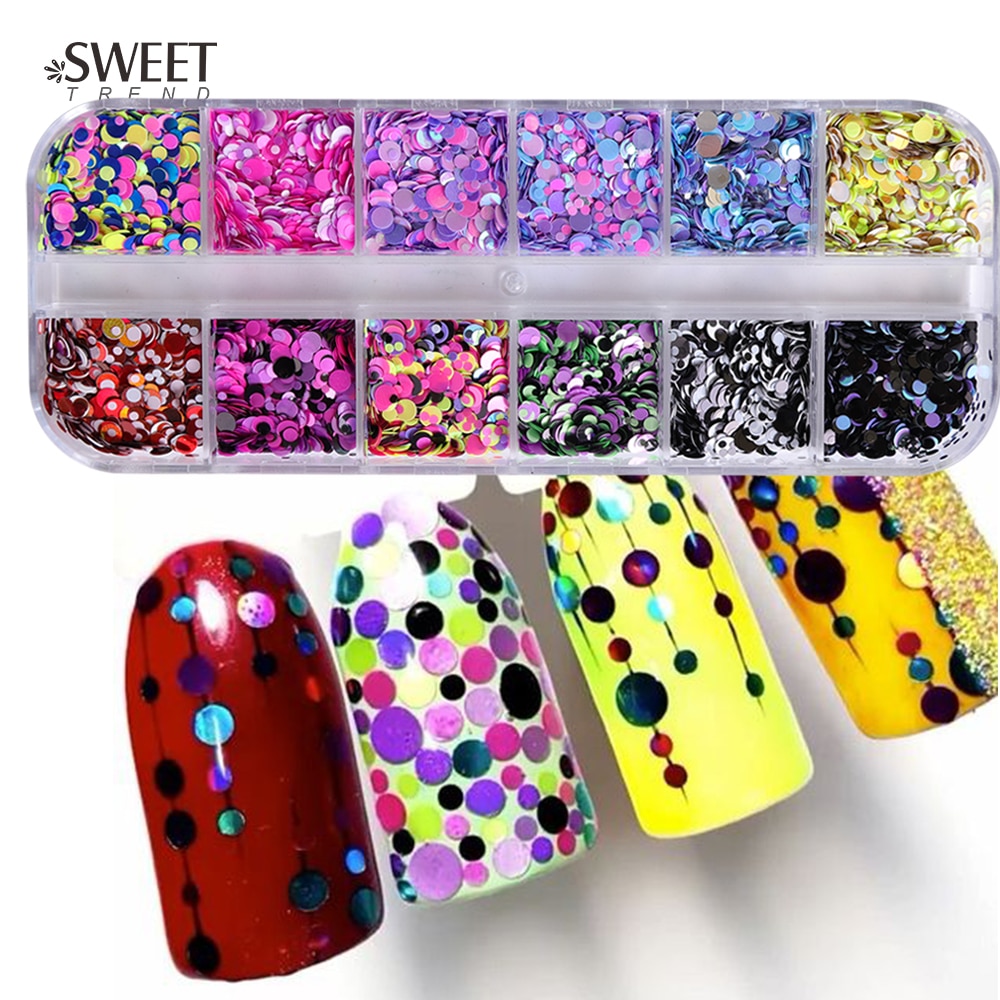
Sequins
Sequins are small, shiny, transparent, or colorful nail decals. They typically come in a variety of shapes and designs. They can be applied to your nails before or after applying nail polish or acrylics. These are best when used along with acrylic or gel polish. If an acrylic or gel polish isn’t used, the sequins may begin to fall off. This will cause you to have to either have a polish change or change the design more frequently.

3D Nail Charms
3d Nail charms are another type of nail decal used to enhance the appearance of your nails. These are likely to be larger in size and resemble the actual object just in a smaller size. They are applied on top of the nails with nail glue. They should be applied over your nail polish and acrylic due to their large size. This type of nail decal is perfect for creating fancy and over-the-top nail designs. Due to their large size, these decals may fall off. Make sure they have adhered properly so they don’t come loose during everyday wear.
Nail Bling
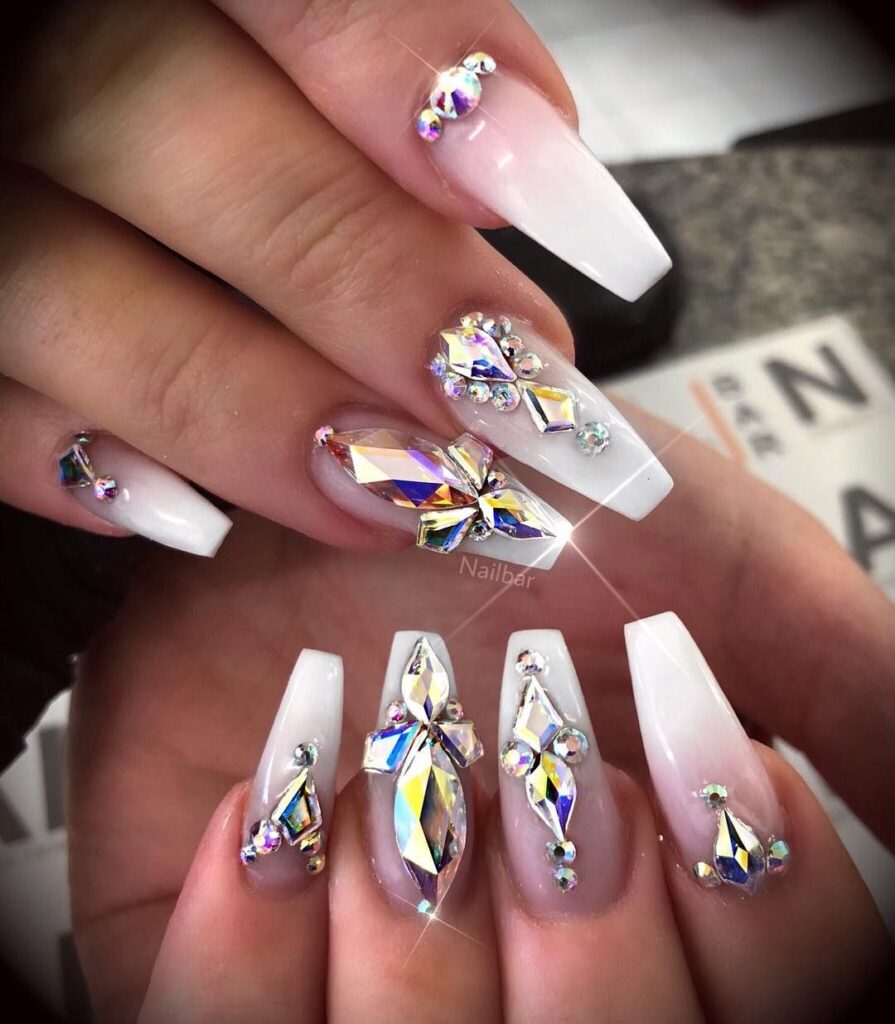
Nail bling decals are made of shiny materials similar to rhinestones. They are very shiny and expensive nail jewelry. These are used to give your nails a little extra shine. This type of nail decal is usually used for a more classy and elegant nail design. They can be applied with a nail adhesive and arranged to form a variety of nail designs.
Stamper & Plates
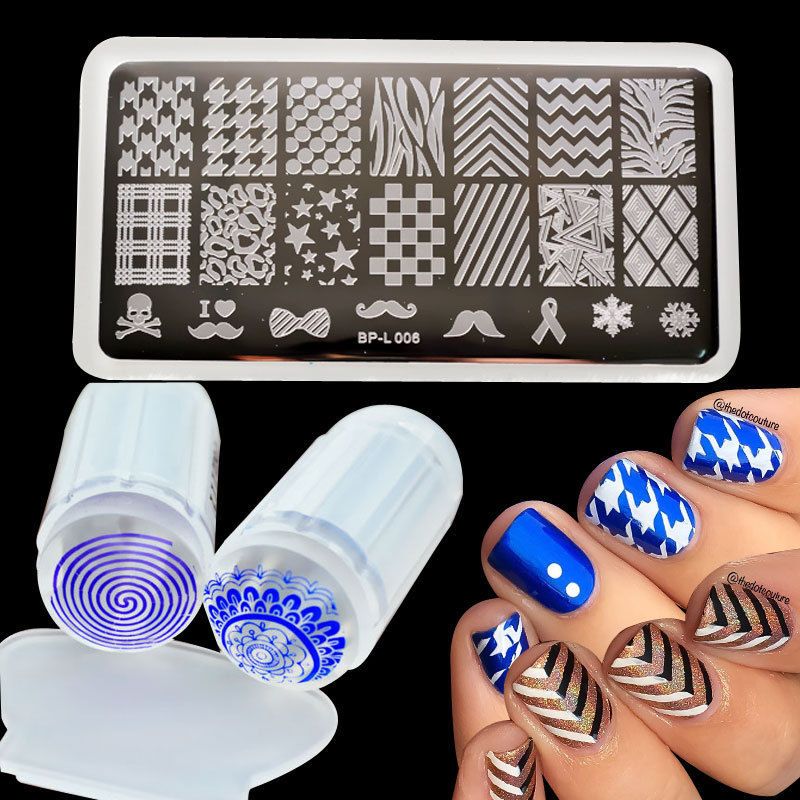
Stamper plates are used along with a nail stamper to create nail designs. The nail stampers have a plastic body with a rubberized tip. Using this product to create nail designs is fairly simple and easy to do. Using stamping nail polish, apply the polish to the nail design plate. Scrape the excess polish from the plate using the plastic scraper. Place the rubberized stamper on the plate to pick up the design. Gently place the stamper onto the nail to complete the transfer. You can create a better placement of the design by looking through the back end of the nail stamper window.
While this process is fairly simple it can come with a few challenges. Make sure you are using a polish that is made to be used with the stamping plates. I would suggest a gel polish or stamping polish kit. Cleaning your stamping plates after each use will also be helpful if you are using the same plate for multiple designs. Carefully place the stamper onto the nail and try to avoid smudging. In most cases, regular polishes do not produce the most pigmented designs. This must be taken into consideration when choosing your nail designs and polish colors.
Crystals
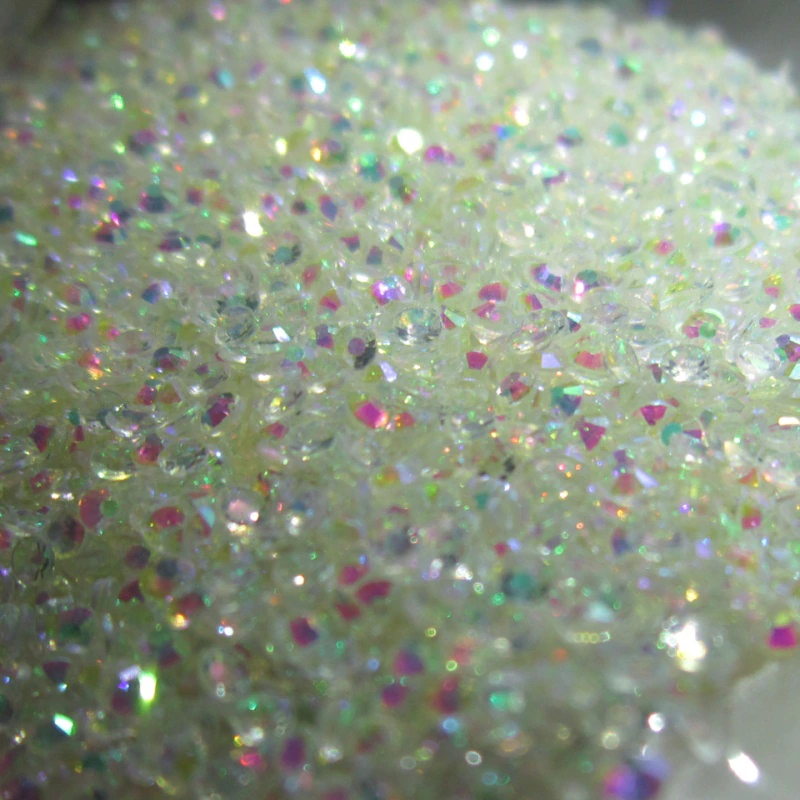
Nail crystals give off a glass-like appearance. They also add shimmer and shine to your nail designs and are similar to nail jewelry. Some types of crystal nail decals can be used similarly to glitter. Others come in the form of a rhinestone but have the same transparent glass-like appearance. They can be used to create a multitude of nail designs and patterns.
