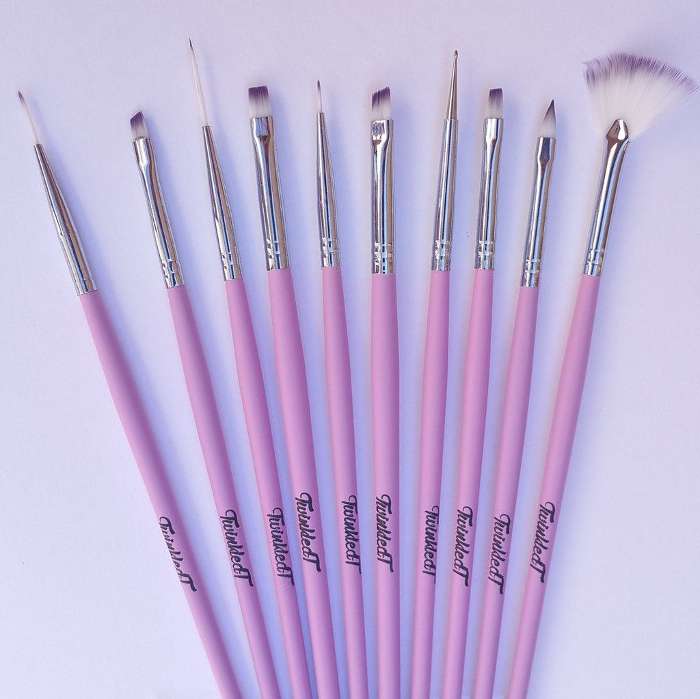
Nail art is a great way to express your creativity and individuality. With the right nail art brushes, you can create all sorts of amazing designs, from simple stripes and polka dots to intricate florals and landscapes. There are many different types of nail art brushes available, each with its own unique purpose. In this blog post, we’ll take a look at some of the most common nail art brushes and their uses.
Your essential guide to Nail art brushes
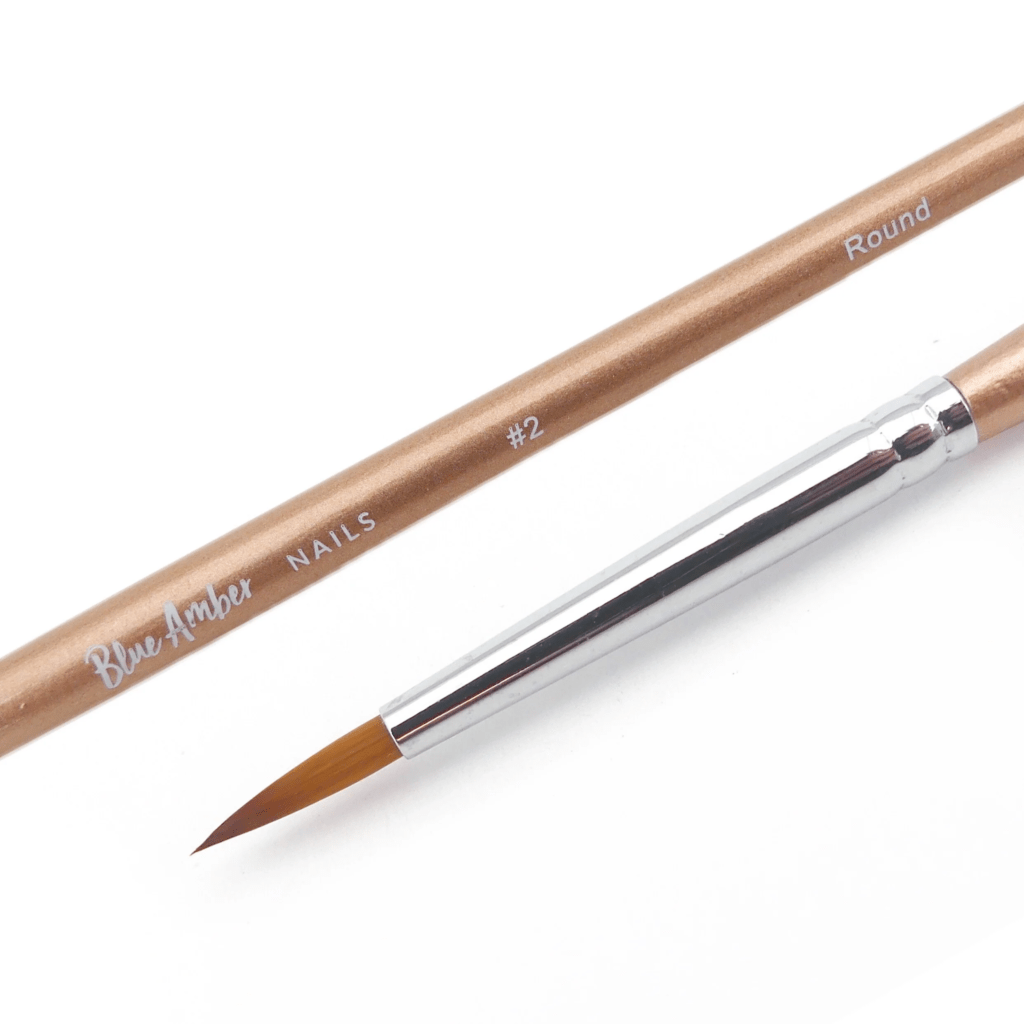
Round brush
A round brush is a versatile brush that can be used for a variety of nail art tasks, including filling in large areas of color, creating gradients, and blending. Round brushes come in a variety of sizes, so you can choose the right one for the job at hand.
- Applying base coat and top coat: The round brush is a good choice for applying base coat and top coat to your nails, as it can evenly distribute the product.
- Creating solid colors: The round brush can also be used to create solid colors on your nails. Simply load the brush with polish and apply it to your nails in smooth strokes.
- Creating gradient designs: The round brush can also be used to create gradient designs on your nails. To do this, load the brush with two different colors of polish and apply them to your nails in overlapping strokes.
- Gradient nails
- Ombré nails
- Solid color nails
- Polka dot nails
- Flower nails

Striper brush
A striper brush is a long, thin brush that is perfect for creating straight lines and stripes. Striper brushes come in a variety of widths, so you can create different thicknesses of lines.
- French manicure
- Stripes
- Geometric designs
- Calligraphy
- Animal prints

Flat brush
A flat brush is a wide, flat brush that is great for applying base coats and top coats, as well as creating large, solid shapes. Flat brushes also come in a variety of sizes, so you can choose the right one for the size of your nails.
- Base coat
- Top coat
- Large solid shapes
- One-stroke designs
- Abstract designs

Angled brush
An angled brush has a slanted tip that is perfect for creating precise details and outlines. Angled brushes are also great for creating French manicures and other designs that require a sharp line.
- French manicure
- Outlines
- Precise details
- Half-moon manicure
- Chevron nails

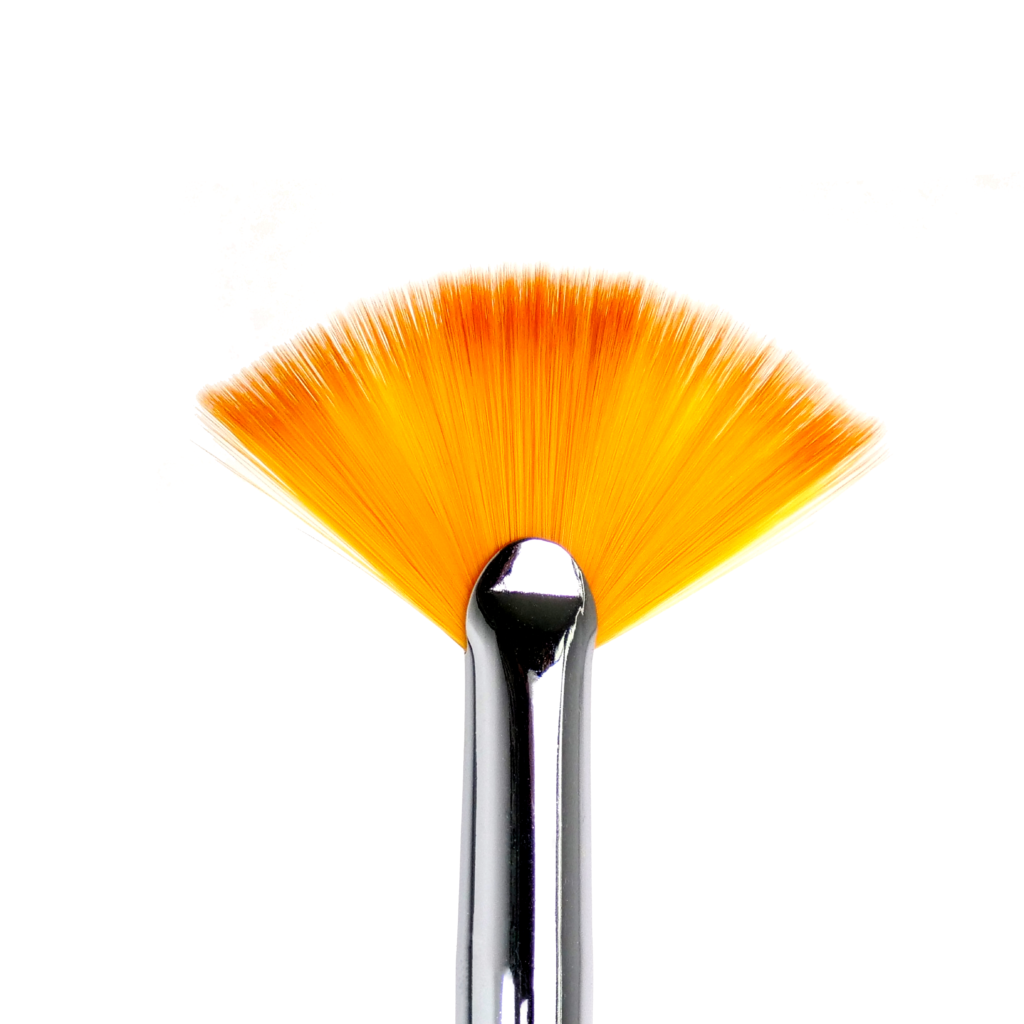
Fan brush
A fan brush has a wide, fan-shaped tip that is great for creating soft, blended effects, such as gradients and ombrés. Fan brushes are also great for dusting away excess glitter or powder.
- Gradient nails
- Ombré nails
- Soft blended effects
- Glitter nails
- Ombre flowers

Detail brush
A detail brush is a small, thin brush that is perfect for creating intricate details, such as dots, flowers, and other small designs. Detail brushes are also great for cleaning up any mistakes.
- Dots
- Flowers
- Other small designs
- Cleaning up mistakes
- Placing embellishments

Dotter brush
A dotter brush has a small, round tip that is perfect for creating dots and other small shapes. Dotter brushes are also great for picking up and placing embellishments, such as rhinestones and caviar beads.
- Dots
- Other small shapes
- Picking up and placing embellishments
- Creating caviar bead designs
How to use nail art brushes
To use a nail art brush, start by loading it with a small amount of polish. You can do this by dipping the tip of the brush into the polish bottle or by dabbing it onto a piece of paper towel.
Once the brush is loaded with polish, hold it at a 45-degree angle to your nail and start painting. You can use different brushstrokes to create different effects. For example, to create a straight line, use a steady, even stroke. To blend two colors, use a soft, back-and-forth stroke.
When you’re finished painting, be sure to clean your brushes thoroughly with nail polish remover. This will help to keep them in good condition and prevent them from becoming clogged with polish.
Tips for creating nail art
Here are a few tips for creating nail art:
- Start with a clean base coat. This will help your polish to adhere better and last longer.
- Use thin coats of polish. This will help to prevent the polish from becoming clumpy or smudged. Using thinner coats will also help speed up the drying time or properly cure gel nail polish.
- Let each coat of polish dry completely before applying the next coat.
- Use a top coat to seal in your design and protect it from chipping.
If you’re new to nail art, don’t be afraid to experiment. There are no rules when it comes to nail art, have fun, try your best, and be creative! Practice makes perfect, so if you don’t get your design right the first time try it again.

