Many people aspire to have nails that are strong, long, and healthy. Nail salons have developed several techniques to achieve these goals, one of which is the application of UV gel nails. UV gel nails are perfect wear for corporate women seeking a more sophisticated and classy look. They can serve as the basis for many wonderful nail art designs. The popularity of UV gel nails, acrylic nails, and gel polish can be seen by visiting a nail salon in your area. With the correct application, you can have a set of nails that are of the highest quality. A perfect nail set requires specialized knowledge to create.
Professional nail technicians are trained in the application of different types of nails, and they understand the special techniques needed to create perfect nails. Although some people pick things up fairly quickly if you aren’t quite sure that you can perform the task, just stick with a nail technician. This article will go over the UV gel-based artificial nail creation process.
What Are UV Gel Nails?
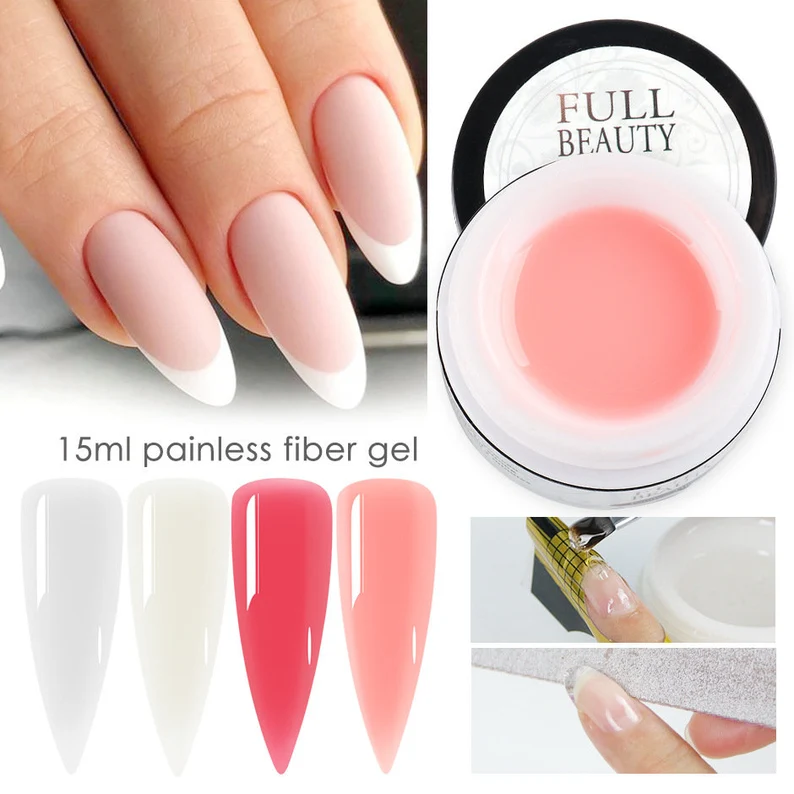
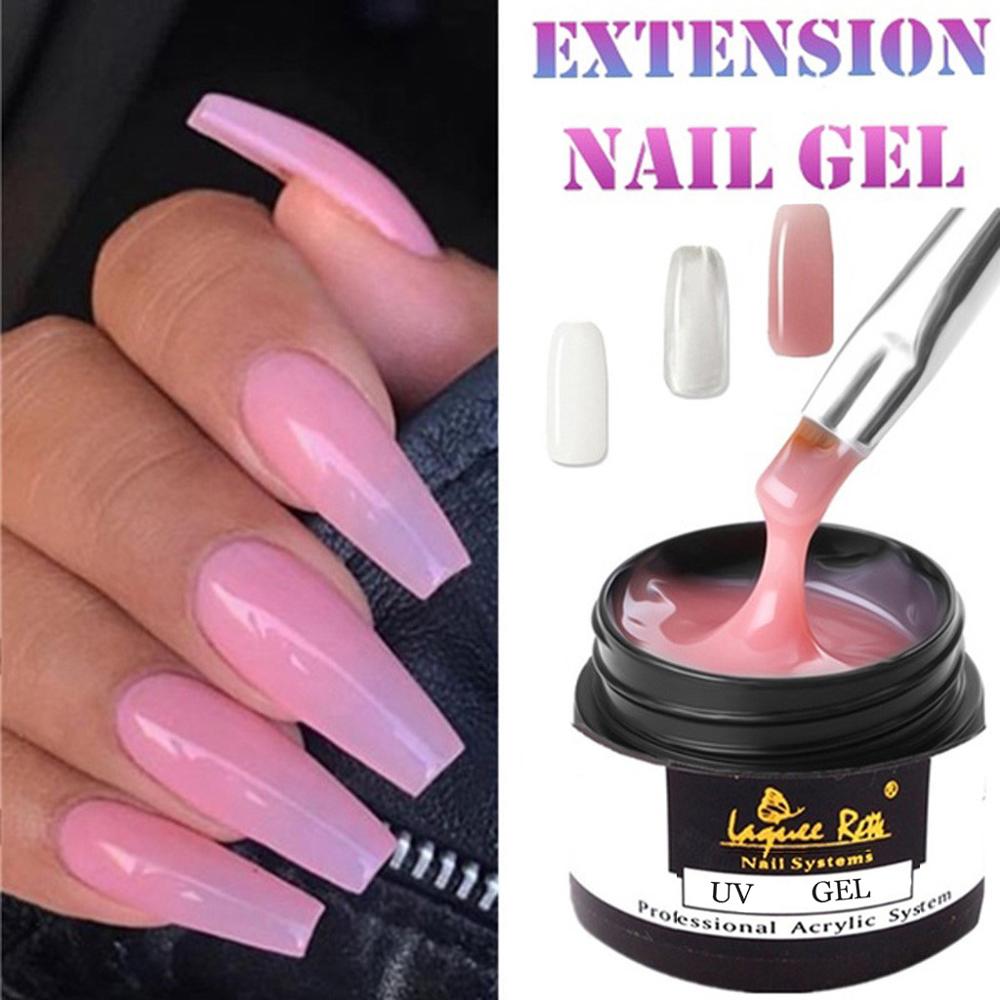
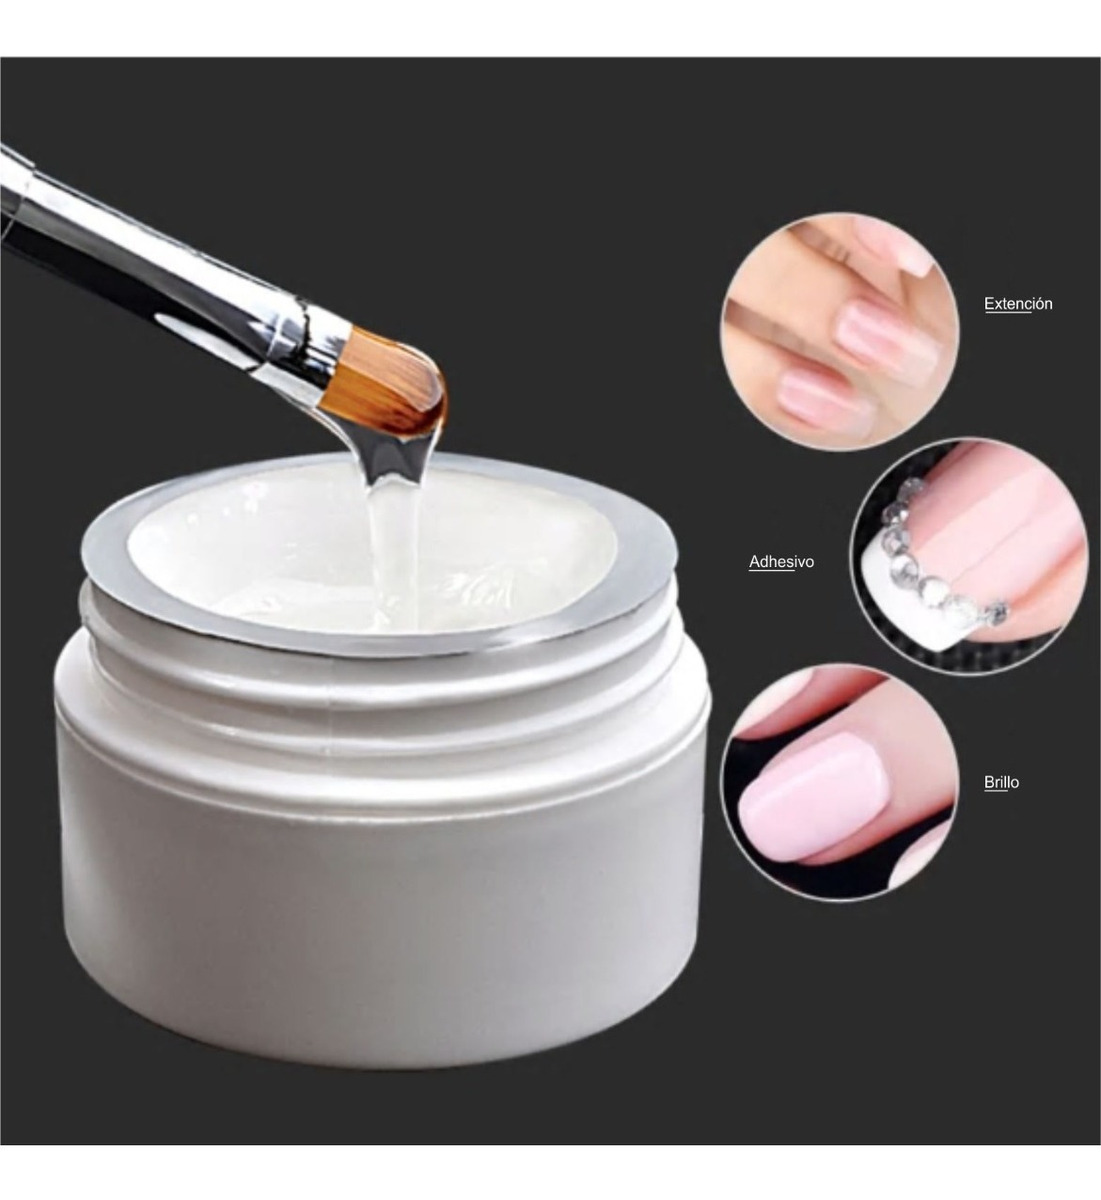
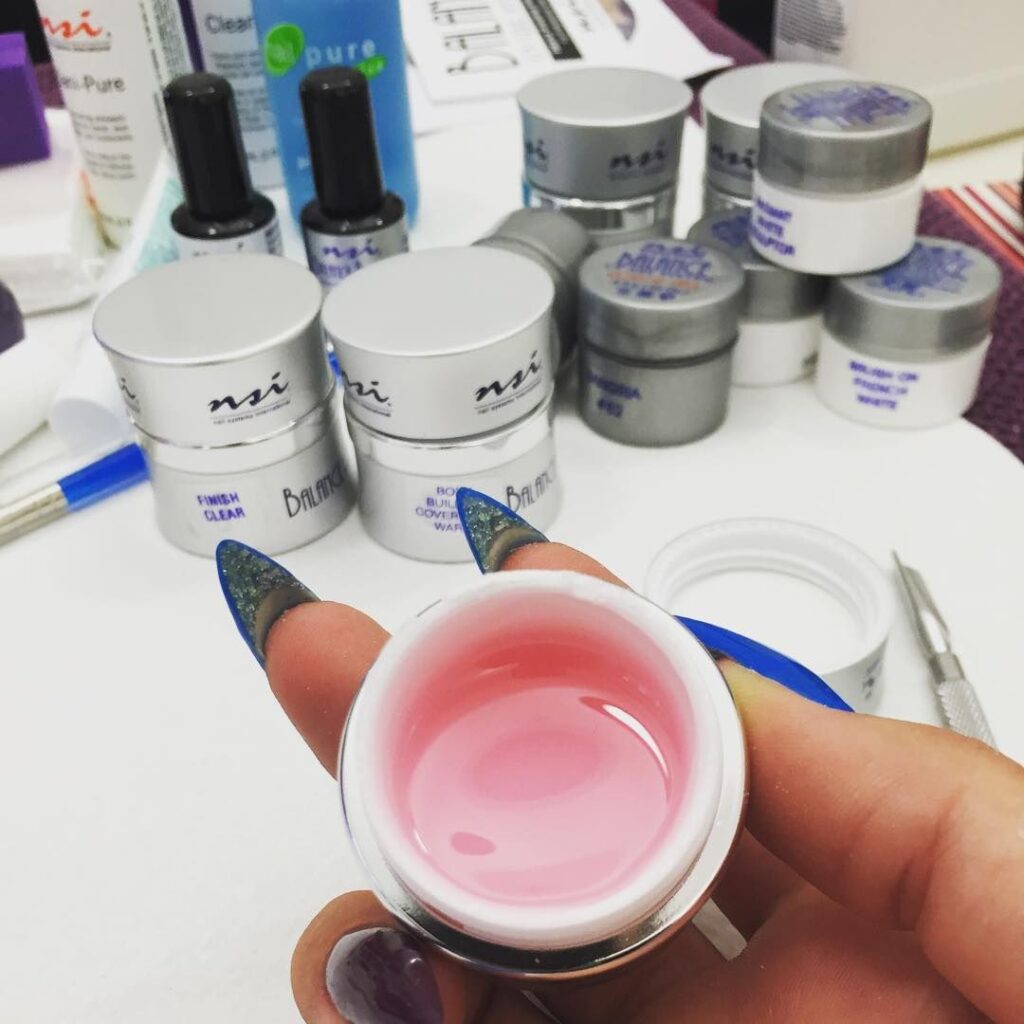
UV gel nails are nail enhancements made from compounds with a gel-like consistency that is absolutely odorless and curable. UV Gels adhere to the surface of the nail in three easy steps. These steps include bonding, building, and finishing.

First, the nail technician must clean the nail and apply a bonder to it in order to help the gel adhere better. Bonding gel must be brushed on the entire nail in the first step, with the exception of a small perimeter toward the cuticle and sidewalls. The nail needs to be cured under UV light for roughly 2 minutes after that. This small space gives you room to taper it later. It is crucial to make sure that any excess blot is removed with a dry nail wipe before curing the nail. The market offers a wide variety of primer/bonding gel types.
The choice of which to use depends on the desired end result, as some are better suited to gel nails than others. The bonding gel can be combined with any other gel and is typically used in concentrated form. Depending on the brand, a thin layer of the primer/bonding gel is applied directly to the natural nail, and after curing under a UV light, it helps to create an adhesive bond between the acrylic and the nail bed. Thanks to this bonding coat, your nails become stronger and can better resist peeling, chipping, and cracking.

Applying builder gel is the second step. Builder gel is usually used to extend the nails and helps you create your desired shape. This type of gel is thicker than the bonding gel, and it is applied over the primer/bonding gel to give structure and support to the natural nail. Builder gel when used in combination with bonding gel is often called a “dual-form” system. This gel helps form the ideal set of artificial gel nails because it is more of a self-leveling gel.
The UV gel should be applied sparingly to the center of the tip, worked toward the smile line, and then shaped appropriately. It’s crucial to apply the gel to the nail edges thinly. Use a synthetic brush with a filbert shape for best results, and after perfecting the smile line, cure the UV Gel for three minutes under 36 watts of professional UV light. In order to complement the skin tone and the original nail color, the builder gel is typically available in white or pink.

Finishing is the last step to getting those much-desired nails. The finishing gels come in a variety of hues, including clear finishing gel, French beige, French natural, French pink, and French white. Start by filing the surface of the nails with a 100/180 grit file to remove shine and create a rough surface for the gel to stick to. After selecting the desired color, it is vital to take the time to make sure that the application is even and consistent. Apply the gel similarly to how you would apply nail polish by gently moving the brush toward the free edge.
You can seal it by moving the brush across the leading edge. To prevent a surface that is uneven, make sure the brush is smooth, fine, and free of splitting hairs. The nails must be cured under the UV light for an additional 2 to 3 minutes after the finishing gel has been properly applied to make them firm and smooth. By making the nails appear shiny and glossy, the finishing gel enhances the overall appearance of the nails and gives them a final touch.

