“I get a small commission for purchases or clicks made through links in this post.”
Nail wraps are the latest and hottest trend in nail care. These wraps, which come in a range of hues and designs, offer a quicker and easier alternative to conventional nail polish. Although some people might believe that nail wraps are only for children, many adults also like them. This article aims to clarify what they are in all detail and why you should be interested in them.
What Are Nail Wraps?
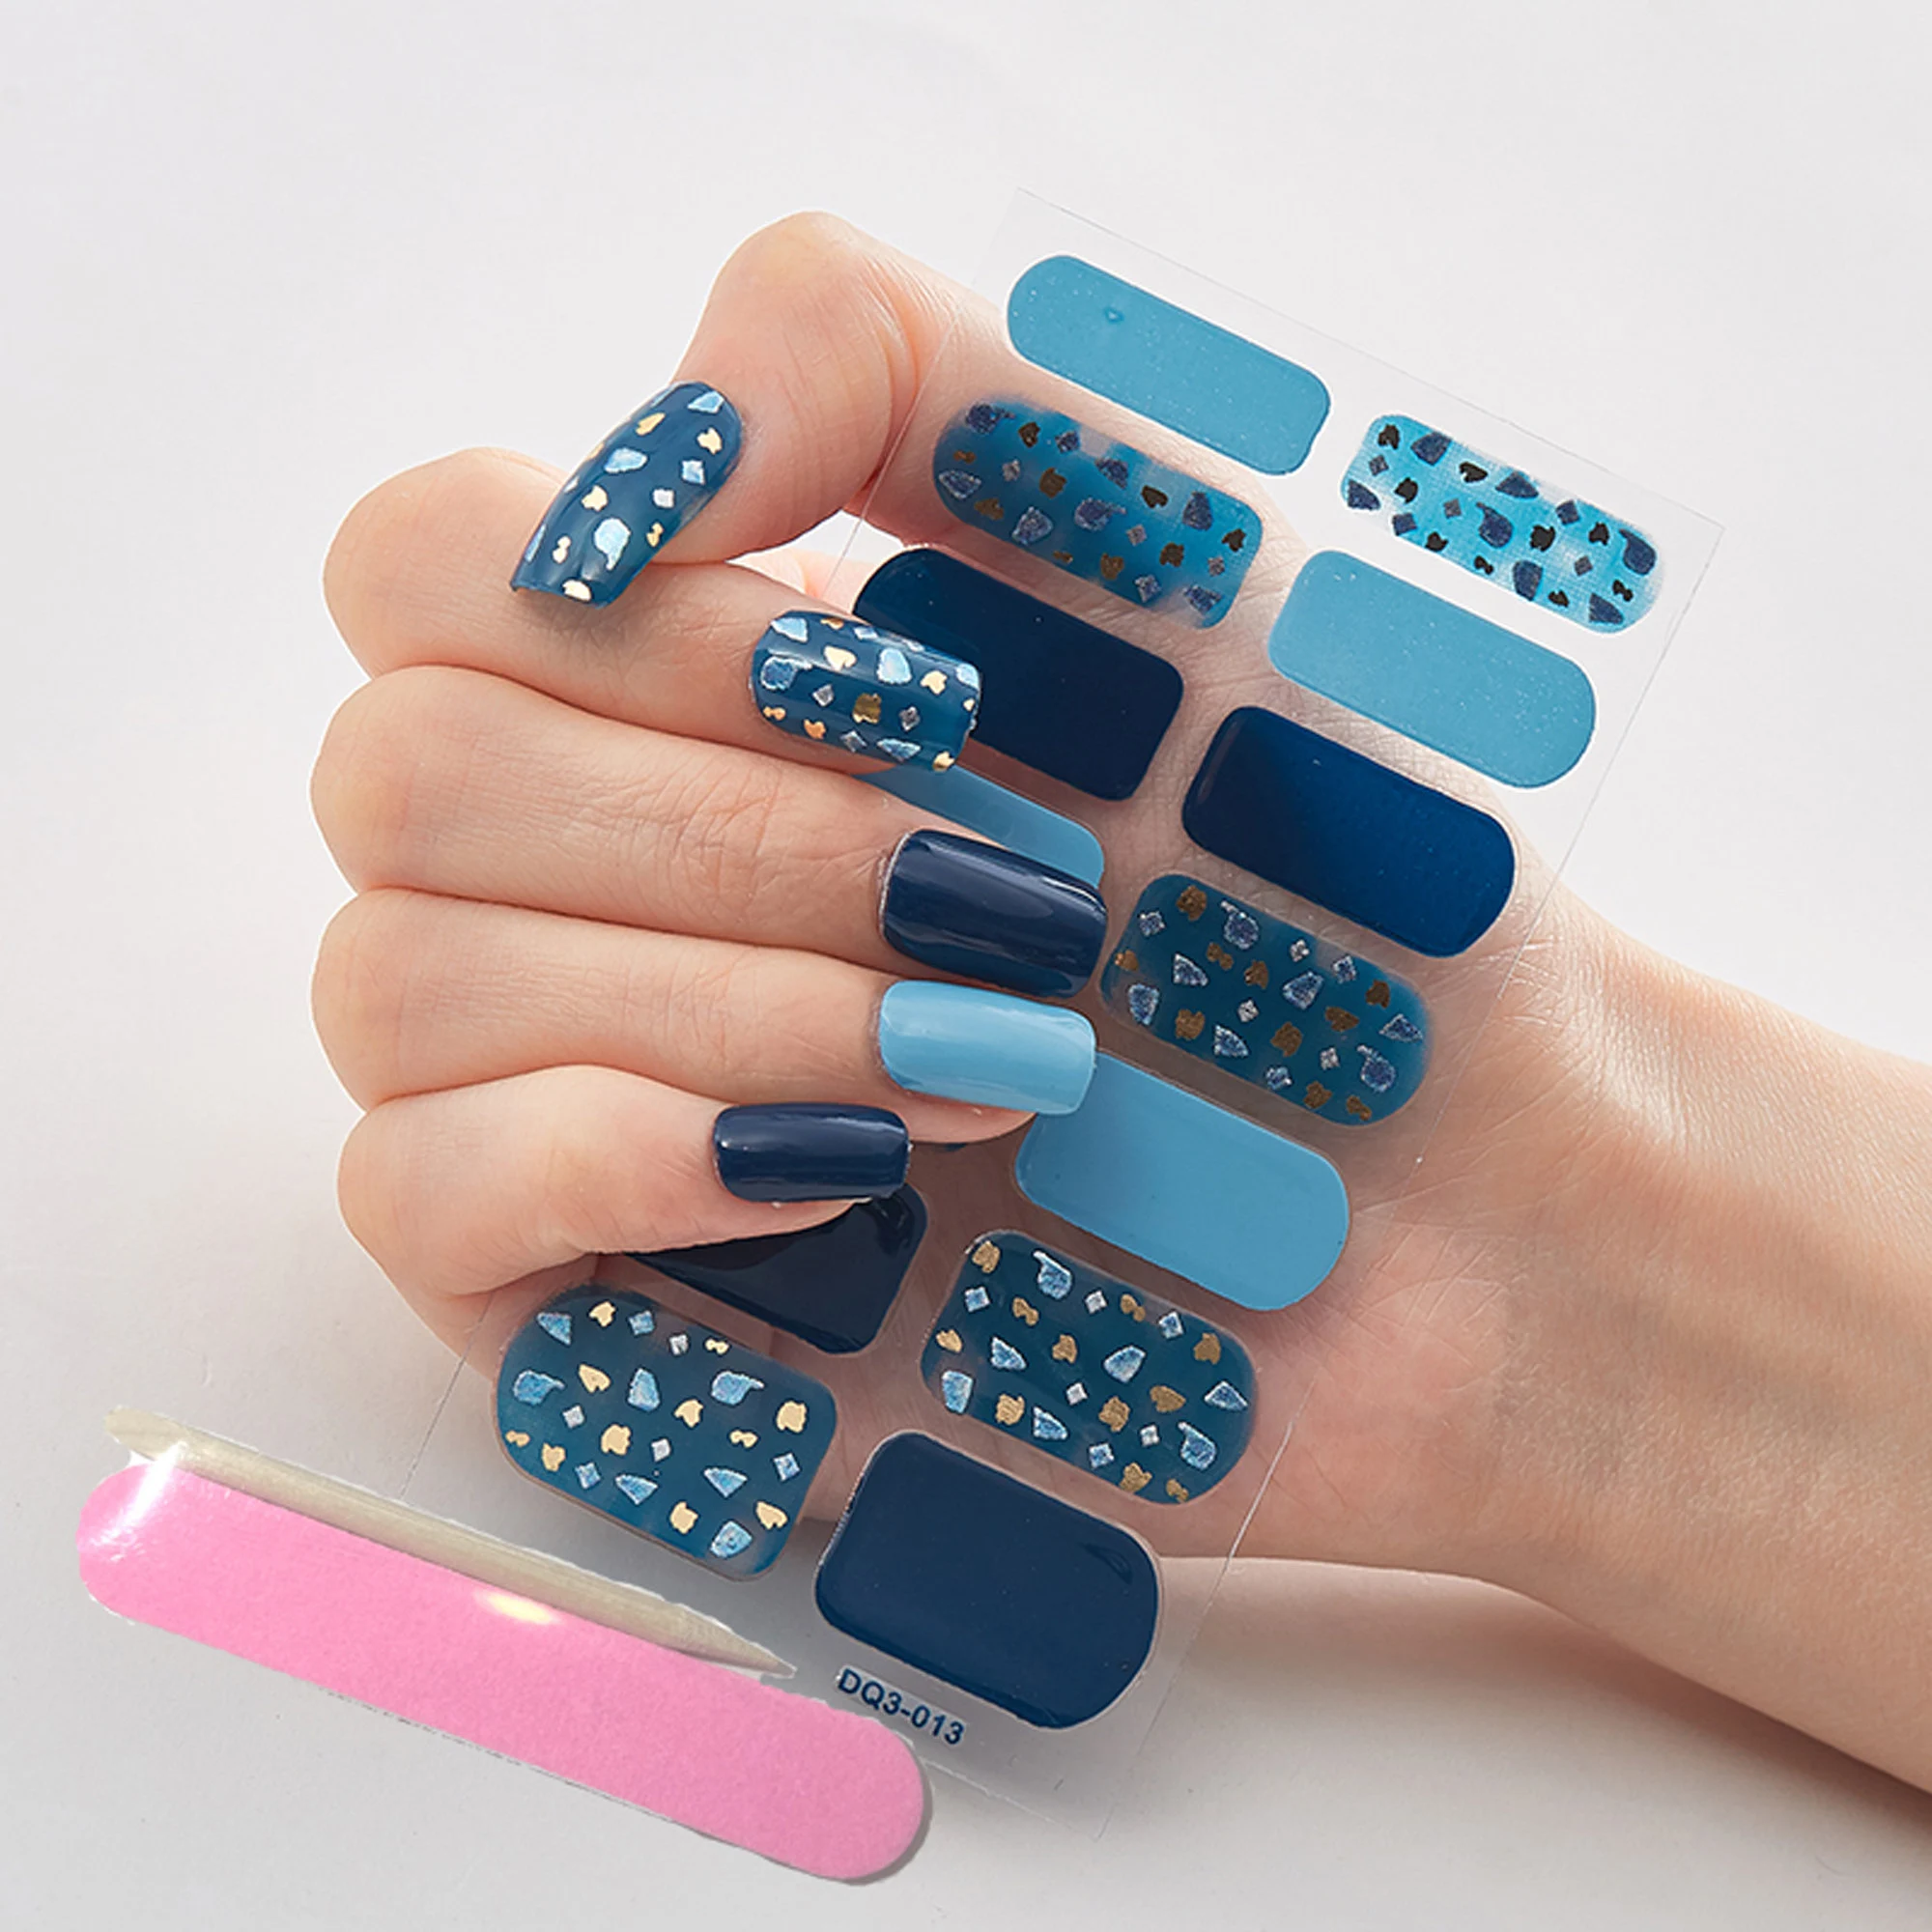
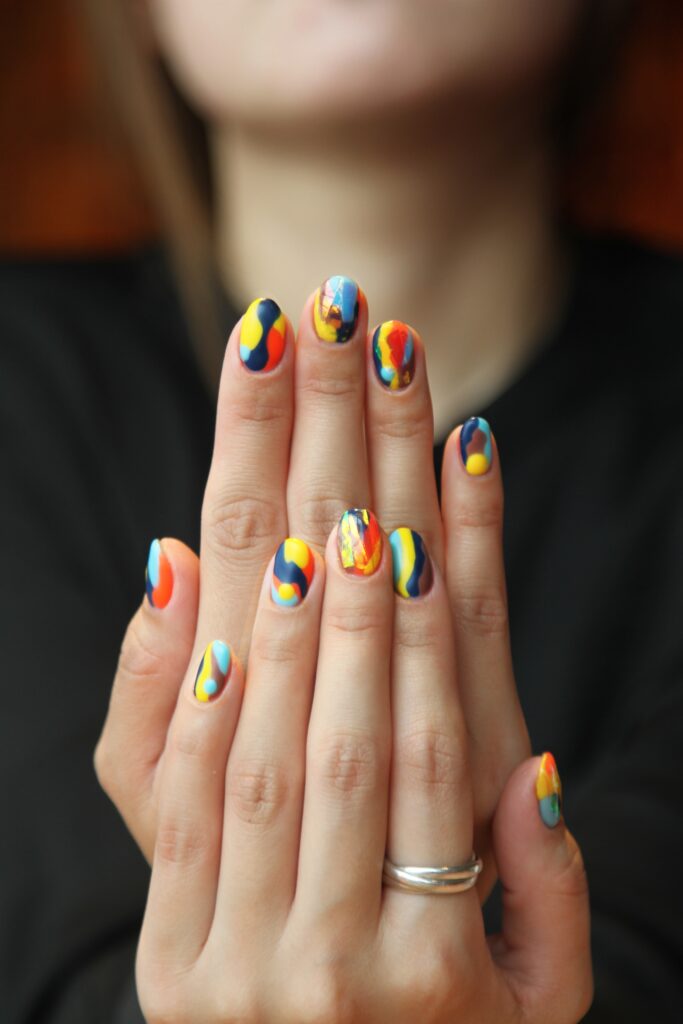
Nail wraps are self-adhesive stickers that can be applied to your fingers and toenails. They go by other labels such as nail decals, nail stickers, and nail art transfers. Although nail wraps have been around forever, they recently gained enormous popularity. This is because there are so many different nail designs available and the manicure procedure is so simplistic. A laminate overlay is used to build the self-adhesive vinyl. The laminate overlay provides a protective layer against chips and nail damage.
How Much Do Nail Wraps Cost?
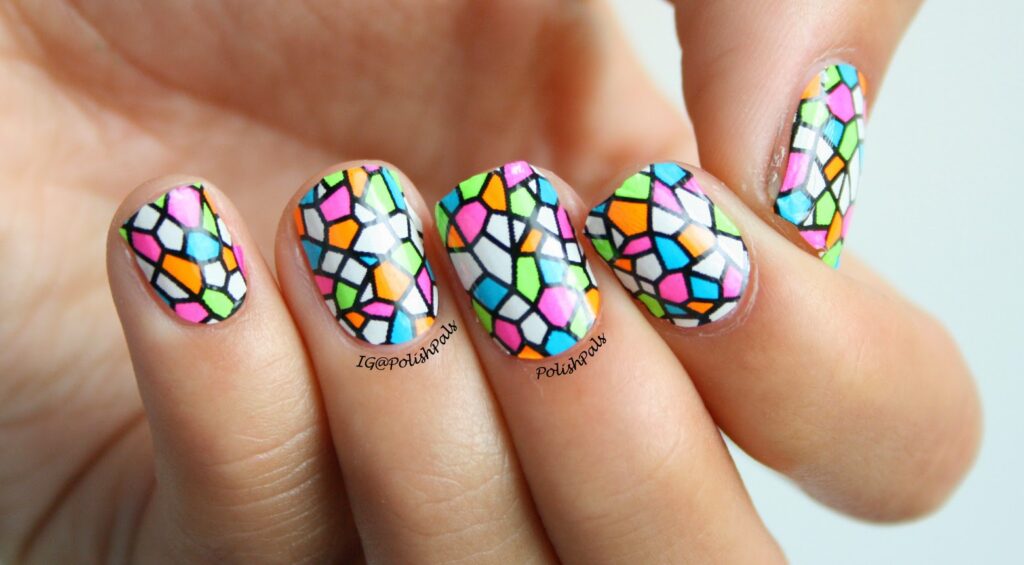
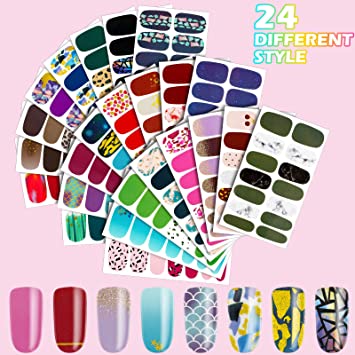
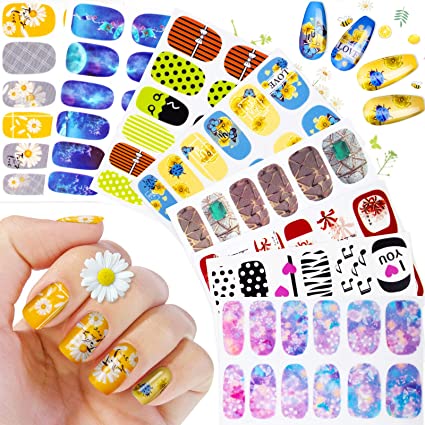
Animal prints, metallic hues, and designer effects are frequently used in nail wrap designs. They come in a variety of solid colors as well as polka dots and complex design patterns. Depending on the style of design you purchase, nail wraps are typically not too expensive. The majority of them have set prices that range from $3 to $15. As with any other product, the price you pay depends on the product’s quality.
The vinyl wraps of a lower quality are thicker and less flexible. Compared to the more expensive brands, they frequently peel off the nail more quickly. The nail wrap is typically of higher quality when it is thinner. The wraps should stay on your fingernails for up to 2 weeks and on your toenails for up to 3 weeks. Times may vary depending on both environmental factors and the quality of the wraps. The application of the nail wrap can also be a key factor in the wear time of your nail design.
The Nail Wrap Application Process
Nail wraps are easy to apply. To apply the wraps to your nails, heat the wrap for a few seconds with a heat source before applying it to the nail. This helps to make the wrap more malleable so that it can mold to your nail bed. After the wrap is heated, quickly place it on the nail bed and press it firmly.
Before applying the nail wraps to your nails, you need to be sure to prep them first. Your nails should be free of any dirt, grease, and fingernail polish. Clean your nails with nail polish remover prior to applying the wraps.
Applying a gentle heat source, such as a blow dryer, to the nail sheet will help you remove the nail wraps. they should then be peeled off from side to side. This does not have to be for a long period of time. It is intended to warm up the glue on the adhesive. It will also work as a form of liquid glue, helping them stick to your nails better.
Unlike some nail polishes, nail wraps are not damaging to the nails and do not make a mess. Nail wraps eliminate the need for additional coats of nail polish. Additionally, there is no need to wait for the nail wraps to harden. Additionally, you don’t need to labor for hours on end trying to come up with the ideal nail art.
Numerous colors and patterns are already premade on nail stickers. You don’t need to repaint or fix your paint. The fact that there is a finite number of stickers on nail wraps is the only drawback to using them instead of nail polish. While sets of 12 are the norm, some sets may include a few extra stickers. If you make a mistake while submitting the application, a completely new set will need to be purchased.
