Picture this: you’re in the store and shopping for nail decals and nail art. You come across these beautiful, shiny pieces of nail foil sheets, and you want them. You pick them up, put them into your cart, and whisk them away. When you return home, you realize you aren’t sure what to do next.
From personal experience, I would agree that these sheets are very challenging to use and could be very confusing. If you do not know what I am referring to it’s a nail foil sheet.

What is a Nail Foil?
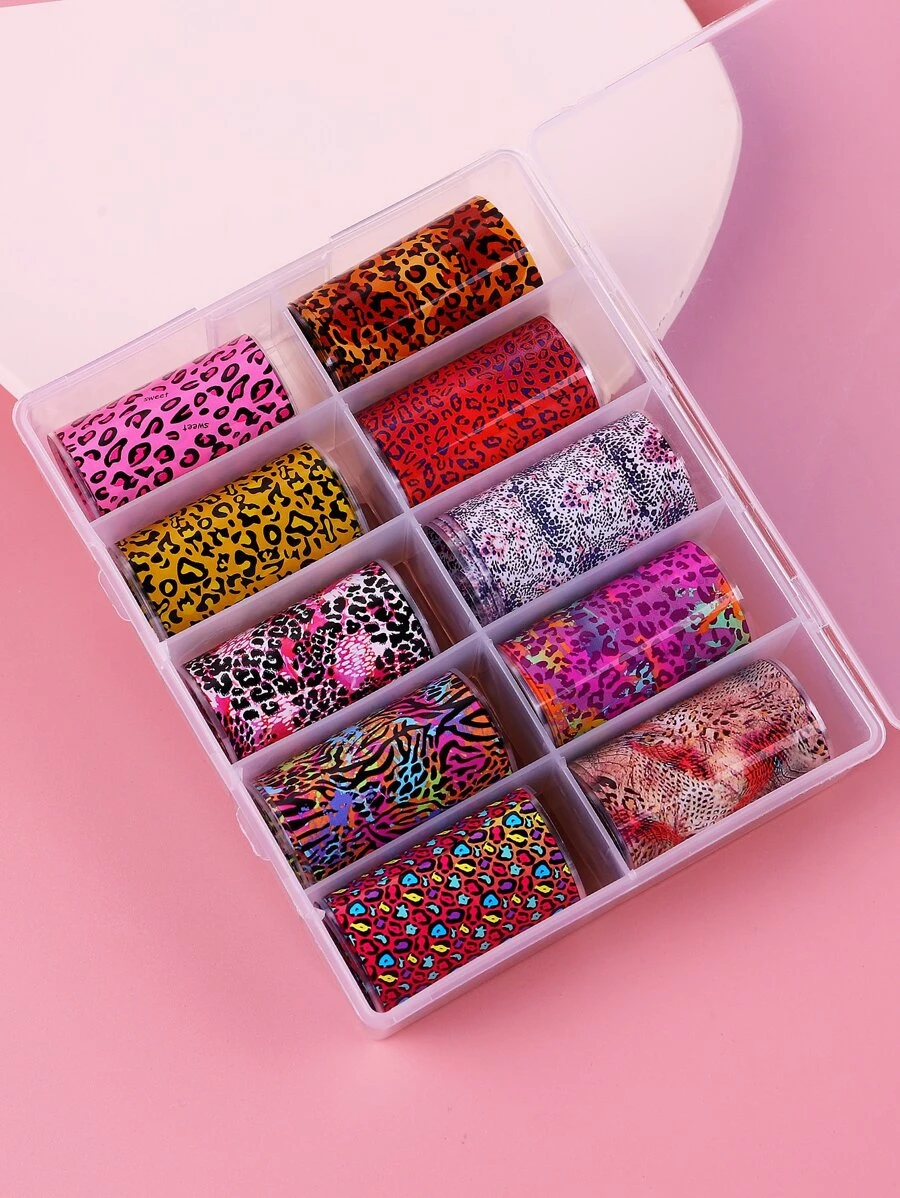
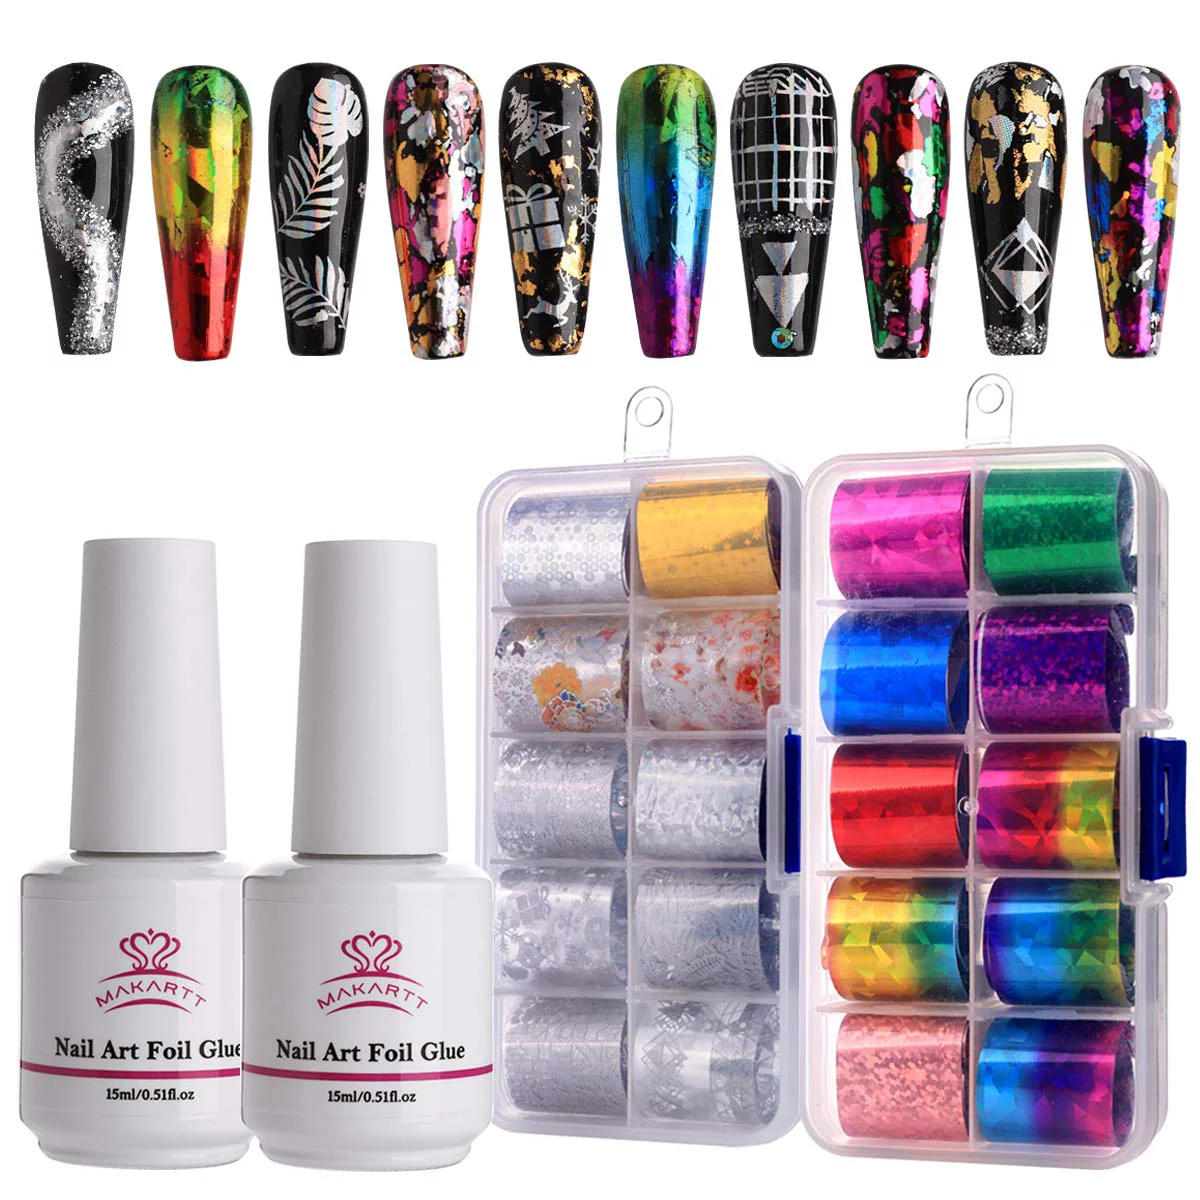
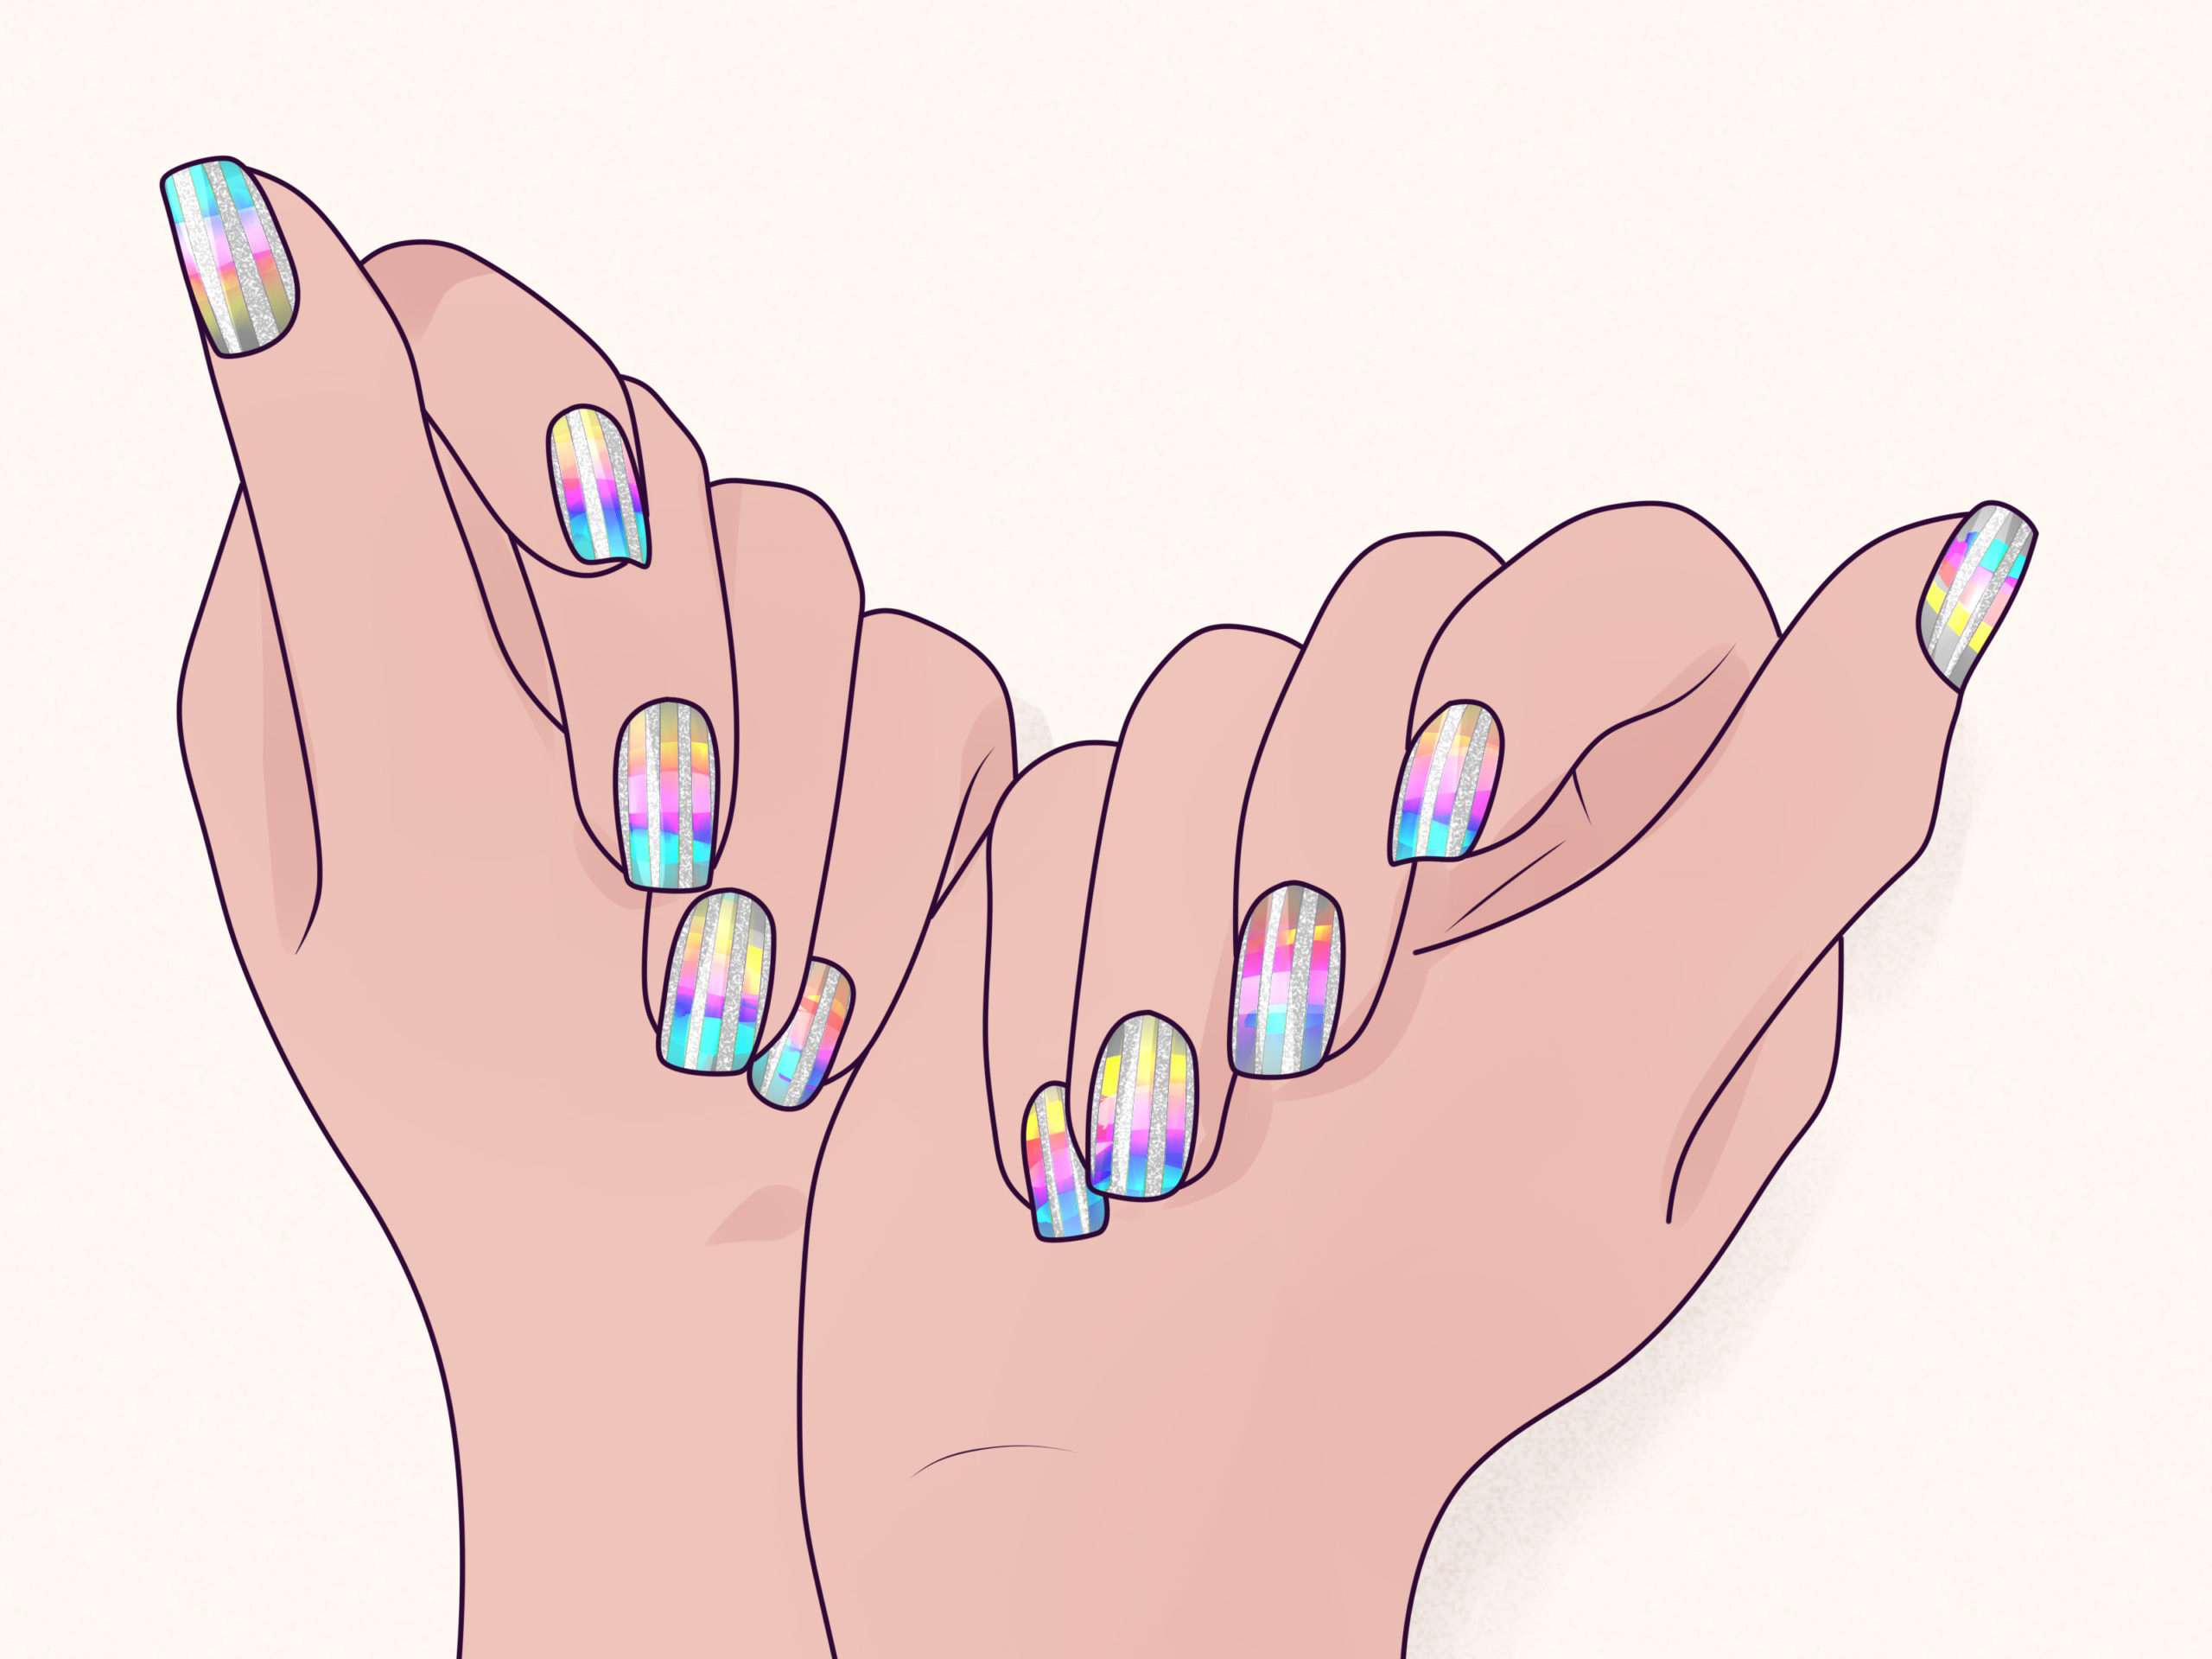
Nail foil sheets are typically a solid metallic, colored, striped, or patterned sheet material. They come in various colors and are made with a thin clear plastic that is adhered to the pattern. In order to use these sheets on your nails, the plastic must be released from the design. In most cases, this must be done using a special type of foil glue. (There are other methods of doing this as well).

What is Nail Foil Glue?
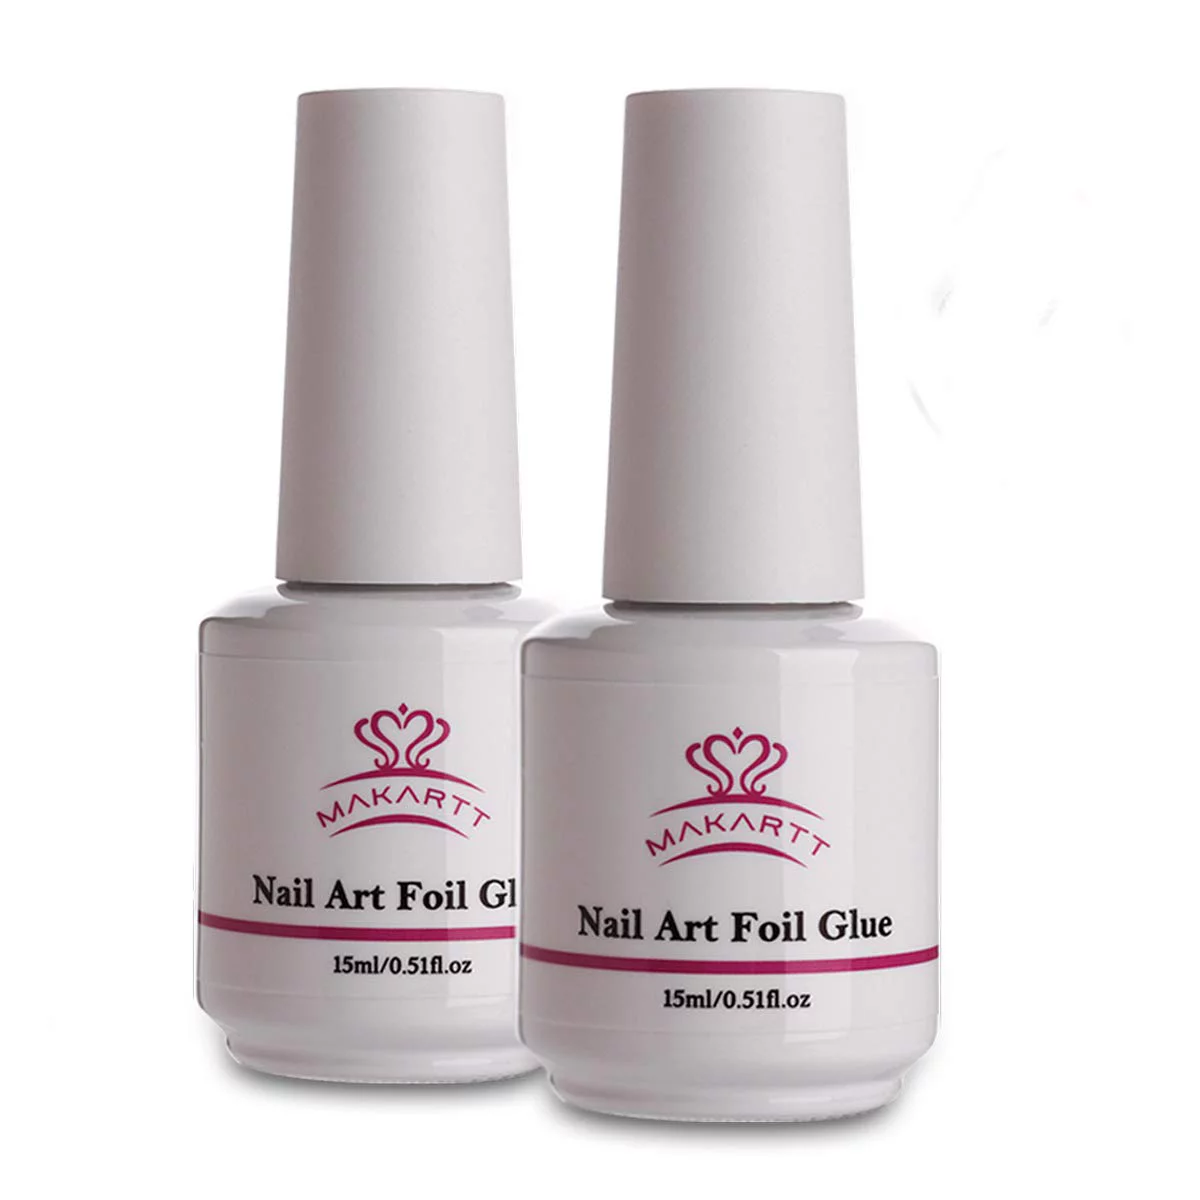
Nail foil glue is an adhesive that can transfer nail designs from foil sheets onto the nail. This is usually applied as you would apply regular nail polish. This product is packaged in a bottle with an applicator brush that will be used to guide the adhesive along the nail bed. This is the easiest part of the foil application. Once the foil glue dries slightly then the foil sheet may be applied. Rub the sheet onto the nail while the foil glue is still wet to allow the pattern to stick.
The Nail Foil Application:
There are many different ways to use nail foil sheets with or without nail foil glue. The most used method includes using nail foil glue or some form of adhesive. This process seems fairly easy but it takes a bit of trial and error for most. In order to begin the process of foiling some tools will be necessary.

What Items Do I Need?
- Nail Foil Sheets
- Foil Glue
- Scissors
- Manicure Stick
- Nail File or buffer
- Base Coat
- Top Coat
- Fingernail polish (Optional)
- Art Decals (Optional)
- Polish Remover (Optional)
- Cotton balls or remover pads (Optional)
- False nails or acrylic tips (Optional)
- Extra hold nail glue
How To Get Started Using Nail Foils:
To begin the foiling process the first step should always be to gather your materials. If you are using acrylic nails for foiling be sure to place these on first. After that step is complete, paint your fingernails with the base coat or polish of your choice. Let this dry under a nail dryer or cure under UV light if you are using gel nail polish.
Once completed, decide where you want to place each foil and how many sheets will be used. Use a pair of scissors to cut the nail foil sheets in the desired shape and size for the nail. Open your foil polish and brush the foil adhesive glue in the desired location for the nail foil placement. The adhesive should look like a white paste once applied. Let the nail foil glue dry for a few minutes until it turns into a sticky clear consistency.
The Application Process:
Apply the foil to the nail as precisely as possible avoiding any folding of the foil or air pockets. Use the end of your cuticle stick to help with the process. Once that is done take your nail file or buffer and gently rub the top layer of the foil to smooth the sheet and allow a better transfer to the nail. Smooth the nail with the buffer until the foil sheet looks like clear plastic. This will indicate that the transfer was successful.
Slowly peel off the foil sheet paying close attention to the nail and make sure the pattern is not lifting. If this happens lay the foil sheet back down on the nail and buff that area again until the pattern is thoroughly removed. Once you are satisfied with the design move on to the other nails. After all of the nails have been completed apply your nail art decals if desired and finish with your top coat.
Top Foil Glues By Brand
- Makartt Nail Foil Glue Gel
- Beetles Nail Art Foil Glue Gel
- Maniology Nail Foil Glue
- Orly Nail Foil Glue
- Born Pretty Nail Foil Glue Gel
Quick Tips:

- Instead of using glue, gel polish may be used as an adhesive instead. Once the gel polish begins to dry attach the sheet to the sticky layer to make the transfer.
- Use the hard edge of the nail file to smooth the sheet along the nail bed to eliminate air pockets and folding.
- The nail buffer works best to rub the pattern onto the nail but slight pressure from the nail file may be needed in some areas.
- Be sure to allow the glue to dry as long as possible to create additional stickiness. Try not to apply the sheet immediately after brushing on the glue.
- If you need to fill in missing spots, look at the pattern sheet and pick which area best matches the nail design. Apply the glue to the area of the missing spot and reapply the sheet. Repeat the transfer process until satisfied.
- If the transfer wasn’t correct or there were missing spots use your nail file to buff off the pattern and try the process again.

One thought on “How To Use Nail Foil Sheets And Foil Glue”