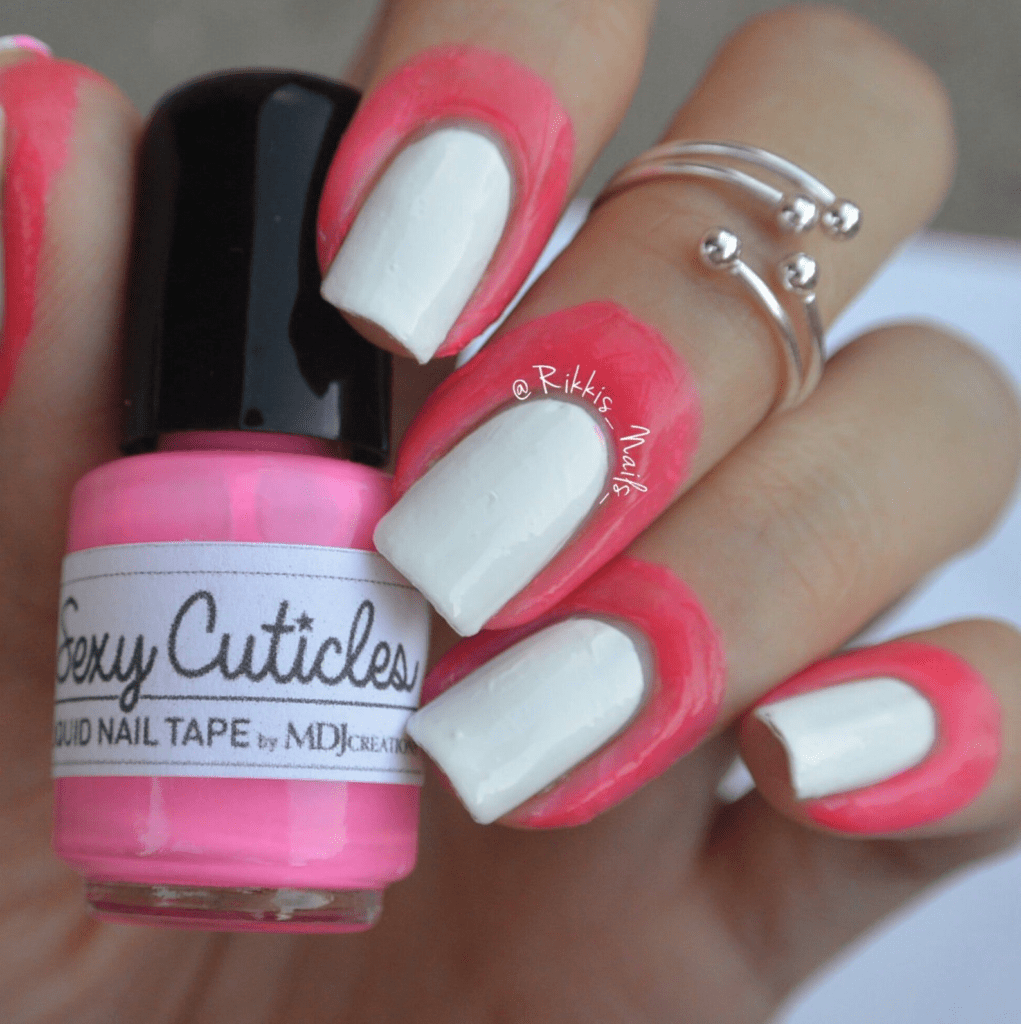
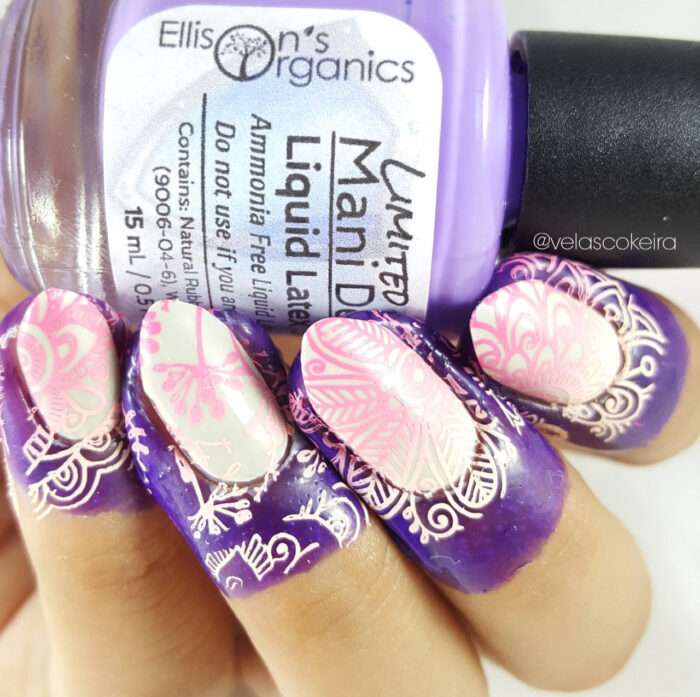
Liquid latex is a highly versatile tool that can be used to achieve a wide range of intricate nail art designs. It is a thin, milky liquid that dries quickly to form a peel-off barrier, which can be used in a variety of ways. One of the most significant benefits of using liquid latex for nail art is that it acts as a barrier to protect your skin from nail polish, glitter, and other potentially harmful materials.
It creates an invisible shield around the nail, making it easy to clean up any excess polish or glitter that may have spilled over onto your skin. In this way, liquid latex helps to avoid the mess and inconvenience associated with traditional nail art. Moreover, liquid latex can be used to create precise lines and shapes in your nail art designs. It can be applied in a thin layer to the areas where you want to protect your skin or to create a specific pattern.
Once the latex has dried, you can apply your nail polish or other nail art materials over it. Once the polish or other material has dried, you can simply peel off the liquid latex, leaving behind a precise and clean design on your nails. Overall, liquid latex is a game-changer for those who enjoy experimenting with nail art. It not only saves time and effort but also allows for more complex and intricate designs that may have been challenging to achieve otherwise.
How to use liquid latex for nail art:
- Apply a thin layer of latex to the skin around your nails. Be careful not to get any liquid latex on your nails.
- Allow the latex to dry completely.
- Apply your nail polish, glitter, or other nail art materials.
- Once your nail art is complete, peel off the latex barrier.

Tips for using liquid latex for nail art:
- If you are using liquid latex to create a negative space design, be sure to apply it to the areas of your nail that you want to leave exposed.
- If you are using the latex to create a marbled or ombré design, apply different colors of nail polish to the liquid latex and then blend them together using a toothpick or dotting tool.
- To add glitter or other embellishments to your nails, simply apply them to the latex before peeling it off.
- Use a thin layer of the liquid. A thick layer will be difficult to peel off and may leave residue on your skin.
- Allow the latex to dry completely before applying your nail art materials. If the liquid latex is not completely dry, it will smudge, and your nail art will not be as crisp.
- Be careful not to get any liquid on your nails. If you do get liquid on your nails, remove it immediately with acetone.
- If you are having trouble peeling off the latex barrier, try soaking your hands in warm water for a few minutes. This will help to loosen the barrier and make it easier to peel off.

Ideas for nail art designs
- Clean lines and shapes: Liquid latex can be used to create clean lines and shapes in your nail art designs. For example, you can use this latex to create a French manicure, a chevron design, or a geometric design.
- Negative space designs: Liquid latex can be used to create negative space designs. For example, you can use this product to create a half-moon design or a lace design.
- Glitter and foil designs: You can use this type of latex product to protect your skin from glitter and foil. This allows you to apply glitter and foil to your nails without getting it all over your fingers.
- Ombre designs: It can also be used to create ombre designs. For example, you can use liquid latex to create a gradient effect on your nails.
Liquid latex is a versatile tool that can be used to create a variety of nail art designs. It is a relatively inexpensive and easy-to-use product. If you are interested in creating nail art, I highly recommend that you give liquid latex a try.
