Designing a new nail set is always fun and exciting. While that may be true it is also very time-consuming. If you are just practicing this won’t be an issue because it’s best for you to take your time and not rush. Rushing could cause you to become frustrated and give up, don’t quit keep going! Ensuring a smoother transition from practicing to having clients requires a well-thought-out and detailed plan.
This can be something you do regularly or need to become a habit. While I will admit I’m not an expert, I’m in the beginning stages of creating something bigger than a hobby. These are some of the steps that help me move a bit faster when creating. It also helps me stay a bit more organized and makes the cleanup process a lot faster. Especially if you don’t have a designated nail art area or station.
1. Gather Nail Set Supplies
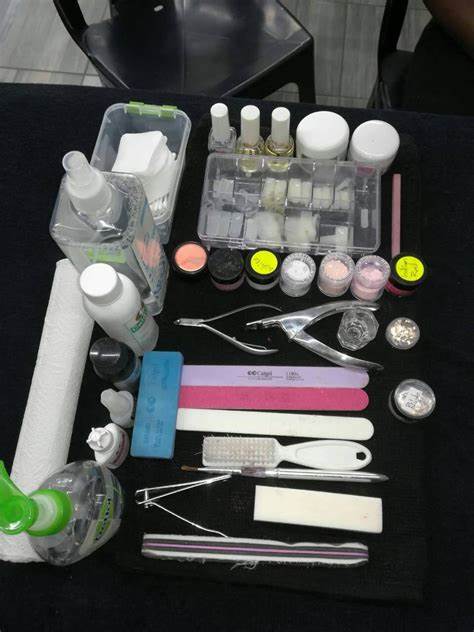
When you do this you don’t have to take all your nail supplies out at once. You can simply gather all your nail boxes and supplies and have them near you at first. It will cause a bigger mess than you would like having to continuously dig into them to remove one item at a time. Placing them near you is beneficial in case you forget something. Having them close by will save you the hassle of going back and forth to get supplies. Once you have all your supplies make a list of the things you will need to take out.
2. Decide Your Nail Set Type
Many people like to create their nail sets from scratch. This can also be known as a freestyle set. It basically just means the design will be random and they will create it as they go along. They don’t have a clear idea of what colors they want to use or the design they want to be the final result. Other people like to recreate looks for their nail sets. This can be a nail set that they saw on a friend, a video, a Pinterest pin, a tv ad, or a set that they previously made. Knowing what you want to create will help you better prepare the supplies you will need for your nail art design.
3. Create A List
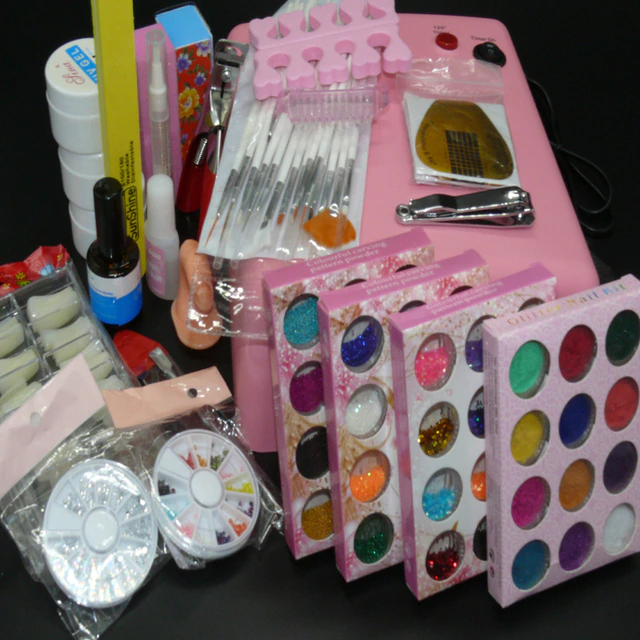
After deciding what you want to make create a list of the nail supplies you will need. When you make your list start with the essential items first then add your nail art pieces. So Let’s say you will be doing an acrylic set of nails on a client. You would start off by adding your sanitation items, manicure tools, table cloth, nail drills, drill bits, and acrylic powders and monomers. Then you would add your nail polishes, UV/LED light, nail decals, liner brushes, polish removers, etc. If you are doing a press-on set you would start off by listing your nail stands, nail adhesive putty, packaging boxes, and double-sided tape. and the other items included in the previous statement.
4. Unbox Nail Set Supplies
Go through your nail supplies and place all the items on your list off to the side. This can be in a separate box or laying them out on your workstation. This is so that you avoid making several trips back and forth between your nail supplies and your workstation. Some designated workstations have draws where you can house your nail supplies which makes this process easier.
5. Arrange Your Workstation
Organize your items in the order that you will be using them. This means sanitizing your workstation, setting up your nail stands, placing your powders and acrylics, and so on and so forth.
6. Sanitize Your Workstation & Nail Tools
Spray your workstation with disinfectant or wipe it down with disinfectant wipes. Place your nail art implements into a sanitizer and let them sit. You can continue to organize and lay out the rest of your supplies while they are sanitized.
7. Prepare Your Nail Supplies
Place your powders and monomers into your specified glass jars or containers. Set up your nail drill and nail bits, nail files, and buffers. After your nail brushes finish the sanitizing process place them on your station with the rest of your supplies.
8. Setup Nail Stands
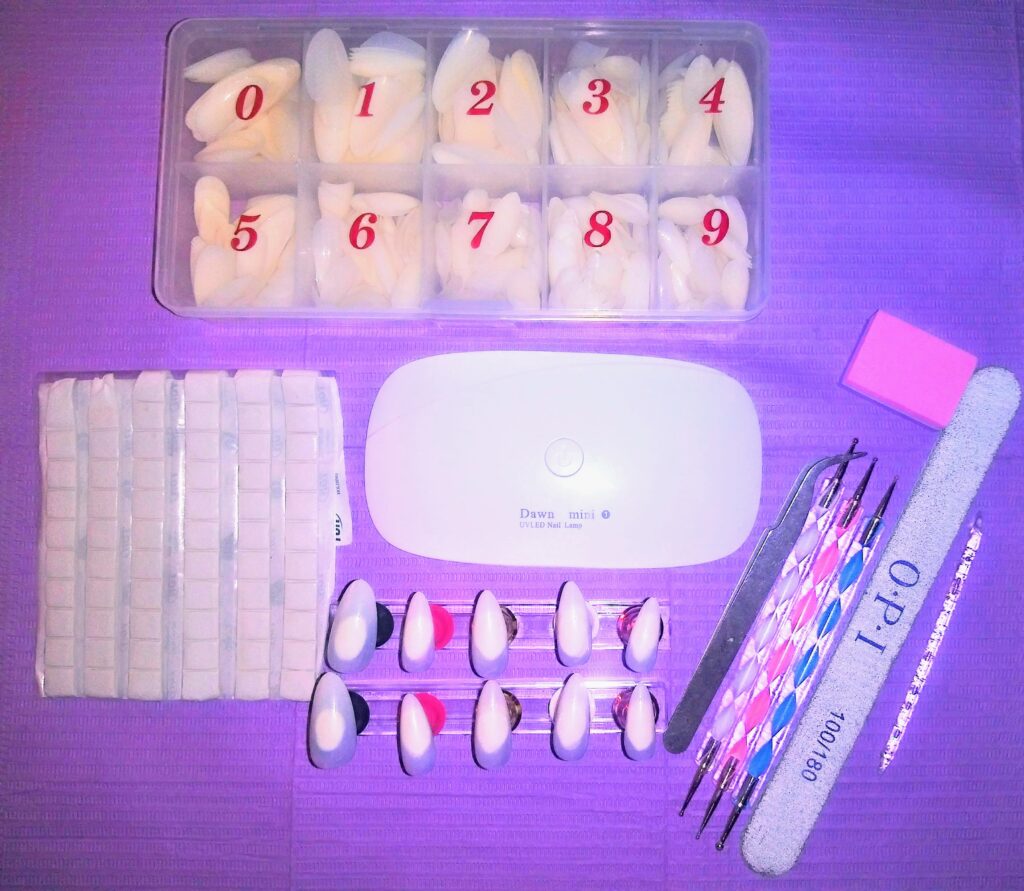
- Remove all the nail polish and excess putty from your nail stands.
- Sanitize your nail stands using a disinfectant spray. You can use disinfectant wipes for your nail stands but using a spray would speed up your preparation stage.
- Place all the putty from the stands into one large ball. Manipulate the large ball for a few seconds by stretching it out and rolling it back together. This will ensure that your putty is extra sticky and adheres to the nail stands.
- Count the number of individual pieces you will be placing putty on for your nail stands. After you do this separate the putty out into small tiny balls for the number of nail stands and set them aside. This is done to make sure that you have enough putty to fit on all your stands before beginning your nail sets. Make sure that the balls are completely rounded so that the sticky ends are not too wet when you take your nails off the stands, It will cause you to take more time to clean out the inside of the nails. We want this process to save you time and not waste it.
- After rolling all the balls out place them on your individual stands. If some of your putty balls are too thin add more from a thicker ball or get additional product.
- Rotate your stands so that all of them are vertically placed for better placement of your artificial nails.
- Choose your nail sizes and place them on the nail stands. If you will be making multiple sets place all your nails on the stands at one time. I would suggest doing each nail at once. For example, placing all the thumbnails on the stand then all the ring fingernails, etc. Set the other stands to the side once completed.
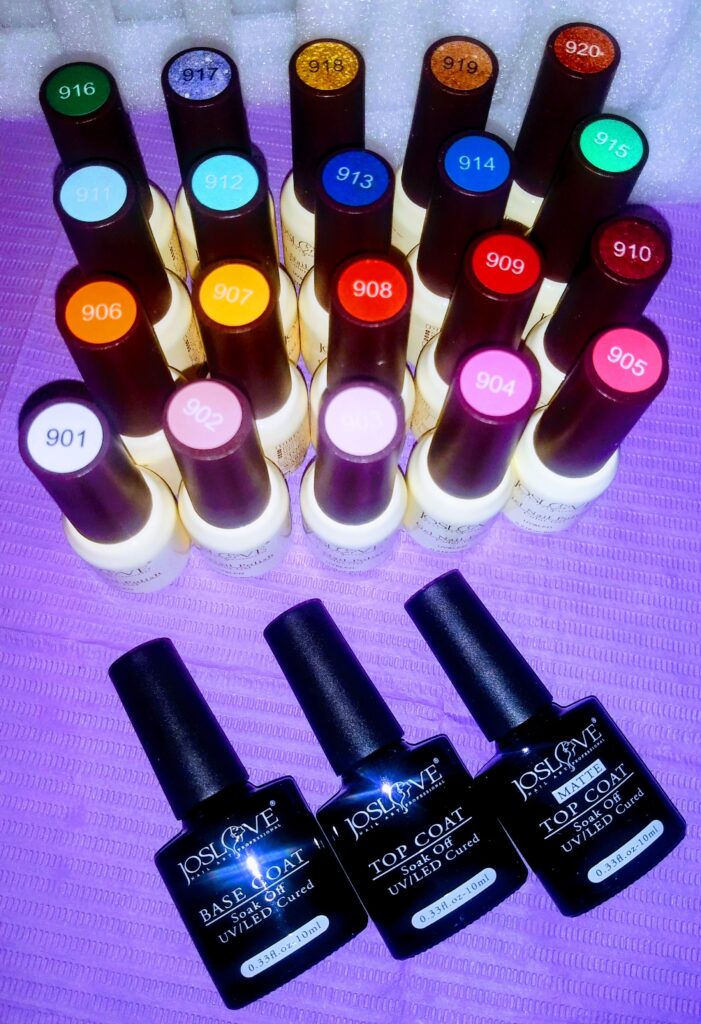
9. Arrange Polishes & Nail decals
If you will be using nail polish place your base coats first, then the color nail polishes, UV/LED light, and top coat grouped together. Place the nail foils, and decals together with your foil glue and nail adhesives.
10. Cleaning up
After completing your nail sets place all the items back into your nail supply spaces for easy cleanup.
