Sanitation & Disinfecting:
The first step of the manicure process entails creating the nail shape or form. Before you begin performing any type of service on your client you should wash and sanitize your hands. After this is complete use your latex gloves to cover your hands. You should always perform this step first to ensure the client’s health and safety.
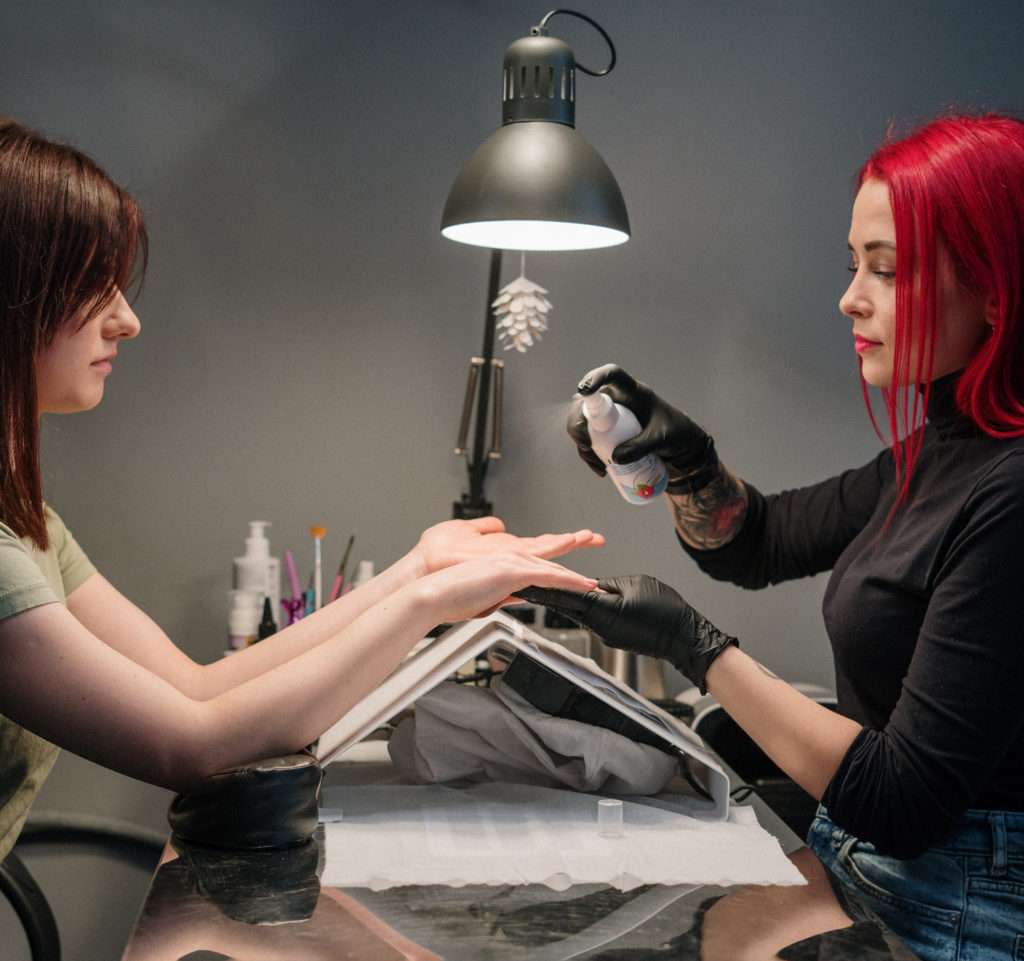
Spray the client’s hands with the disinfectant spray. Disinfect the skin on the hands and cleanse all surrounding areas of the hand including the palms and fingers. After the solution is applied and the hands have been sanitized dry the hands using a washcloth or paper towel.
Client Consultation & Nail Formation:
Perform a client consultation and inquire about the nail shape they prefer for their service that day. Check the client’s nail length and use nail clippers to clip the nails into equal lengths. After the nails have been clipped to create uniformity, use the nail file to shape them into the desired forms.
To begin shaping the nail, start by filing the nails using the edge of the file that is the most coarse or highest grit amount. Be sure to file the nails in one direction when filing to avoid damage to the cuticle area.
The reason for using one direction to file the nails is that you will later be soaking the nails. This will soften the cuticles and you do not want to cause infection underneath the skin. This will give you a better look at which areas you may need to correct using the softer or silk side of the nail file for a more complete look.
Softening the Cuticles:
Fill the soaker tub with warm water set to the client’s desired temperature. Add a few drops of liquid soap to the water to assist with the cleansing process. A special skin softener can also be used. Soak the hands for 10 to 15 minutes. After you remove the hands from the water apply the cuticle softener. (This may be applied before or after you soak the hands depending on the product being used).
Use a metal cuticle pusher or cuticle stick to push back the cuticles on the fingers. Try not to damage the skin around the cuticles. Clean any debris or dirt from underneath the nails. Complete this step for all the nails on both hands.

Removal of Excess Skin:
Starting on the sides of the nails use your nail nipper tool to snip away any excess skin surrounding the cuticle area. (A two-prong nail nipper may be used if you are nervous about cutting with the nail nipper). Start at one edge of the cuticle and nip away at the raised skin while pulling away from the finger. Be careful performing this step so you do not cause injury to the client.
Keep the nail nipper flat against the finger and be sure not to cut too much. This may cause damage to the skin and bleeding may occur. If an accident does happen and you clip or cut too much of the skin special products can be applied. These products may stop the bleeding and disinfect the wounds after application. Once all the excess skin has been removed the area should be smooth and show no sign of protrusion, or dry skin.
Buffing the Nails
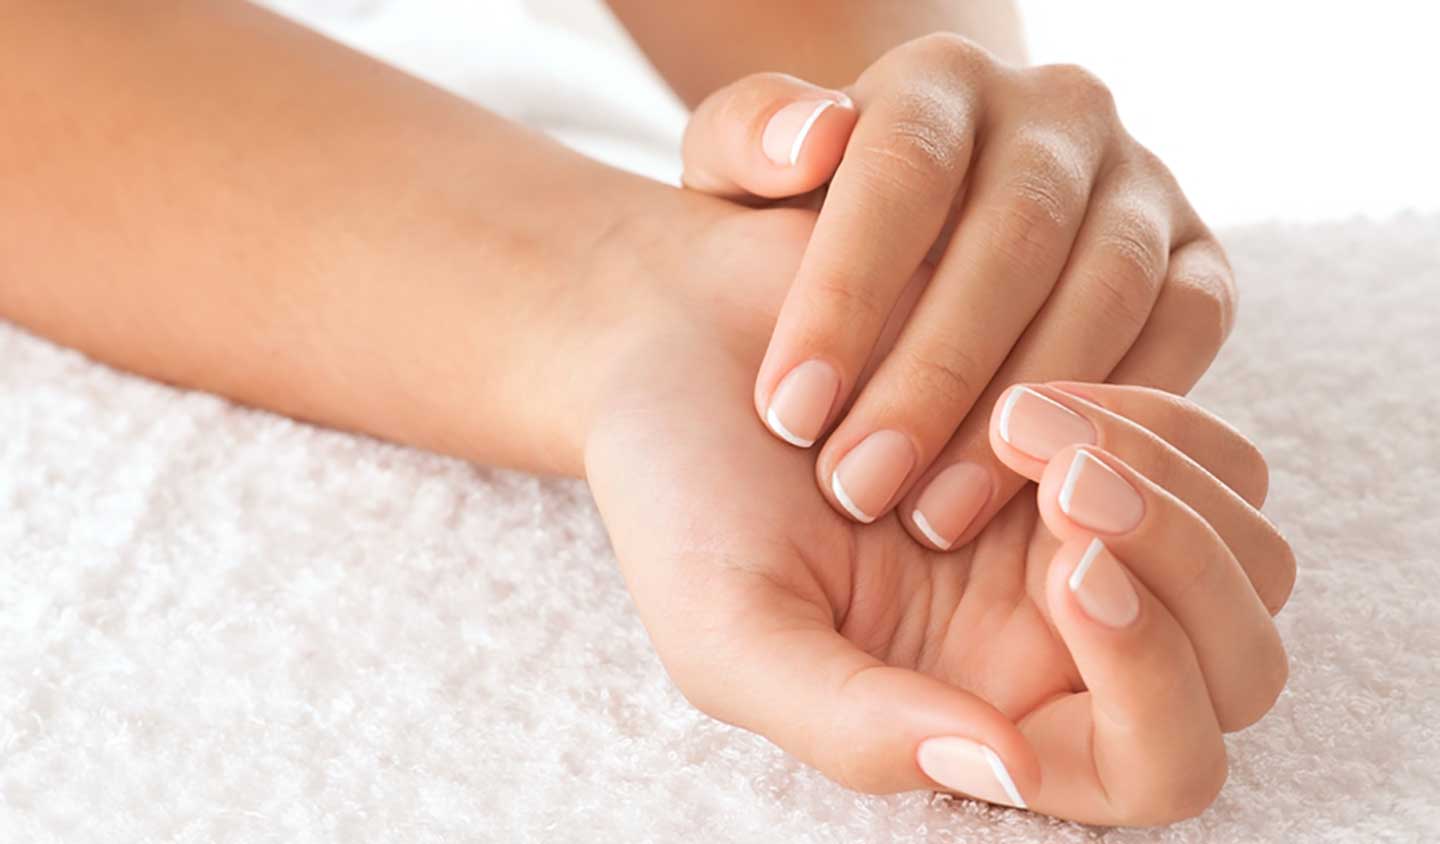
After clipping the excess skin from around the cuticle the next step will be to buff the nails. To do this you should use your nail buffer. Often times you can purchase a buffer that has multiple sides indicating what each side should be used for. A regular standard buffer will be enough to complete this task. The main goal of the use of the nail buffer is to give the nail shine. Lightly buff the nail bed until the desired texture is achieved.
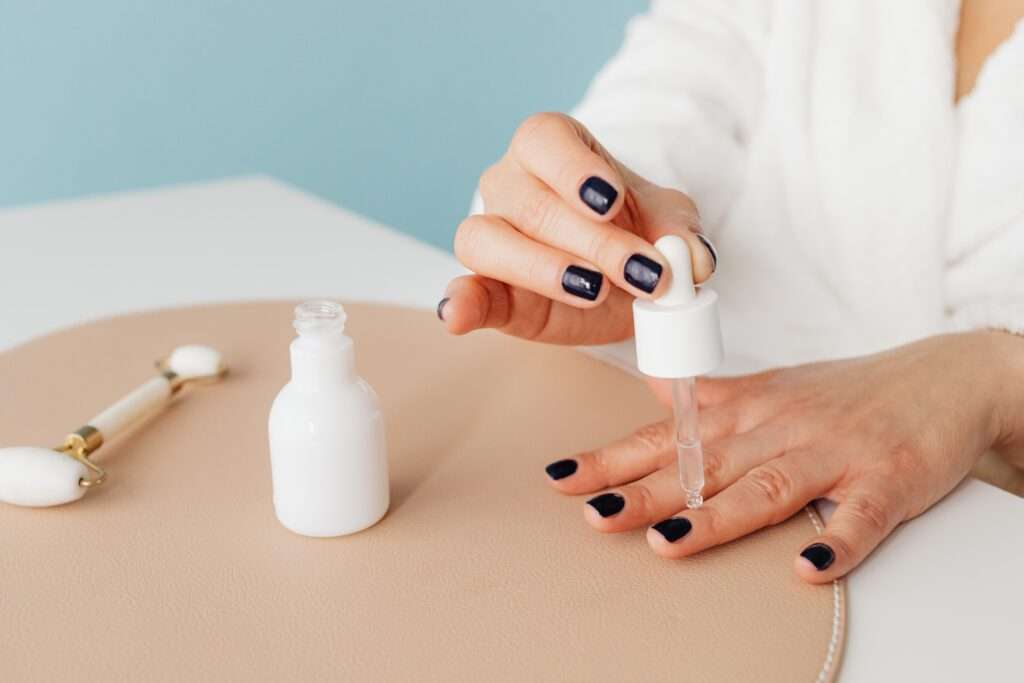
Once the buffing is complete apply the cuticle oil onto the finger around the nail and rub it in. If a massage will be given apply the hand cream to the hands rubbing in circular motions. Be sure to gently massage the fingertips and the palms. If the client does not want a hand massage just add the cream and rub it in until clear.

Polishing the Nails
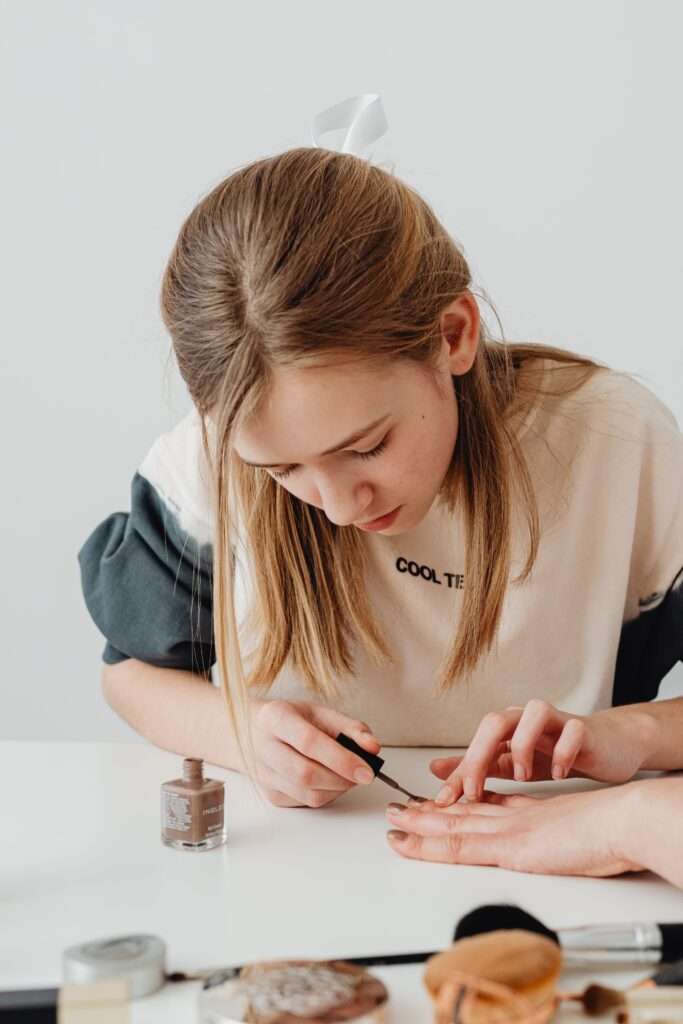
Apply the primer to the nail bed to set the foundation for the nail polish. Apply the base coat on both hands before the colored paint. Allow the client to dry their nails under a nail dryer while the other hand is being painted. Apply two coats of this polish before finishing the manicure with the top coat.


2 thoughts on “The Complete Professional Manicure Process”