Having a makeup bag is very important these days. It can be an essential part of your day-to-day life. Of course, you don’t have to use it every single day. It would be beneficial to keep at least a few products on hand just in case you may need them. This simple list is a few products that you should have in a basic makeup bag.
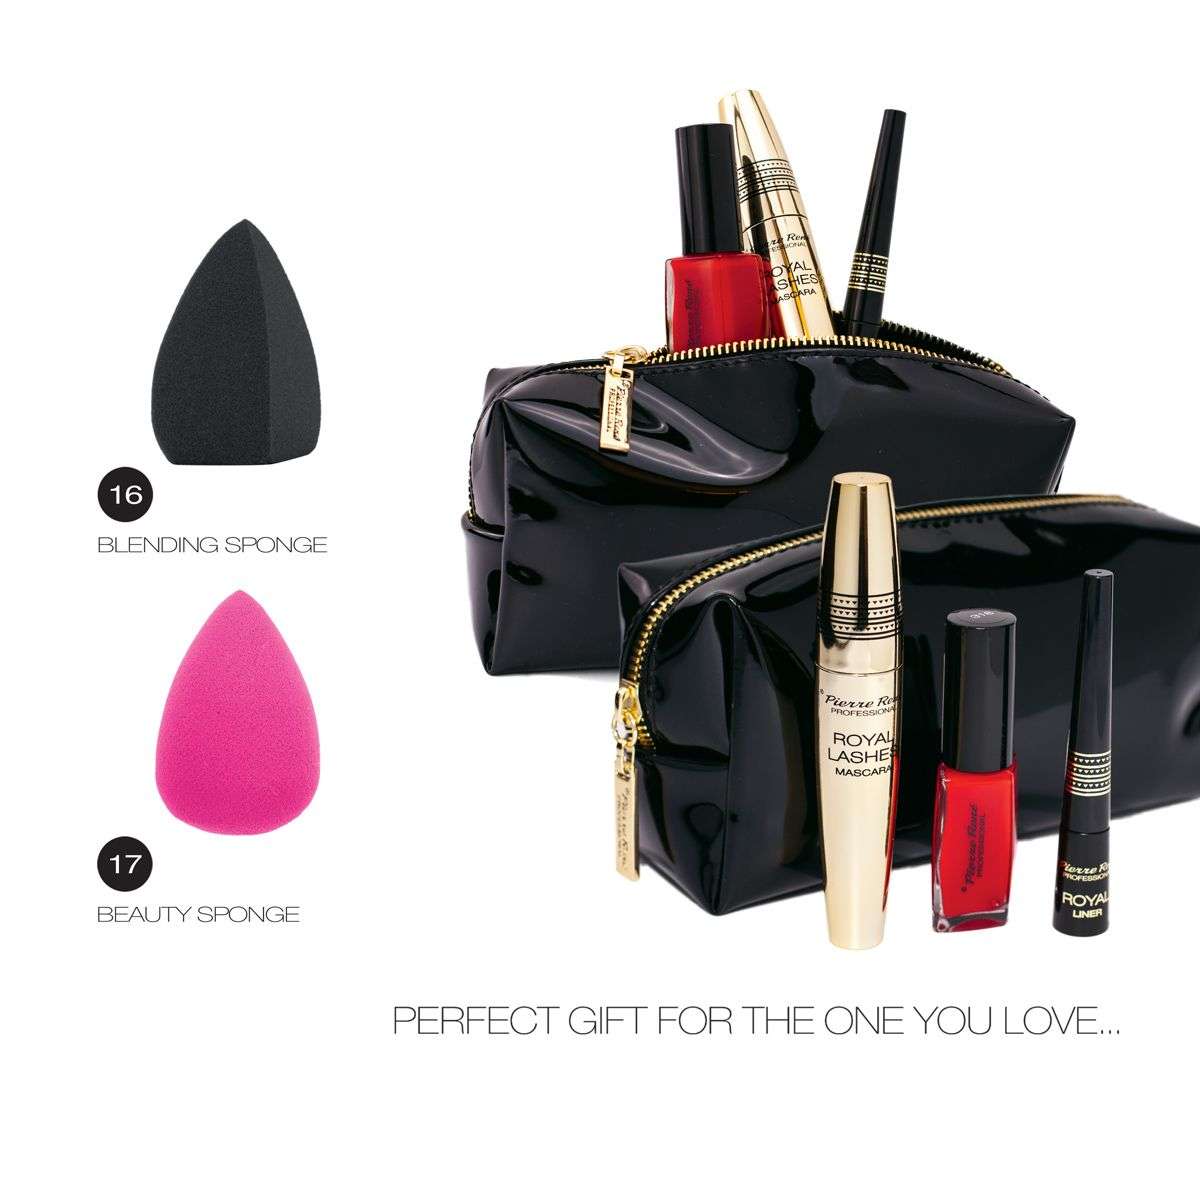
1. Beauty Blender
One item I always have in my makeup arsenal would be a beauty blender. If you don’t particularly like beauty blenders you can sub for a makeup sponge. Beauty blenders come in various shapes and sizes but most of them are egg or oblong-shaped. These tools are used to apply products to the skin for an effortlessly flawless finish. This has become one of my ALL time favorite makeup items.
Quick Tip: Typically you should sanitize all your beauty tools. (That’s a bit much for personal use) When it’s time to wash my blenders and brushes I use my facial cleanser instead of soap and water. This is mainly because they come equipped with anti-bacterial ingredients. This will help with blemishes and breakouts by using the same facial products on my skin and makeup tools.
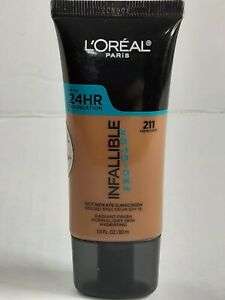
2. Foundation
For those days when you love your natural skin but want to hide those minor blemishes be sure to keep a tube of foundation on hand! Normally I go without makeup because it tends to irritate my skin. It triggers my acne hormones and that leads to BLEMISHES. For those superstar days without the lengthy makeup process, this foundation is my favorite and I love it!
This foundation from L’oreal is a light foundation with a healthy glowing finish. It always gives me a boost when I feel like my skin is dull or dry looking. With light to medium coverage and quick application, this foundation lasts up to 24 hours. It hides those pesky imperfections and leaves your skin with a smooth, clear complexion.
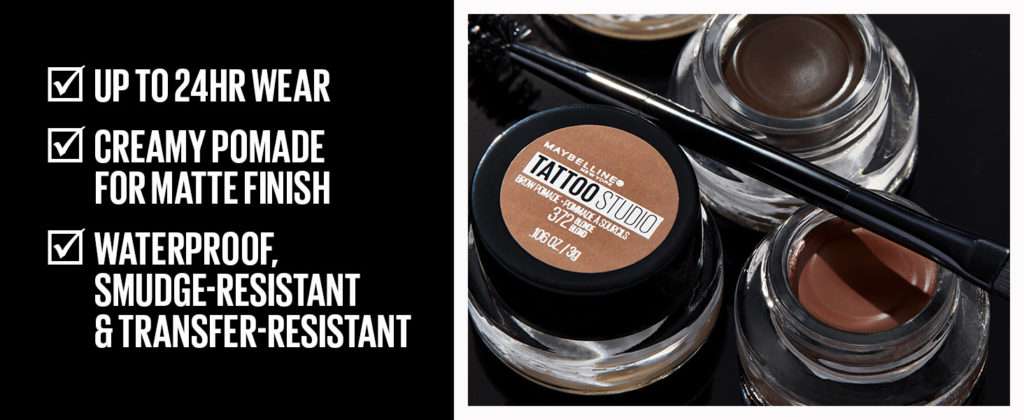
Maybelline New York TattooStudio Brow Pomade Eyebrow Makeup, Black Brown
3. Eyebrow Gel & Brush
One thing that enhances your beauty without any other makeup definitely has to be your eyebrows! I cannot stress this enough. I always have to have some form of eyebrow tool in my makeup bag at all times. When you think of eyebrows many people assume that you use an “Eyebrow pencil”.
Now, before I began using brow cream/gel I used an eyebrow pencil. This brow gel made things a lot easier and this product is good for multiple uses with great results.
Quick Tip: When using an eyebrow pencil rub a brow brush along the pencil edge. When you have enough pigment brush the tint across your eyebrow hairs.
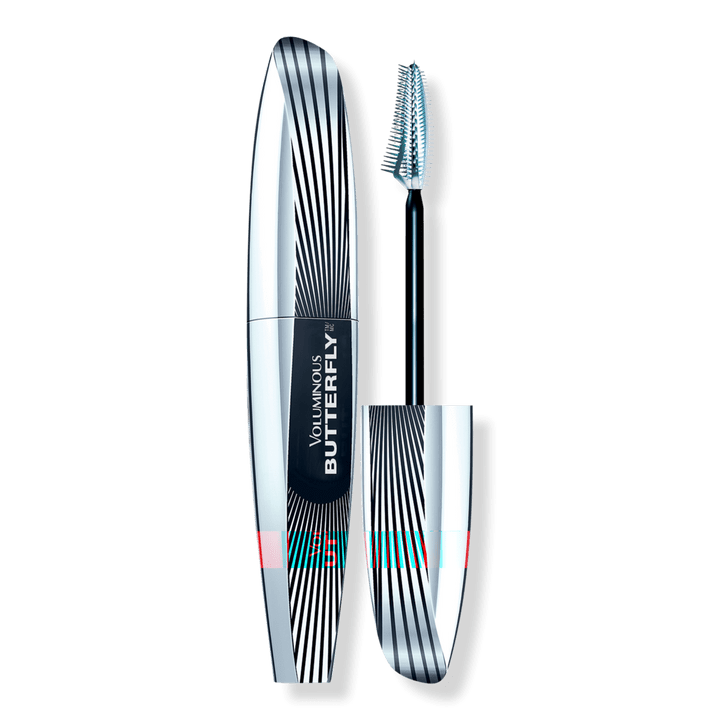
With the latest trends in false eyelashes, we tend to do away with mascara. Well, the lash wearers typically do. I personally don’t wear false eyelashes. For this reason, I keep a tube of mascara in my makeup bag. For the days when you need a quick pick-me-up, a little mascara, and perfectly drawn eyebrows will do the trick! This voluminous Butterfly Mascara by L’Oréal is one of my absolute FAVORITES! It gives off the look of having false eyelashes without the hassle that comes with applying them.
Quick Tip: If you are running low on mascara and don’t have time to head to the store remove the brush from the tube. Add a little water to the inside of the tube. Push the brush in a downward and upward motion repeating until satisfied with the consistency.
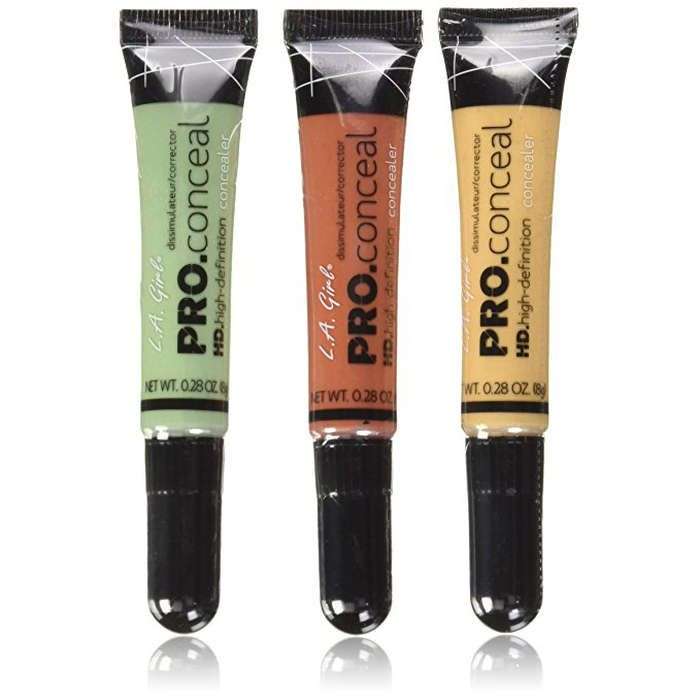
When you want clear skin but your skin routine doesn’t allow it concealer will. Skin color correctors are great at hiding minor or major blemishes on the skin. They allow for more uniform and toned skin when used properly.
Quick Tip: This should NOT be used as an all-over face product. Be sure to only apply the concealer over your blemishes and dark areas. If misused your complete look may not agree with your skin tone.
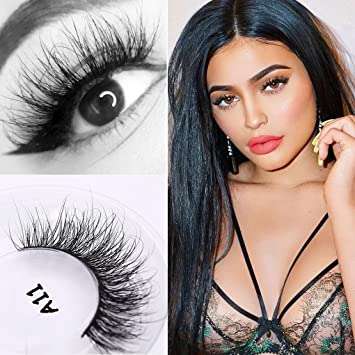
Looking for a dramatic effect for the evening? Going for something subtle and sexy? Eyelashes are one item you need to keep in your makeup bag. Okay, we know most times they aren’t for everyday wear. This may be possible depending on the specific type of lash you purchase. Be sure to pay close attention to lash names, sizes, and brands. That will be extremely helpful when deciding which lash you want to wear for a particular look.
Quick Tip: If you struggle with regular lashes and adhesive try using magnetic eyelashes with magnetic strips for easier application.
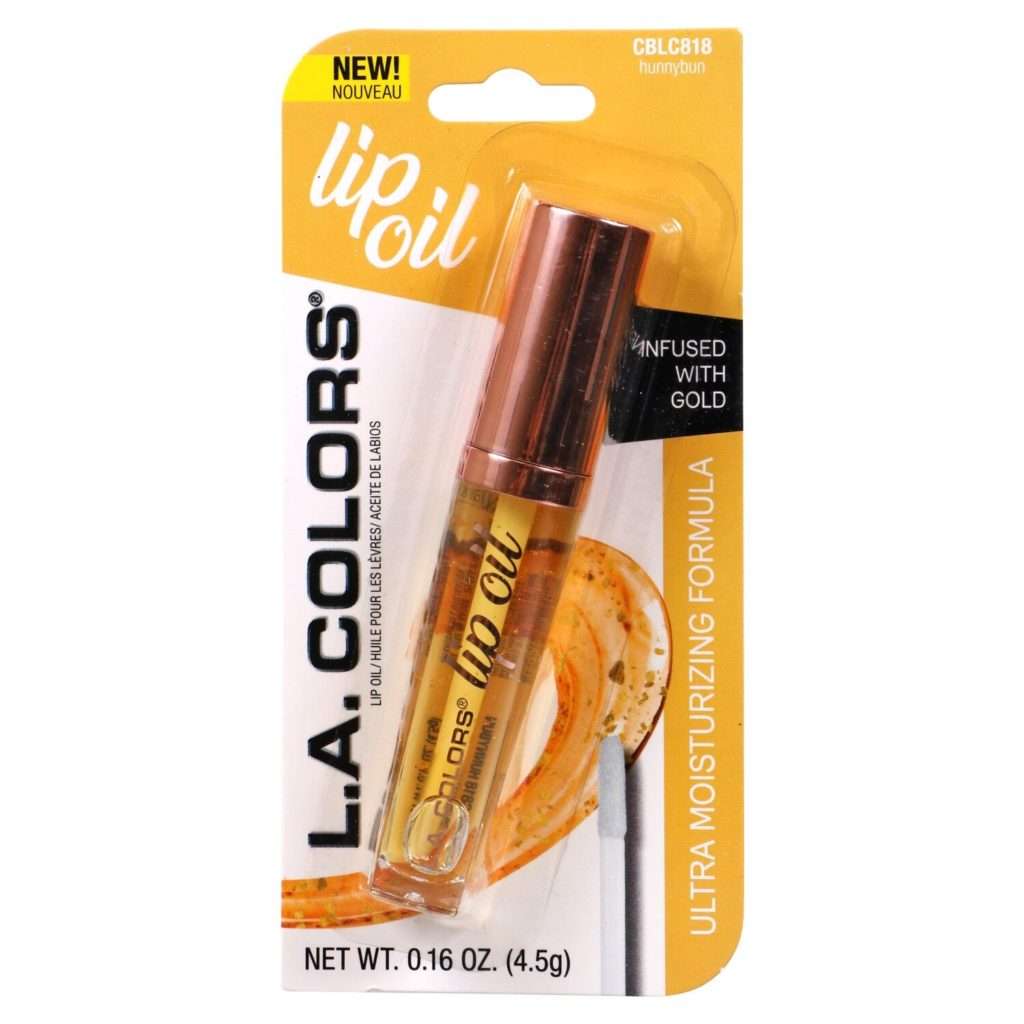
One staple item every girl or guy should have on hand is lip oil or chapstick. It is a great way to moisturize your lips and keep them healthy. During those long winter months when the weather is not so nice this product is perfect. I prefer to use lip oil instead of chapstick because it glides along the lip easier and doesn’t feel sticky.
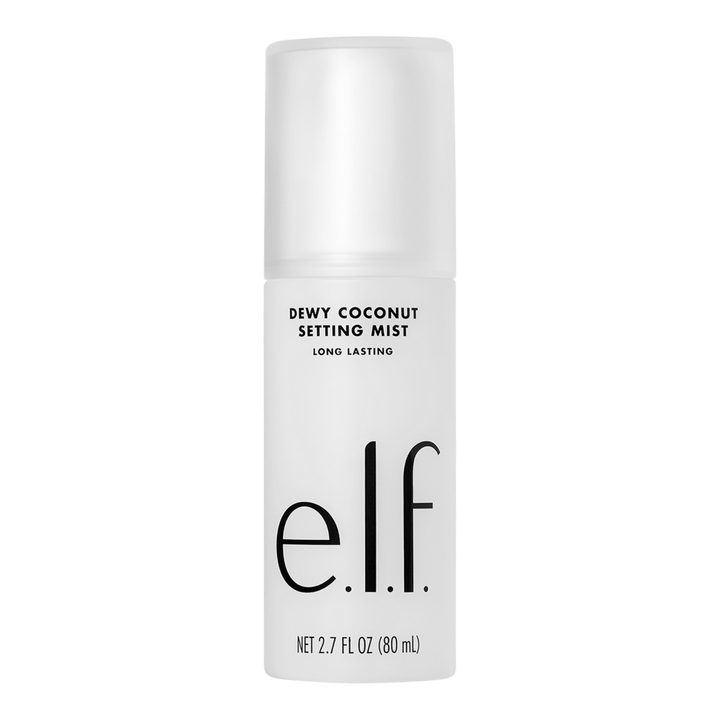
Setting spray is the ultimate nightcap for your early morning or mid-day slay! This product is best used to finish your complete makeup look and prevent fading and smudging. The setting spray is applied by spritzing the mist over your face. This process is known to keep your makeup application moist for several hours. It also allows you more freedom to touch up those areas that you may not have blended in completely.
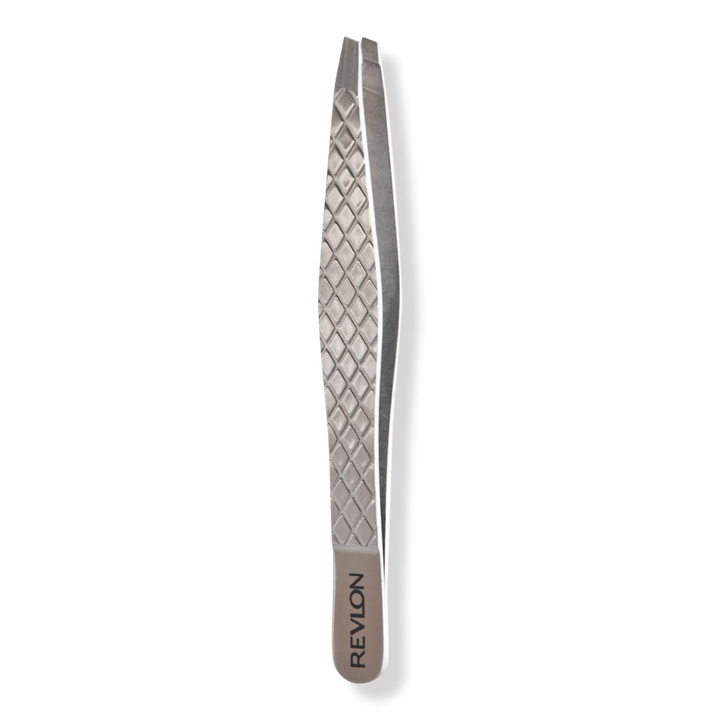
Another makeup must-have would be a pair of tweezers. This is one item that you CAN NOT go without! They can be used for many things but the main purpose is for the removal of hair. These tools work great for shaping eyebrows, removing ingrown hairs, and assisting in the application of false eyelashes. These Revlon tweezers are my FAVORITE pair of tweezers. (Not all tweezers are made the same) They have very sharp blades at the ends which grab the hairs and easily remove them for a flawless brow.
Quick Tip: When using tweezers, grab the hairs using the pointed edge for a longer-lasting effect.
Starting A Press On Nail Business At Home Is Easy
17 Aug, 2022
“I may receive a small commission from links in this post.”
Starting a business is HARD work. Starting a press on nail business is even HARDER. So, as you may know, I graduated from cosmetology school. When I was there, I was basically hair-focused. I wasn’t quite sure what I wanted to do, all I knew was that I couldn’t wait to graduate. I completed the schooling and, like many, never worked in an actual hair salon. I briefly worked in a hair salon prior to going to cosmetology school, though. It was a paid position in which the stylist needed minor assistance. You could say I was the shampoo girl.
Yes, I am still hair OBSESSED. I have natural hair, I grew it, cut it, and grew it again. Many years later I submerged my obsession with the “nail industry” and I LOVE IT!
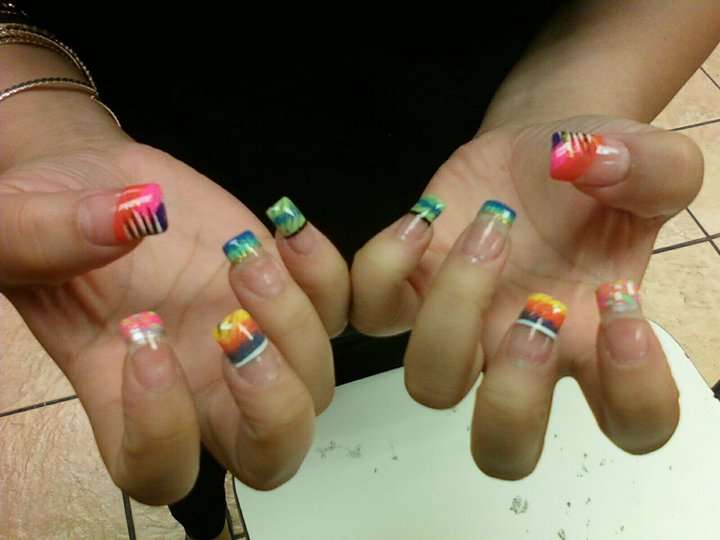
This was an experiment that turned into a collection.
Well, when I first started painting nails, I had no intention of turning it into a job. Becoming a nail technician was a spur-of-the-moment decision that I eventually came to like. I repeated it several times each week and perhaps several times each day for the entire month. It was exciting and entertaining. It started out as a hobby with the potential to grow into something bigger.
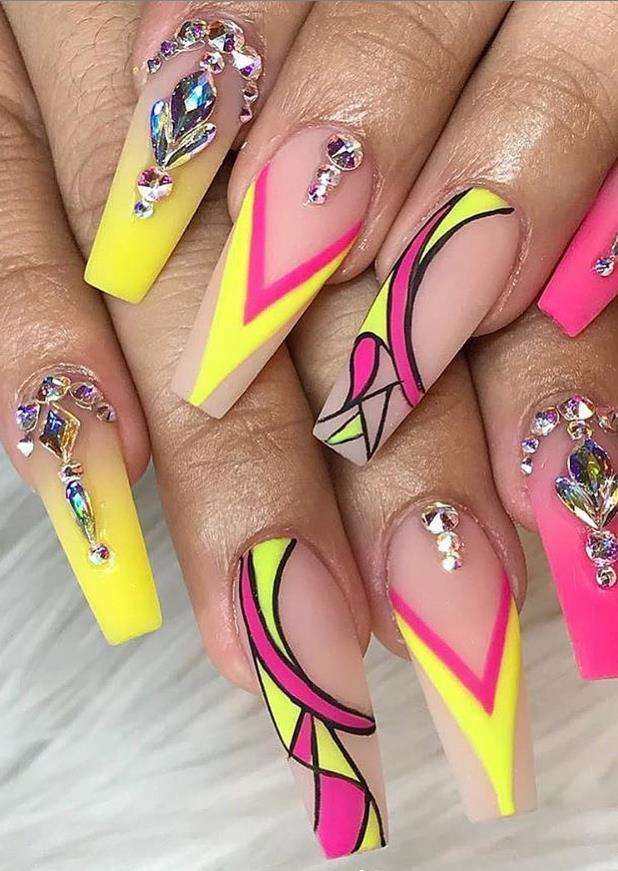
While they introduced you to nail basics in school, nothing compared to what I really wanted to be, and that was a designer. Down below is a fresh set that I did while in school. (No, I had no idea they would be this good.) She was shocked too.
A press on nail business is a business that sells press on nails. Press on nails are artificial nails that can be glued onto the natural Nails. They are one of the most popular alternatives to traditional nail polish and professional manicures. They come in a variety of colors, different shapes, and a number of sizes. They are typically low-cost, depending on the style that you are in the market for.
This is a great way for the wearer to save money that they would spend on manicures and pedicures. This is due to the fact that they can be reused and worn in many different ways. This is also a way for people can get salon-quality nails from the comfort of their own homes.
How Do I Start A Press On Nail Business:
You finally decide that this is something you are really interested in. So how do you start your business? Most people will tell you that “you need to get yourself an LLC or business license“. Of course, you do whenever you start a business. Why would that be my FIRST step? I don’t even have any products. No nails, nail glue, nail polish, or decals.
To put it simply, you do not need to be a licensed nail technician when starting your business. This is because you are not physically working with the public. Also, when starting up, you don’t even know if you will make any money. (Hopefully, that’s not the case.)
Okay, so BOOM! I don’t want to get so far ahead into the legality of all the business because that may confuse you. (Self-included) I haven’t started a business press per se; instead, I’m researching and creating content for the future. Yes, I have already begun making sets (not for sale) and practicing for myself and my daughter. I purchased nail supplies, watched YouTube channels, and read up on “business”.
1. Choose Your Press On Niche
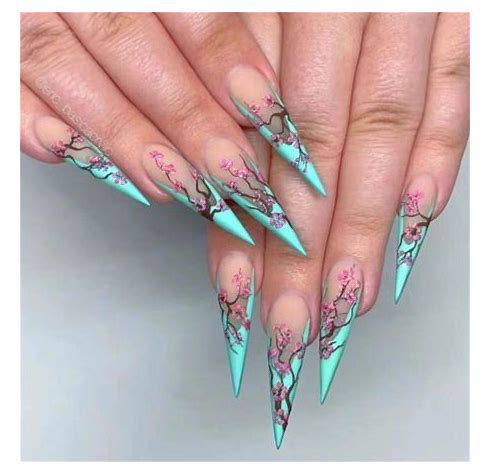
With the vast number of press-on nails available, you need to choose a niche that you are passionate about. When choosing your niche, decide on a specific type of nail art you want to create. You could also determine the style of nail you would like to base your business around. For example, let’s say you like stiletto nails. You would create your own collection of stiletto nails for your press on business. Perhaps you only want to specialize in hand-drawn nail art; your business would be a stiletto and hand art business.
Perhaps you only want to do a certain color of nails, and you will focus your press on nails business plans around that color. Maybe you want to focus on doing only natural-looking nails, only gel nail polish, or only acrylic press on nails. Whichever option you choose for your niche will be your main focus within your business plans.
[{"id":6639,"link":"https:\/\/hotstylesbringsmiles.com\/press-on-nails-business-starter-kit\/","name":"press-on-nails-business-starter-kit","thumbnail":{"url":"https:\/\/hotstylesbringsmiles.com\/wp-content\/uploads\/2023\/07\/pressedc-nails.jpg","alt":""},"title":"Your Press On Nails Business Starter Kit Made Easy","author":{"name":"Monalisa927","link":"https:\/\/hotstylesbringsmiles.com\/author\/sierrachanelle1\/"},"date":"Jul 15, 2023","dateGMT":"2023-07-15 23:11:53","modifiedDate":"2023-09-16 01:30:28","modifiedDateGMT":"2023-09-16 01:30:28","commentCount":"0","commentStatus":"open","categories":{"coma":"<a href=\"https:\/\/hotstylesbringsmiles.com\/category\/nails\/\" rel=\"category tag\">Nails<\/a>","space":"<a href=\"https:\/\/hotstylesbringsmiles.com\/category\/nails\/\" rel=\"category tag\">Nails<\/a>"},"taxonomies":{"post_tag":"<a href='https:\/\/hotstylesbringsmiles.com\/tag\/best-press-ons\/' rel='post_tag'>best press ons<\/a><a href='https:\/\/hotstylesbringsmiles.com\/tag\/how-much-should-i-charge-for-press-on-nails\/' rel='post_tag'>how much should I charge for press on nails?<\/a><a href='https:\/\/hotstylesbringsmiles.com\/tag\/is-a-press-on-nail-business-profitable\/' rel='post_tag'>is a press on nail business profitable<\/a><a href='https:\/\/hotstylesbringsmiles.com\/tag\/nail-care\/' rel='post_tag'>nail care<\/a><a href='https:\/\/hotstylesbringsmiles.com\/tag\/nail-supplies\/' rel='post_tag'>Nail supplies<\/a><a href='https:\/\/hotstylesbringsmiles.com\/tag\/nails\/' rel='post_tag'>Nails<\/a><a href='https:\/\/hotstylesbringsmiles.com\/tag\/press-on-nail-business\/' rel='post_tag'>press on nail business<\/a><a href='https:\/\/hotstylesbringsmiles.com\/tag\/press-on-nail-business-checklist\/' rel='post_tag'>press on nail business checklist<\/a><a href='https:\/\/hotstylesbringsmiles.com\/tag\/press-on-nail-business-income\/' rel='post_tag'>press on nail business income<\/a><a href='https:\/\/hotstylesbringsmiles.com\/tag\/press-on-nail-business-pricing\/' rel='post_tag'>press on nail business pricing<\/a><a href='https:\/\/hotstylesbringsmiles.com\/tag\/press-on-nails\/' rel='post_tag'>press on nails<\/a><a href='https:\/\/hotstylesbringsmiles.com\/tag\/presson-nails\/' rel='post_tag'>presson nails<\/a><a href='https:\/\/hotstylesbringsmiles.com\/tag\/successful-press-on-nail-business\/' rel='post_tag'>successful press on nail business<\/a>"},"readTime":{"min":11,"sec":56},"status":"publish","excerpt":""},{"id":9729,"link":"https:\/\/hotstylesbringsmiles.com\/thermal-nail-dip-powder-is-a-whole-mood\/","name":"thermal-nail-dip-powder-is-a-whole-mood","thumbnail":{"url":"https:\/\/hotstylesbringsmiles.com\/wp-content\/uploads\/2023\/12\/thermal-dip-powder.jpeg","alt":"thermal dip powder"},"title":"Yes, Thermal Nail Dip Powder Is A Whole Mood","author":{"name":"Monalisa927","link":"https:\/\/hotstylesbringsmiles.com\/author\/sierrachanelle1\/"},"date":"Dec 20, 2023","dateGMT":"2023-12-20 03:44:24","modifiedDate":"2024-01-06 02:10:37","modifiedDateGMT":"2024-01-06 02:10:37","commentCount":"0","commentStatus":"open","categories":{"coma":"<a href=\"https:\/\/hotstylesbringsmiles.com\/category\/nails\/\" rel=\"category tag\">Nails<\/a>","space":"<a href=\"https:\/\/hotstylesbringsmiles.com\/category\/nails\/\" rel=\"category tag\">Nails<\/a>"},"taxonomies":{"post_tag":"<a href='https:\/\/hotstylesbringsmiles.com\/tag\/thermal-nail-dip-powder\/' rel='post_tag'>Thermal nail dip powder<\/a>"},"readTime":{"min":3,"sec":53},"status":"publish","excerpt":""},{"id":1988,"link":"https:\/\/hotstylesbringsmiles.com\/what-are-the-different-nail-shapes\/","name":"what-are-the-different-nail-shapes","thumbnail":{"url":"https:\/\/hotstylesbringsmiles.com\/wp-content\/uploads\/2022\/03\/OIP-18.jpeg","alt":""},"title":"Which Nail Shapes Are The Most Popular?","author":{"name":"Monalisa927","link":"https:\/\/hotstylesbringsmiles.com\/author\/sierrachanelle1\/"},"date":"Mar 16, 2022","dateGMT":"2022-03-16 00:11:04","modifiedDate":"2024-02-14 08:12:03","modifiedDateGMT":"2024-02-14 08:12:03","commentCount":"4","commentStatus":"open","categories":{"coma":"<a href=\"https:\/\/hotstylesbringsmiles.com\/category\/nails\/\" rel=\"category tag\">Nails<\/a>","space":"<a href=\"https:\/\/hotstylesbringsmiles.com\/category\/nails\/\" rel=\"category tag\">Nails<\/a>"},"taxonomies":{"post_tag":"<a href='https:\/\/hotstylesbringsmiles.com\/tag\/almond\/' rel='post_tag'>Almond<\/a><a href='https:\/\/hotstylesbringsmiles.com\/tag\/ballerina\/' rel='post_tag'>Ballerina<\/a><a href='https:\/\/hotstylesbringsmiles.com\/tag\/coffin\/' rel='post_tag'>Coffin<\/a><a href='https:\/\/hotstylesbringsmiles.com\/tag\/flare\/' rel='post_tag'>Flare<\/a><a href='https:\/\/hotstylesbringsmiles.com\/tag\/lipstick\/' rel='post_tag'>Lipstick<\/a><a href='https:\/\/hotstylesbringsmiles.com\/tag\/nail-shapes\/' rel='post_tag'>Nail Shapes<\/a><a href='https:\/\/hotstylesbringsmiles.com\/tag\/nails\/' rel='post_tag'>Nails<\/a><a href='https:\/\/hotstylesbringsmiles.com\/tag\/oval\/' rel='post_tag'>Oval<\/a><a href='https:\/\/hotstylesbringsmiles.com\/tag\/round\/' rel='post_tag'>Round<\/a><a href='https:\/\/hotstylesbringsmiles.com\/tag\/shapes\/' rel='post_tag'>Shapes<\/a><a href='https:\/\/hotstylesbringsmiles.com\/tag\/square\/' rel='post_tag'>Square<\/a><a href='https:\/\/hotstylesbringsmiles.com\/tag\/stiletto\/' rel='post_tag'>Stiletto<\/a>"},"readTime":{"min":3,"sec":44},"status":"publish","excerpt":""}]
2. Is A Press On Nail Business Profitable?
Once you figure out which products you want to sell, you will need to create your press on nail business plan. Doing this will help you map out your business strategy and assist with goal completion. Your plan should include your target market goals, your competition, and your plans for marketing and business investments. If you begin your business out of pocket, you will need to get funding from additional sources, such as banks or investors. Be sure to find the grant or loan that best suits your business’s needs.
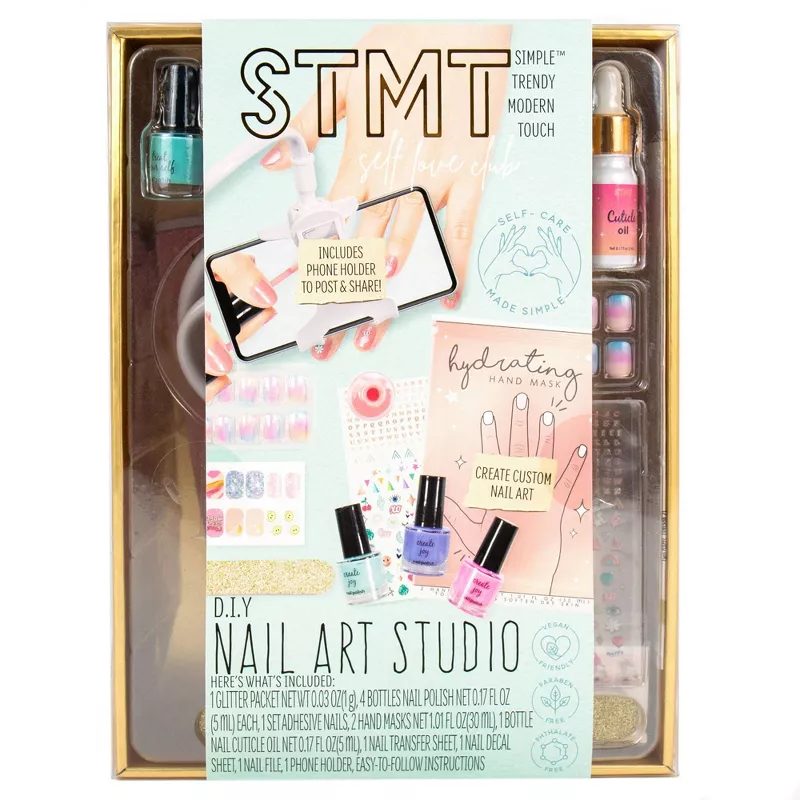
STMT- Nail Art Studio
Transform your home into a STMT Self-Love Club D.I.Y. Nail Art Studio and embrace a soothing spa experience, right from home. This D.I.Y. nail art set has everything you need for a mani makeover.
You are fully able to purchase WHATEVER items you want for YOUR business. Everything is not for everyone! When I got started, I purchased a random beginner kit and just went to work. I already knew the basics. That was more or less for personal use, but it came equipped with things that I could reuse over time.
Personal nails are a great way to express your creativity and artistic skills. Experiment with different colors, designs, and nail art decals. Once you know which type of nails you want to sell, you need to find a supplier. Your supplier will be the person who will provide you with products. These products can either be full-price, discounted, or sponsored. It’s important to do your research and find one that offers quality products at a fair price.
Many people are skeptical about using products from brands that they are unsure about. I like to use products from multiple brands when beginning to create. This is due to the fact that you may make many errors as a beginner. Most of the items that you create probably won’t be saleable. In the event that this happens, using inexpensive or off-brand items will save you money over time. You don’t want to buy a $28 bottle of nail polish and create multiple nail sets that will be thrown away.
Static press on nails are reusable pop-on manicures. This type of press on nail business is preferable to regular press on nails because it appears more natural. They come in a variety of designs, shapes, and sizes. They are easy to apply and also last longer. And the best part about wearing these luxurious press on nails is that they cost less than a trip to the nearest nail salon! The main items you will need when starting your nail business will include any of the following:
Nail File/ Emory board
Nail Brushes
Nail Glue
Nail Dryer Spray
Nail Tabs (Optional)
Nail Drill
Nail Tips (500 Count)
Acrylic Powder
Nail Buffer
Acrylic Monomer
Nail Stands
Table Mat/ Cover
Adhesive Putty
Paper Towels
Nail Polish
UV/LED Nail Lamp (If Using Gel Polish)
Nail Decals
Manicure Table (Optional)
Trust The Process:
Before you begin, use your towel to cover your table or workstation. Gather all your materials and set them up. Choose the correct sizes you will need for your full set of nails. Apply the adhesive putty to the tip of the individual nail stands. After that is complete apply the nail to the stand.
Buff or file the top of the nail to remove the shine and allow the nail polish to stick. Apply a base coat on the nail first. Be sure to apply 2-3 coats of polish. If using gel polish, cure the nail underneath the UV lamp to dry and set the polish. Apply the decals or nail stickers then set with the top coat and cure. (This may be optional if you are using acrylic.) If using acrylic, follow these directions.
Be sure to get comfortable using your nail art supplies and creating nail art designs. Once you do that, you are on your way to a luxurious press on nail business. If you have difficulty in the beginning, keep practicing. Watch YouTube video tutorials while you work on your press on nails. Pinterest is also a great option for you to use if you need help coming up with a design. They have tons of pins waiting to be recreated. They also provide you with additional resources for your business. These include packaging, funding, marketing, and more.
How much do I need to start a press on nail business?
Starting a press-on nail business from home can be a great way to earn extra income or even turn it into a full-time business. However, there are some initial start-up costs that you will need to consider. Starting any business from home can be a relatively low-cost venture, but there are still some initial expenses that you will need to precisely budget for. Once you have your startup costs covered, you can start generating revenue by selling your press-on nails online or at local craft fairs and markets.
Here is a hypothetical budget for a beginner to start a press-on nail business from home:
Start-Up Cost Items
Amount
Ongoing Service Costs
Amount
Materials
$100-$200
Inventory
$50-$100*
Shipping Supplies
$50-$100
Shipping
$20-$50*
Branding & Marketing
$100-$200
Marketing & Advertising
$50-$100*
Website & E Commerce
$100-$200
Varies*
$350-$700
N/A
*= Per Month
$120-$250*
Nail supplies (nail polish, brushes, files, buffers, etc.)
Packaging supplies (boxes, bags, labels, etc.)
Shipping supplies (boxes, bubble wrap, etc.)
Marketing supplies (business cards, flyers, etc.)
Computer and software
Your actual costs may vary depending on the size and scope of your business, as well as the quality of materials and supplies that you choose. However, this budget should give you a good starting point for planning your financial needs.
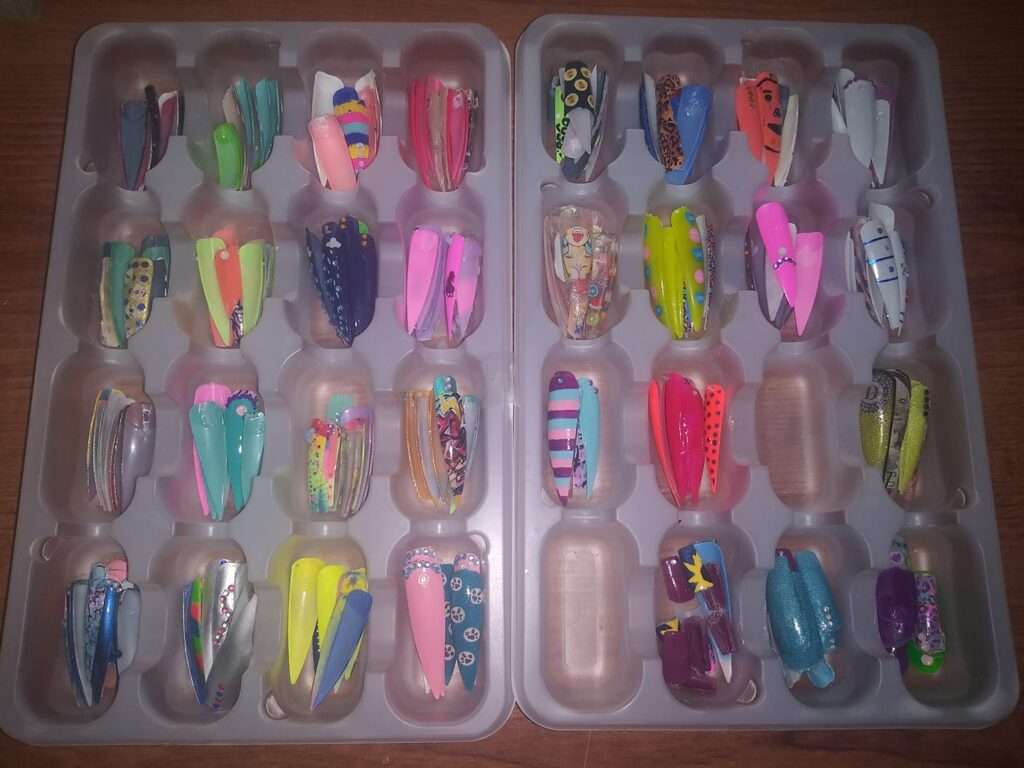
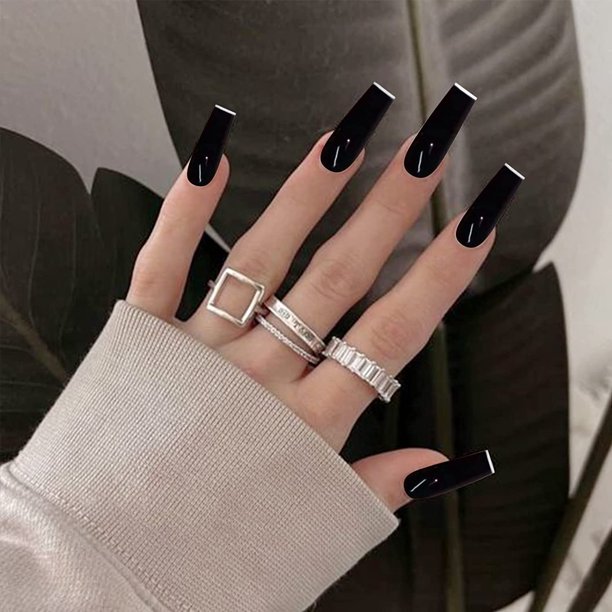
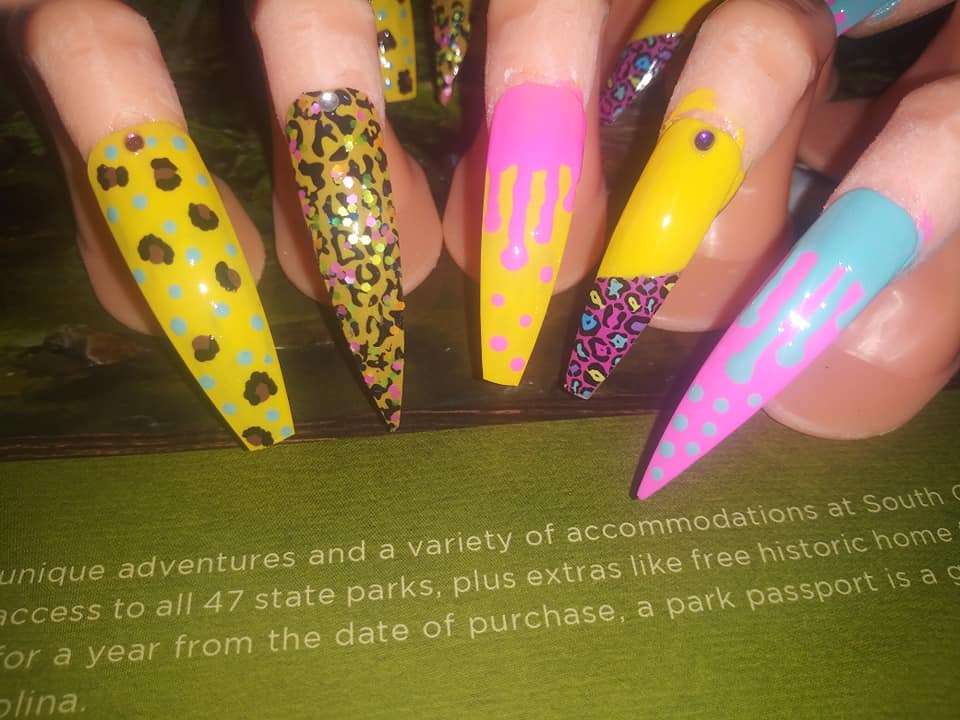
These are some of my beginner nail sets. Don’t mind the polish around the edges I didn’t expect this to be a real thing when taking the photos.
Additional Tips
Here are some additional tips for starting a successful press-on nail business:
Conduct market research to understand the current trends and the needs of your target market.
Develop a strong brand identity and create a visually appealing website.
Use high-quality materials and construction methods to ensure that your nails are durable and long-lasting.
Offer competitive prices and discounts for bulk orders.
Provide excellent customer service and support.
Promote your business through a variety of channels, such as social media, trade shows, and online advertising.
By following these tips, you can build a successful press-on nail business that provides your customers with high-quality products and services.
How To Celebrate National Roller Coaster Day
16 Aug, 2022
Before I begin to ramble on about this National Holiday I had NO idea existed, can I say “Started from the bottom now we are here?” Okay, okay maybe I started at the top being a New Yorker. Maybe not. I do know one thing, we will begin by going through all the glitz and glam about ROLLERCOASTERS!
So Like What Is RollerCoaster Day?
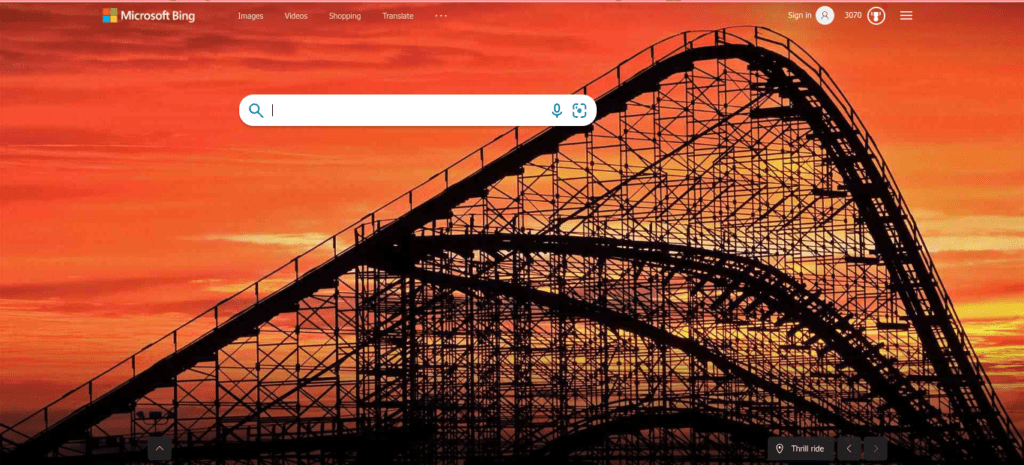
To be completely honest I have no idea. What I do know is that today on bing.com it’s depicted on the home screen. Enticed by a lavish photograph it inspired me enough to create this post. ( The actual photograph is pictured below)
This coaster according to the website is at Morey’s Piers in Wildwood, New Jersey. The coaster is known as the Great White. It is a hybrid wooden and steel coaster. It’s been in operation since 1996 and reaches its highest point 110 feet above the ground. (According to bing.com) Let’s DIVE right into the worldwide coasters!
What is a Rollercoaster?
A roller coaster is a type of amusement ride that is created by elevated railroad tracks. They are mainly designed with tight turns, steep slopes, and sometimes inversions. Most roller coasters have multiple cars in which passengers are seated and secured with restraints. When two or more cars are hooked together they are called a train although some roller coasters, notably run using single cars.
History in Roller Coasting:
The oldest roller coasters are believed to have originated in an area that is now known as Saint Petersburg, Russia. They were originally more like slides. They were hills of ice that were constructed in the 17th century to be used with sledding equipment. By 1919, the first underfriction roller coaster had been developed by inventor John Miller. The term underfriction was used to describe the wheel device used to keep the train from jumping off the track due to extreme and intense motion.
Over the next decade, roller coasters spread to amusement parks around the world and began an era in the industry often referred to as the “Golden Age”. Golden ages are periods of great wealth, prosperity,stability, and cultural and scientific achievement. One of the most well-known from the period is the historical Cyclone that opened at Coney Island in 1927.
Most Famous Coasters Worldwide:
The Cyclone Rollercoaster:
The Cyclone has been a core fixture of the amusement district. Located at Luna Park in Coney Island, Brooklyn New York, and is known as the mother of America’s roller-coaster revolution. It reaches a maximum speed of 60 miles per hour. It can carry 24 passengers and boasts a total track length of 2,640 feet. This ride is the second-steepest wooden roller coaster in the world and is a timeless classic after more than 90 years of operation.
Formula Rossa:
Is a rollercoaster that is located at Ferrari World in Abu Dhabi, United Arab Emirates. Ferrari World is best known as an indoor theme park. It’s the world’s first Ferrari-themed park and features Formula Rossa the world’s fastest roller coaster. Developed to resemble a Ferrari sportscar, it launches riders from zero to 150 miles per hour in five seconds.
Full Throttle:
This ride is a steel-launched roller coaster that can be found at Six Flags Magic Mountain in Valencia, California. The train is launched from 0 to 70 miles per hour and enters the record-breaking giant 187-foot-tall vertical loop. It is the world’s third-tallest vertical loop and the train uses the loop twice during the ride. I must say it looks VERY nerve-racking to be on as a passenger but also extremely exciting!
How To Manage Fixed Expenses In Your Budget
16 Aug, 2022
Many finance experts willingly share spending reduction tips. While this may be helpful there happen to be those “Fixed expenses” that you can’t do anything about. What exactly are fixed expenses?
Unfortunately, these are considered “Big bills” to keep it simple. These may or may not include your mortgage or rent, car payments, home insurance, phone bills, student loans or installments, property taxes, childcare, gym memberships, Tuition fees, and more.
What are fixed expenses?
A fixed expense is any expense that does NOT change from month to month. (Fixed meaning SET) These expenses are the most important and are more likely a need instead of a want. You should take time to properly track these expenses because if not they could take a HUGE chunk of your budget. This is possible if you aren’t carefully tracking, managing, and budgeting when you are spending.
How does a fixed expense affect your budget?
While these expenses tend to stay the same from month to month they make up the MAJORITY of most people’s budget. Always be mindful of the exact cost of each of these items. The frequency of the payments due, grace periods before late fees, and customer service information.
Pay close attention to the exact dollar amount you spend on these items as a whole each month. This is a key factor in determining how much money will be available for impulse spending within the household budget.
Paying fixed expenses
Fixed expenses are items within your household budget that must be paid. These expenses are due regardless of how much money you have available. These are often the first on the list for payment before you can spend any more from your budget.
It may seem like a daunting event each month but it allows you the freedom to budget for saving long term. This is because your payment is for a specific dollar amount each month. They provide stability and predictability in your monthly budget, which will be a helpful aspect of your retirement goals.
Knowing your financial Habits
It is highly important that you know your spending habits in order to aid in reducing fixed expenses. Use budget planners, journals, notepad apps, or spreadsheets to track your spending. Be sure to use this regularly to track these expenses. Each month take note of where you are doing the most monthly, weekly, or daily spending. This will help you decide on areas where you can scale back spending.
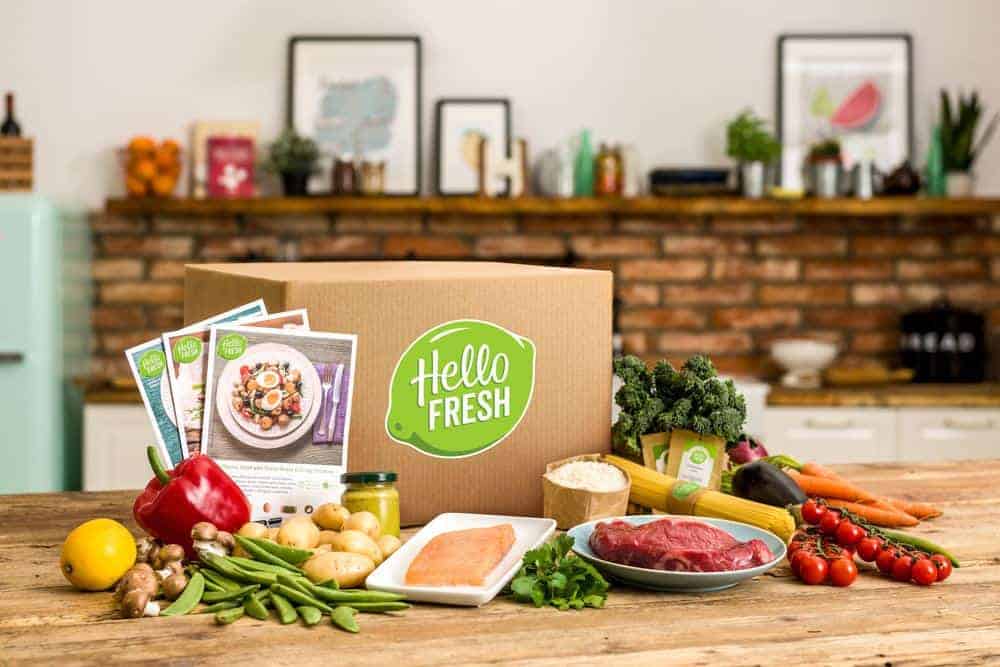
How To Create A Basic Meal Plan And Save Money
16 Aug, 2022
I get a commission for purchases or clicks made through links in this post.
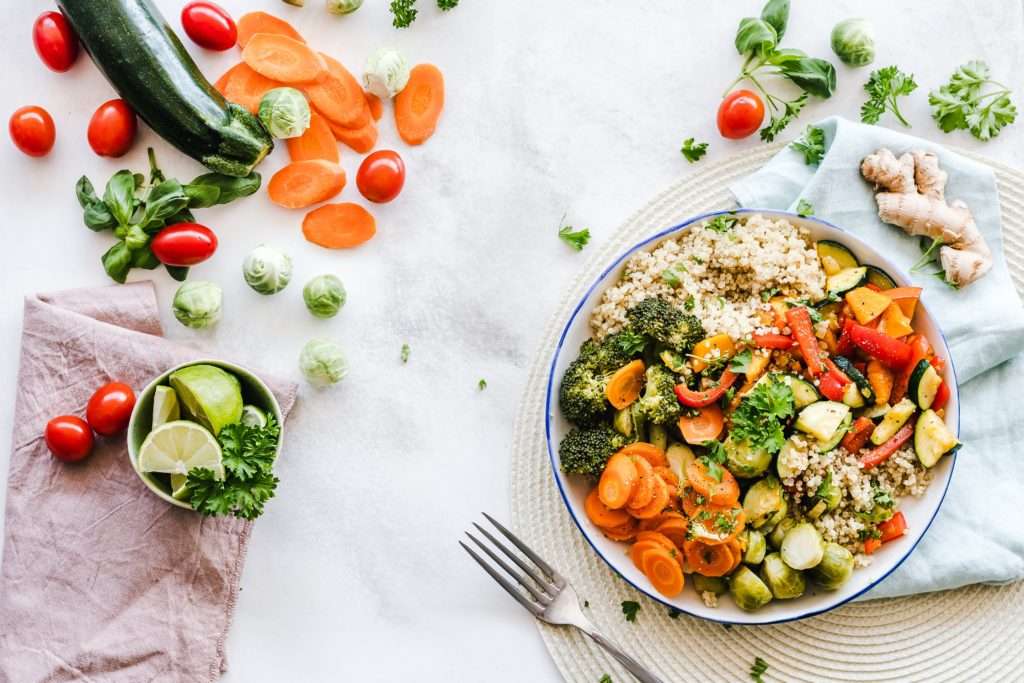
When it comes down to being healthy, let’s face it most people settle for satisfaction. We want more food that tastes good rather than food for nutritional purposes. This is mainly because we don’t really know what to eat, when to eat it or why we are eating it at all, to begin with. Satisfying dishes are normally quick and easy to make and most times JUNK FOOD.
If you don’t want to fatten up, meal planning would be the best option for you. This would be the best way to properly choose dish items and ingredients, season to taste, portion your plate, and cut back on quick snacks. This is mainly due to your food being already prepared and accessible.
Using previously prepared or prepackaged items require minimal cooking and shorter wait times. You should make it your mission to keep your kitchen or pantry stocked with basic foods used to support nutritional needs. Always keep different snacks in proper proportions on hand. Doing this alleviates time counting calories, less time prepping food, and a more effective way to manage your weight.
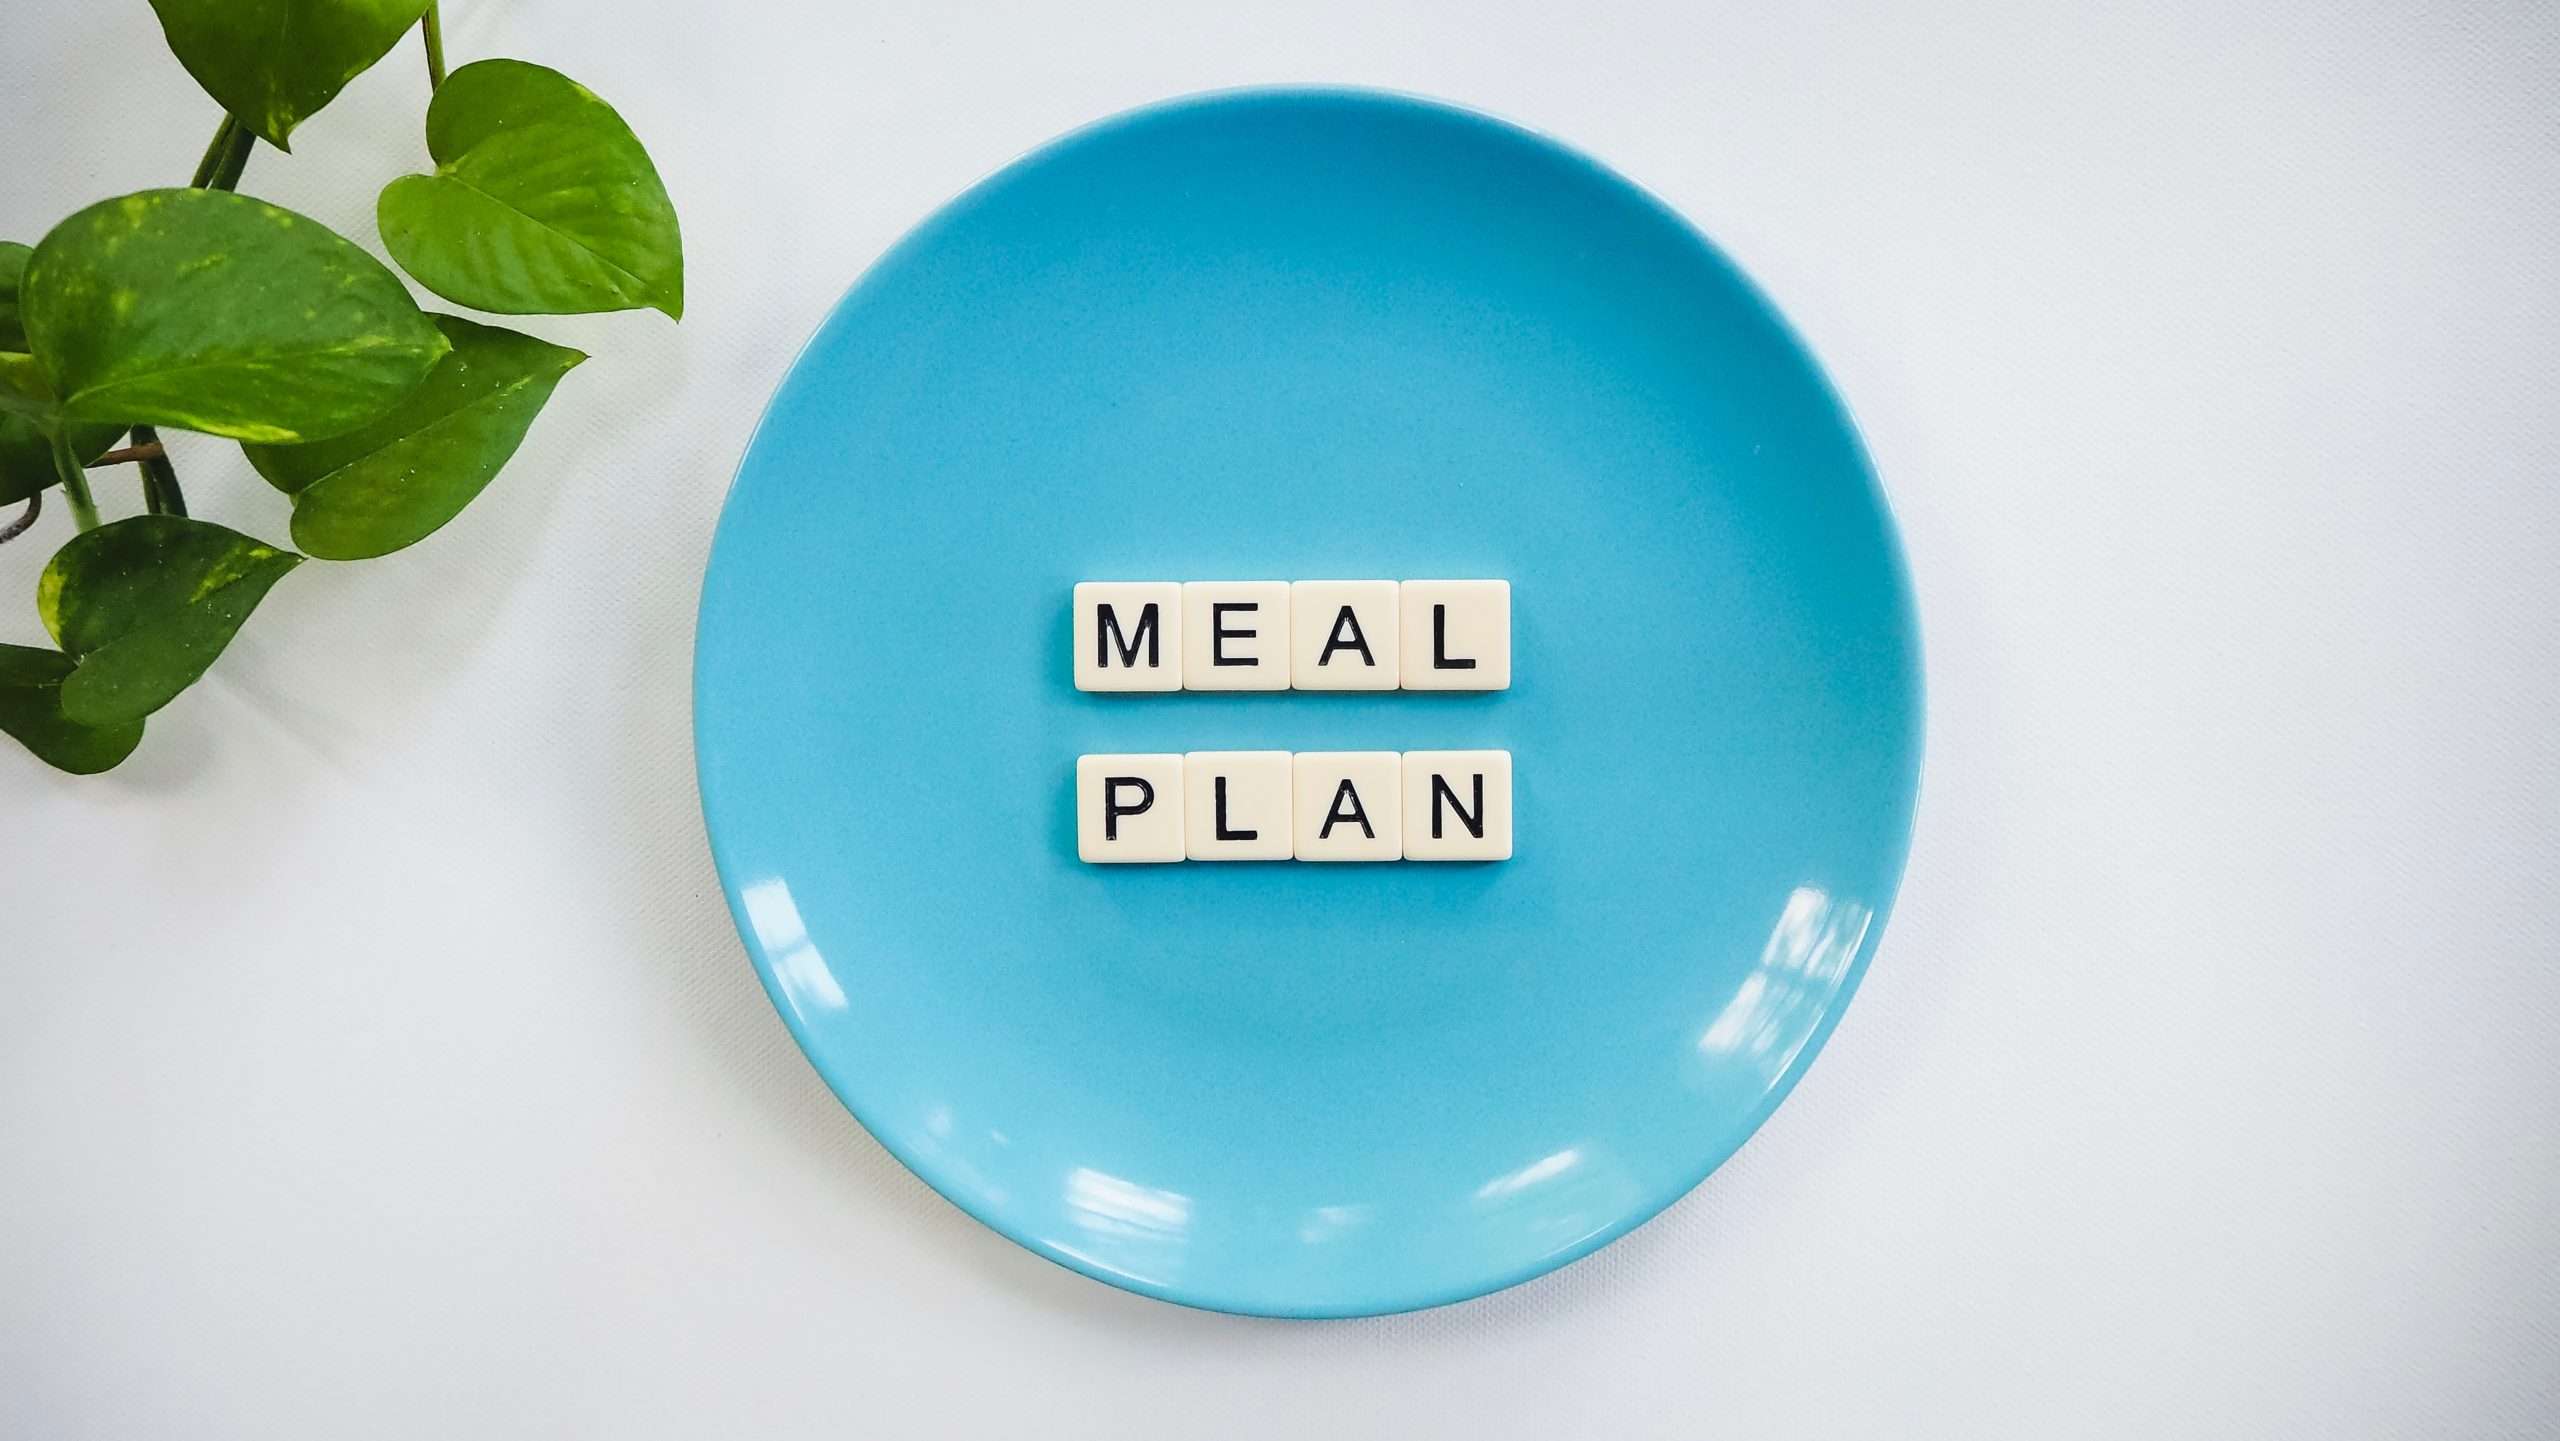
What is Meal Planning?
Meal planning is a great way to save you time on actual cooking. This is also effective if you are trying to save money or are sticking to a strict grocery list budget. You also don’t have to worry about figuring out what to cook and eat on a daily basis. This is especially useful if you work long hours or have children to care for but don’t have the time to prepare their meals every day due to your working schedule.
How Does it save me money?
When you begin to start a basic meal plan the first thing you should do is figure out where you will be buying your groceries. After you do that you need to think of what types of meals will satisfy your family. What types of foods do they like? Favorite dishes? Would they be willing to eat this twice a week? Do they repurpose leftovers? Food allergies? Picky eaters? These will be important when deciding if meal planning will work for you.
Second, after these questions have been answered you need to decide which meals you will “Prep and plan” and which meals will only be eaten once. After you do that you can decide which items you need to purchase and which items can be left off your grocery list. If you need to research some recipes it would be a good idea to do that during this step so you know exactly what to buy. (Some ingredients on the lists may be optional and be sure to leave those in the store!)
Meal planning helps minimize wasting food. You buy what you need, cook with what you bought, and minimize throwing out uneaten items. You can buy items in bulk, stock up on basic items and take note of when they go on sale.
5 easy meal prep Steps:
1. Determine how many meals are needed.
Determine how many meals are needed over the next week or so. Be sure to make dinner your main focus when buying and prepping your meals. Many people rarely eat “dinner”. During the day they most likely eat a quick or full-course breakfast and eat lunch, and by the time they get home, they grab a snack and go to bed. If you do cook dinner you can use the leftovers for lunch or for the next night’s dinner if you get hungry.
Decide what breakfast items your family normally eats. Breakfast can be kept simple with cereal, toast, oatmeal, muffins, donuts, yogurt, boiled eggs, etc.
2. What Ingredients do you have on hand?
Be sure to check which items you already have. This will make prepping easier and save you money. Let’s say you already have meats, spices, and starches. When you create your shopping list all you need to buy will be veggies, breakfast foods, and snacks.
Use the items you already have on hand as a template when you are deciding which meals to cook. This will help clean out your pantry and ensure that you are not eating expired items.
3. Create your grocery list and go shopping
After picking your meals list the ingredients you need to purchase minus the ingredients you already have at home for your meals. Don’t forget the items needed for lunch and breakfast and other miscellaneous things.
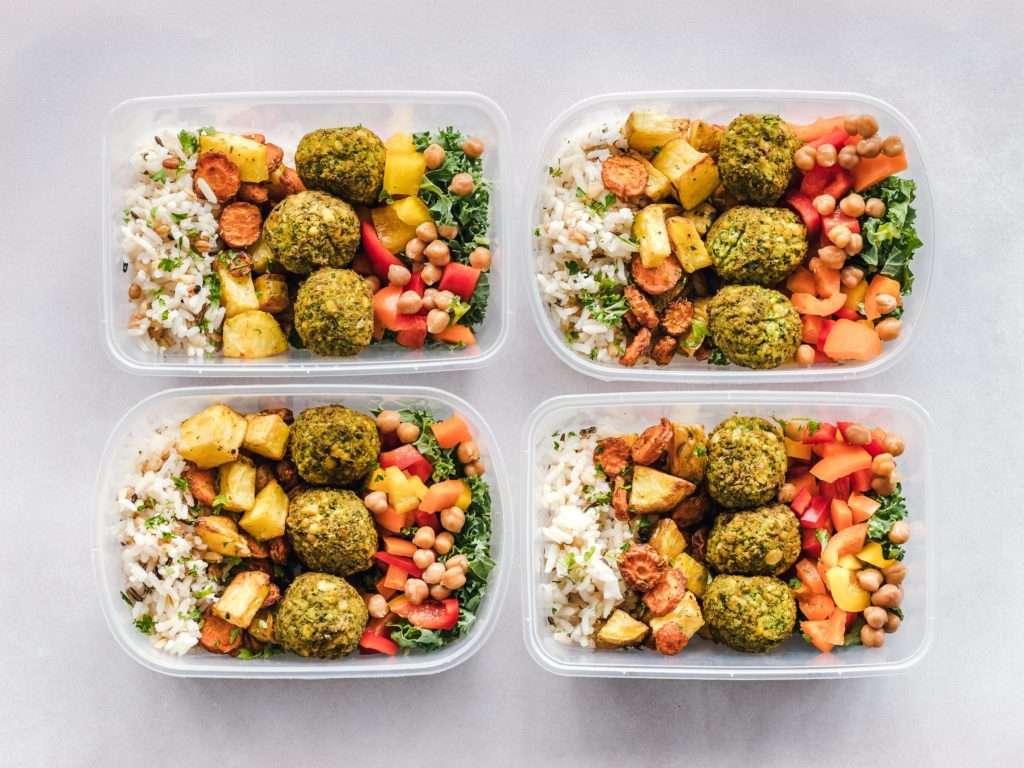
4. Prep Your meals
Cook the meals you plan on using for the days, or weeks ahead. This can be done for complete meals, only your meats, or soups and chillis.
Separate and proportion these items into containers and store them in the fridge or freezer.
5. Enjoy!
Additional Resources:
If you are pressed for time or not that skilled in the kitchen, these companies provide pre-cooked meal subscriptions.
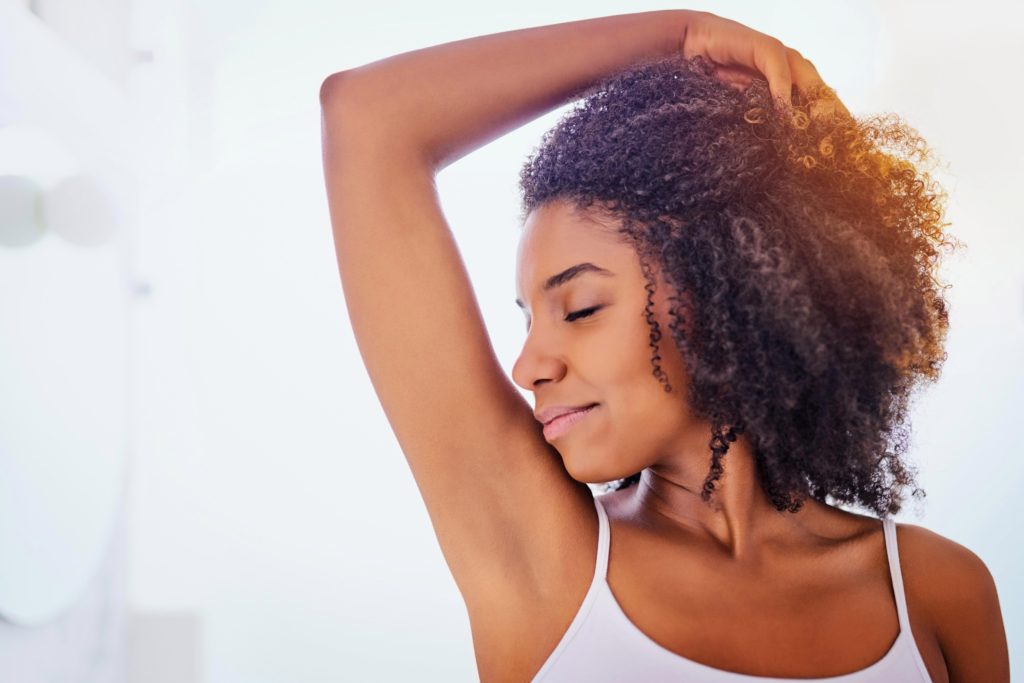
The contents of this post include natural ways for you to lighten dark underarms. There are many factors that can contribute to sudden dark patches under the arms. The type of deodorant you use and the clothing you wear, along with your diet, can be the cause of dark underarms. Having a darker pigment under your arms may not be a serious problem for most. If you would like to find out more information about the causes check out my previous post, What Causes Dark Underarms?
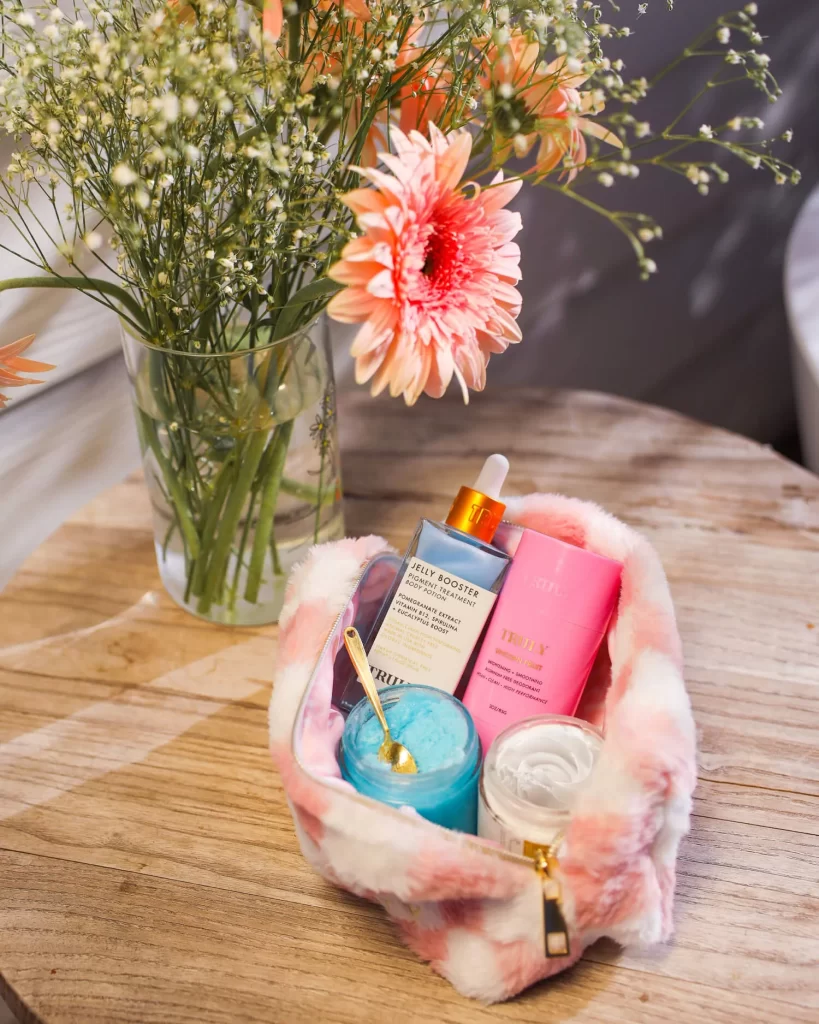
The following items are sponsored products from Truly Beauty. These products can be used to speed up the process. Use thecode: MONALISA927 for 20% off your first purchase. If you rather create a method of your own, some of these home remedies may be a better fit.
While we cannot be completely sure what the root cause for dark underarms, here are a few DIY home remedies. These methods are worth a try to combat this persistent issue many of us suffer from today. The majority of these items can be found in your local grocery store. Am I am almost certain that over half of these items are ALREADY in your home.
“I receive a commission for purchases or clicks made through links in this post.”
With that being said, this post is not meant to be used as a “Prescription”. Not all these remedies will cure your ailments or eliminate the problem. This post is to help with getting you started if you haven’t already or to assist you with the completion of medical treatment prescribed by your doctor. I am NOT a doctor I am simply a blogger with ambition and trial and error mastery. (lol)
Truly Beauty Skincare Routine How I Brightened My Dark Armpits
Home Remedies for Dark Underarms:
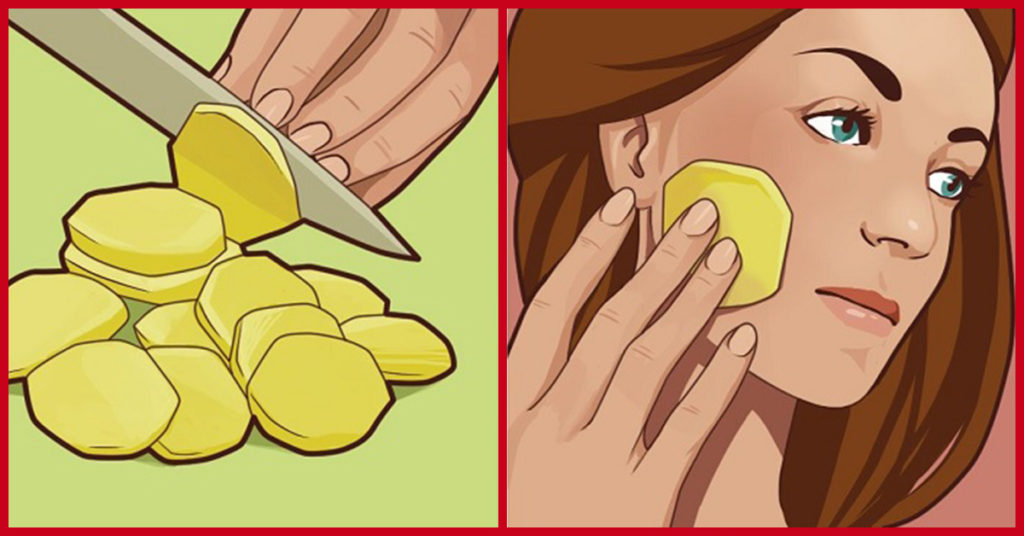
Potatoes– Extract the juice from a medium-sized potato. Apply the juice on the areas of your dark underarms and leave for 10 – 15 minutes before rinsing off with water. Potatoes are great natural bleaching and anti-irritant agents that help lighten dark underarms. This may also be an effective way to provide instant relief from any itchiness you may have. For the best results, it is recommended that you use this method twice a day.
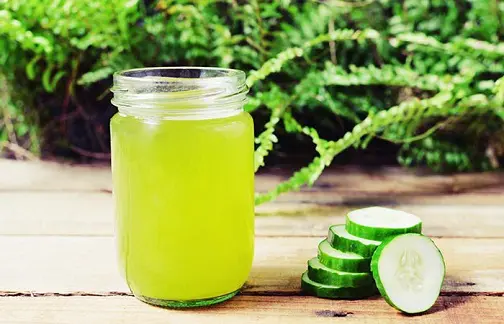
Cucumbers– These veggies are great natural skin-lightening agents. Rub a slice of cucumber on your underarms for a few minutes and leave it on for 10-15 minutes. Wash or rinse your underarms and towel dry. Apply your deodorant as you normally would after completion.
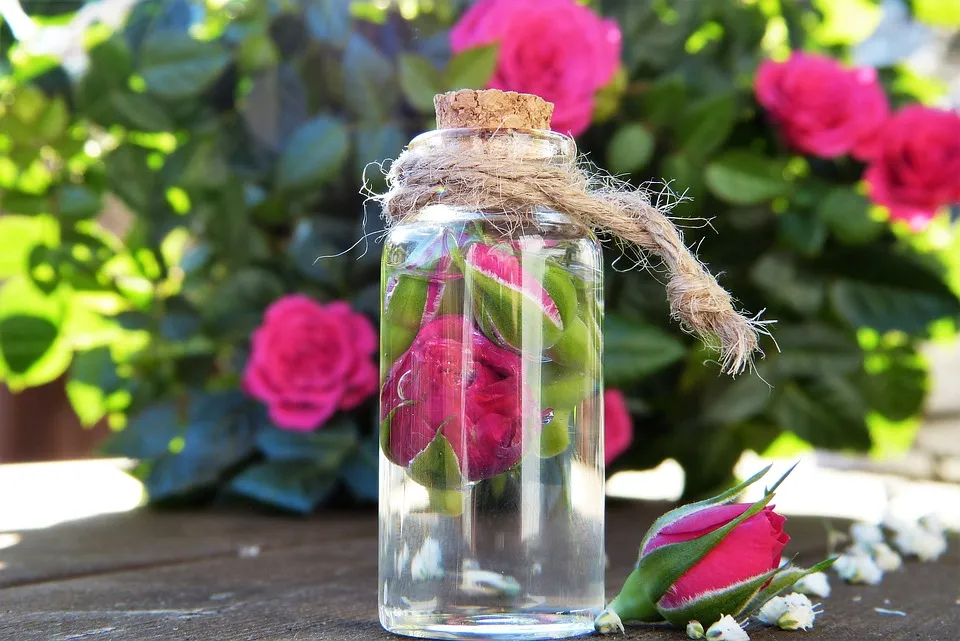
Rose Water– Rose water can be used to lighten dark underarms and dark skin pigmentation. It removes oil and dirt from your skin, by unclogging your pores and balances your skin’s PH. Create a soothing scrub by using 1 tablespoon of baking soda in a 1/4 cup of rose water. Combine the ingredients together to form a paste. Gently apply it to your underarms. Rinse of excess paste.
Another way this mixture can be used is by forming a baking soda and rose water mist, spraying under the arm, and rubbing it in before applying deodorant. Be sure to rinse off to avoid irritation.
Coconuts– Coconut oil is known to heal skin ailments such as eczema, acne, and dandruff. Coconuts contain high concentrations of fatty acids which reduce inflammation and improve circulation. Massage a few drops of coconut oil onto your dark underarms and thoroughly rub into the skin. Leave the oil on for about 10-15 minutes. Apply your deodorant as normal and wash off if necessary.
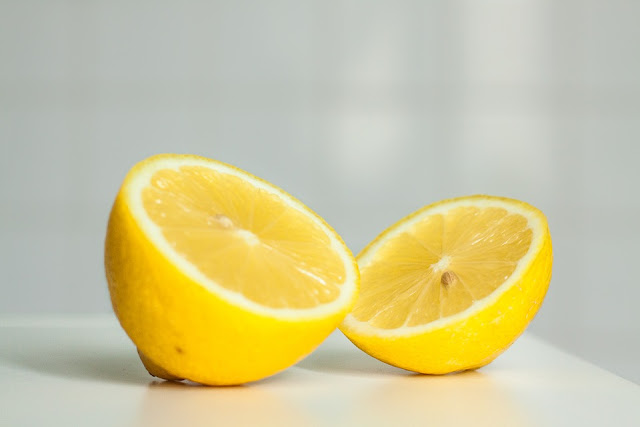
Lemons– Rubbing lemons directly on your dark underarms will help lighten the skin. Lemons are great for exfoliating. Their acidic nature also acts as an excellent bleaching agent. Mix 1 tablespoon of baking soda and lemon to form a paste. Massage it onto your underarms and rinse. Be careful when using any citrus products on your skin because it may be likely to cause burns. The sting may hurt but the lemon may work!
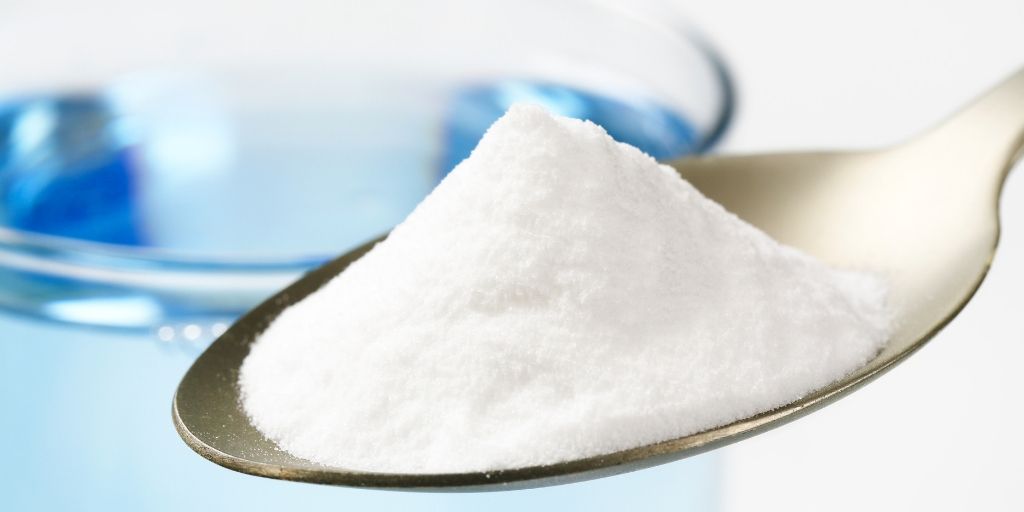
Baking Soda-The use of baking soda is one option you can always rely on to get the job done. Most often times you find this ingredient in whitening toothpaste. Why not use this for lightening blemishes and hyperpigmentation as well? Combine baking soda and water to make a thick paste. Apply the paste to your underarms and gently scrub for one minute. Allow the mixture to dry then cleanse the underarms with warm water.
Since baking soda on the skin can cause drying, be sure to moisturize the skin before applying deodorant to create additional protection. Coconut oil would work best for this step.
What Are The Main Causes Of Dark Underarms?
12 Aug, 2022
Do you suffer from dark underarms?
Do you long to wear those sleeveless outfits you set your heart on this summer?
Ready to raise those hands and praise the Lord?
“I receive a commission for purchases or clicks made through links in this post.”
Well, hopefully, this post will solve some of your problems.
If you suffer from armpit discoloration and darkening do NOT be alarmed. Many people have this same “condition” and it’s pretty standard. I will say, though it may be embarrassingyou are not alone. Hyperpigmentation under the arms is not a medical problem and therefore does not require treatment. When I say treatment I mean things along the lines of surgery and or medication. While that may be required for “some” individuals in most cases changing a few things in your daily routine can help you with the lightening process.
Truly Beauty Skincare Routine, How I Brightened My Dark Armpits
Discoloration of the skin pigment may actually be caused by the accumulation of dead skin cells under the armpit. Hormonal imbalance and or hygiene products may be the culprit.
During the normal desquamation process, new skin cells are produced deep in the epidermis layer of the skin and then travel up to the surface. These new cells push the dead cells off, causing them to flake off and be replaced with new skin. When this process is slowed down or interrupted, dead skin cells build up on the skin’s surface.
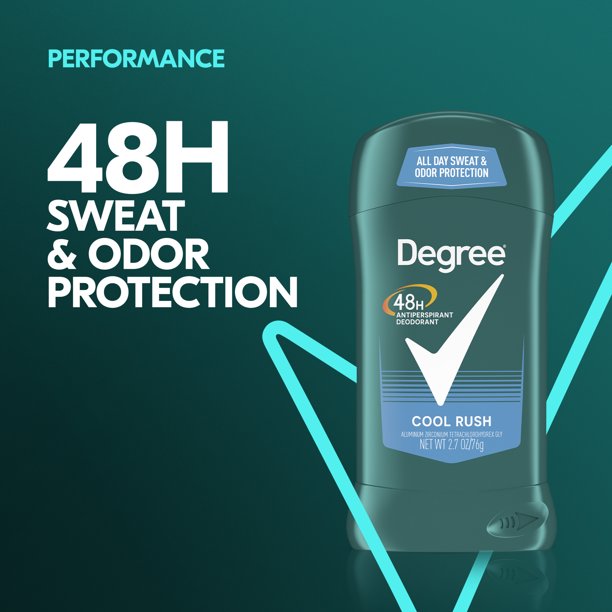
Have you ever cleaned under your arms and noticed it was harder to glide the washcloth? Like it was stuck in “mud”? Or maybe it felt like you probably used too much deodorant. This along with your clothing choice could cause the skin to darken. Kinda like a really good face beat that will last ALL day. Hence the package label informs you of a 48-hour freshness.
While we all love a good roll-on deodorant, the first step to combatting darkened pits may be the easiest. Swap out your roll-on for an anti-presperiant spray instead and see if that helps. This will allow you to get a more in-depth cleanse of your underarm and release the sticky dye from your clothing.
What Causes Dark Underarms?
Antiperspirants/Deodorants contain significant amounts of alcohol. Often times alcohol reacts with the skin and causes irritation. This can cause burning of the skin in the process. As a result, the skin appears discolored and darkened.
Shaving should be a safe hygiene practice, although it might cause underarm darkening. The shaving process consists of the removal of the topmost protective layer of the skin. This leads to exposure of the skin to harsh substances, perspiration, dust, and other foreign particles. These particles may irritation of the skin.
Friction Due to tight clothes often results in irritation to the skin. Supposedly we are required to wash new clothes before wearing them. (Who does that?) This is because these items contain dyes that may cause allergic reactions and “STAINING”. Cotton cloth me, please.
Obesity or being overweight would cause you to be prone to acanthosis nigricans, which is a skin condition characterized by dark, velvety patches in body folds and creases. It typically affects the armpits, groin, and neck.
If the darkening causes a cosmetic concern, there are different medical and at-home remedies you can try to achieve an even skin tone. These changes and self-care measures can help lighten dark underarms and pause hyperpigmentation:
Wax instead of shaving.
Shave properly.
Use an anti-perspiring spray.
Exfoliate your skin.
Wear loose-fitting clothing.
Lose weight.
Maintain underarm hygiene.
Dark underarms are not a health risk, but they are often a source of aesthetic concern for many people. It is important to take care of your underarm skin, similar to all other body parts. Making changes in your skin hygiene routine, dietary habits, and lifestyle can help improve those minor issues.
What is Hyperpigmentation And How To Treat It?
12 Aug, 2022
“I receive a commission for purchases or clicks made through links in this post.”
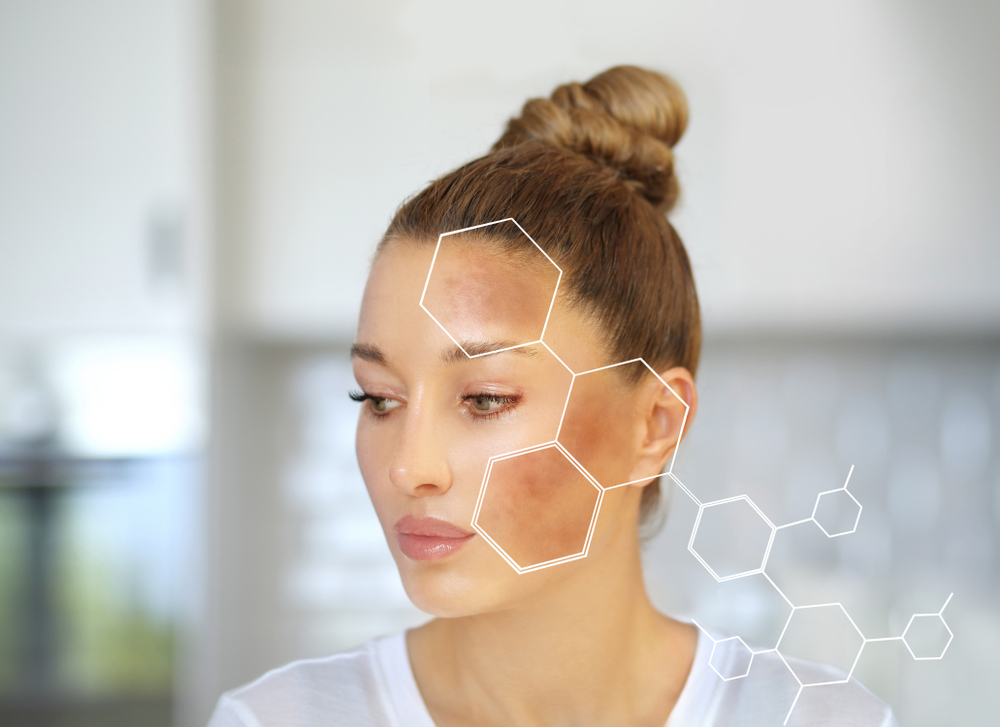
Many people today struggle with skin discoloration. This is very common among young teens and aging adults. Hyperpigmentation may occur in small patches, and cover large areas of the body or the entire body itself. Hyperpigmentation is the darkening of the skin in any area. It is not usually harmful. An increase in melanin is what causes the skin to darken. Melanin is the pigment that gives the skin its color.
There are many different causes of skin darkening, which are any of the following:
Skin damage due to sun exposure
Side effects caused by some medicines
Pregnancy hormones
Skin irritants or trauma
Injury, inflammation, cuts, burns, or acne scars
Types of Discoloration:
The most common types are Melasma, sun spots, and post-inflammatory hyperpigmentation.
Melasma– Mainly caused by hormonal imbalances. The commonly affected areas are the stomach and the face.
Sunspots– Usually known as liver or age spots are the most common. They are typically caused by excess sun exposure over long periods of time. The main areas affected are the hands, feet, neck, arms, legs, and face.
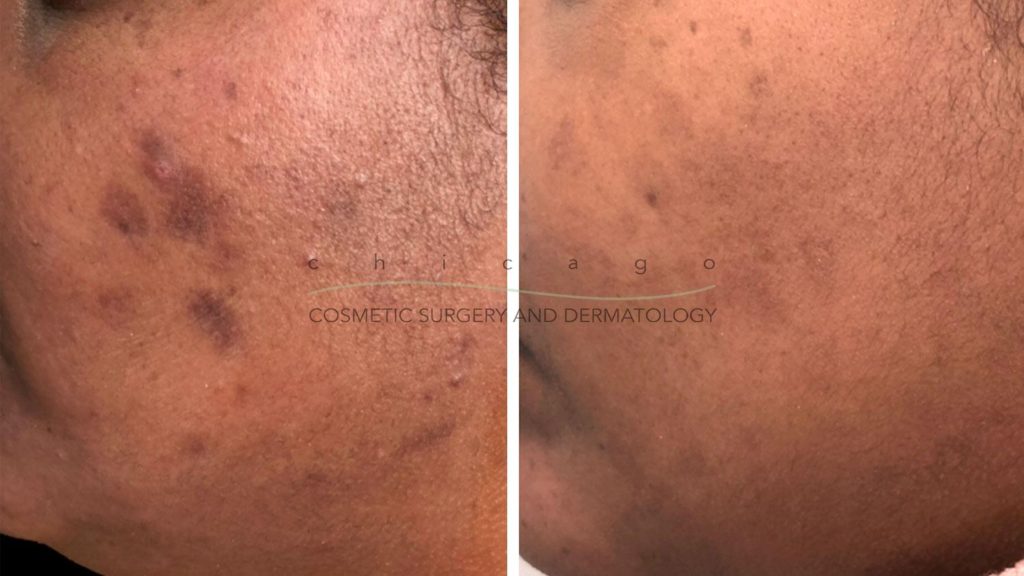
Post-inflammatory hyperpigmentation– Is the direct result of injuries. This can be caused by skin irritants or allergies producing pimples or bumps resulting in acne scars. Post-inflammatory hyperpigmentation occurs when your skin cells produce more melanin in response to injury or irritation. Tan, brown, dark brown, or even blue-gray patches and blotches on your skin are the symptoms of this skin disorder.
How To Treat Darkened Skin:
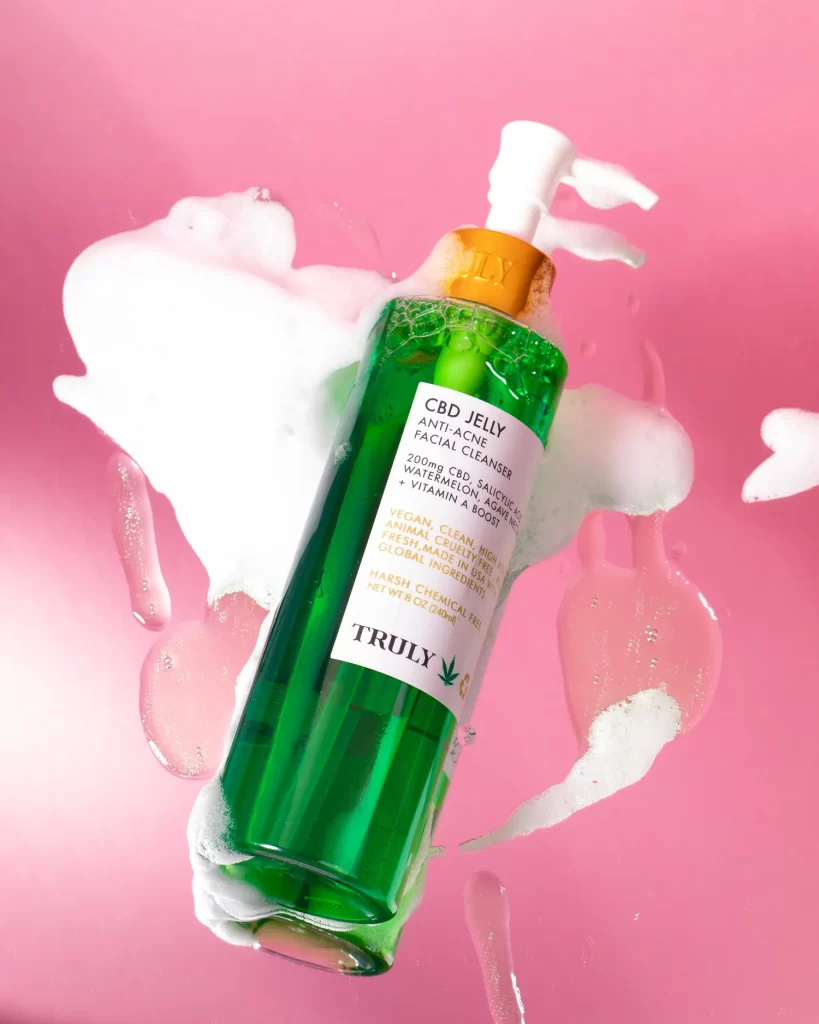
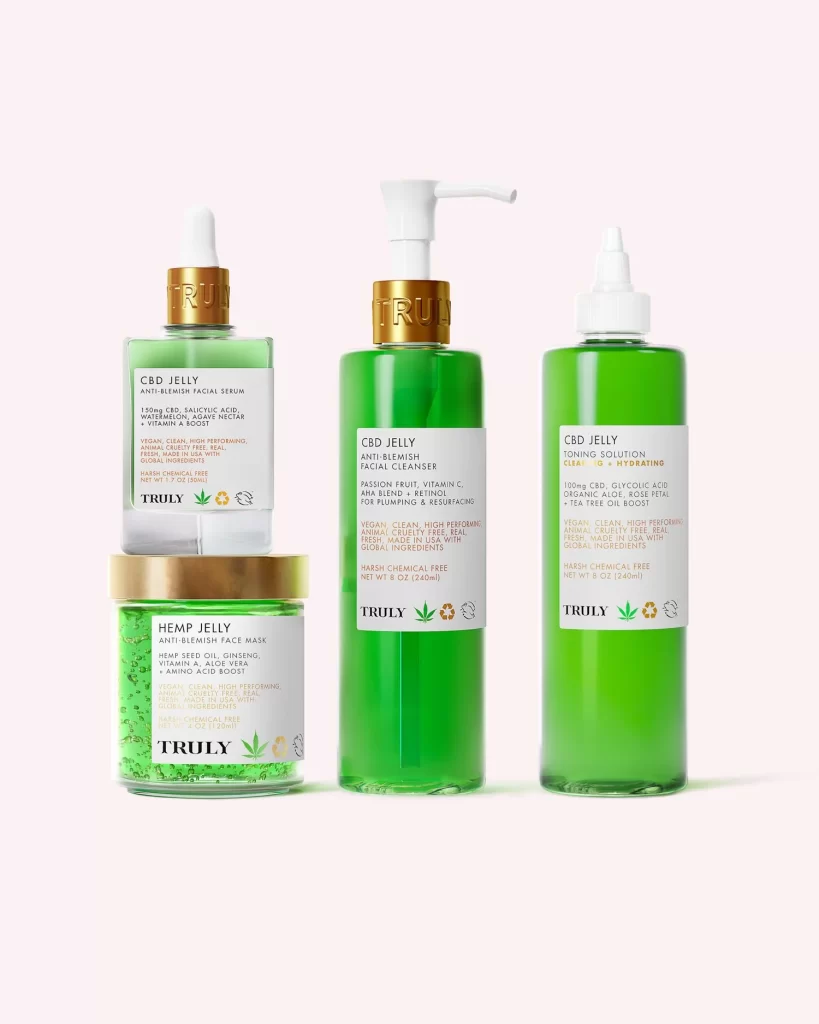
There are many options for treating these issues. First, you should be sure to cleanse your skin regularly. Start off with a cleanser specifically designed to clear acne, blemishes and discoloration. The CBD Facial cleanser is an anti-inflammatory cleanser. The cleanser works immediately to clear acne and blackhead-causing debris from blocked pores.
The results of this process gives you softer, smoother, and blemish-free skin. This product also contains hemp which tends to soothe sensitive skin while preventing breakouts. Salicylic acid aids in the exfoliation process and washes impurities off the skin. The end result is an appearance of clean skin that is fresh and radiant.
The Truly Beauty matcha scrub is packed with green tea, matcha and dead sea salt. Matcha nourishes the skin, resulting in skin that is softer and smoother. By gradually removing skin layers, glycolic acid helps to hide blemishes, fine lines, discoloration, and wrinkles.
To improve the clarity and texture of your skin and help you avoid further outbreaks, hemp jelly toner gently exfoliates the skin. In order to get a clear and flawless complexion, glycolic acid aids in the removal of oil, dead skin cells, debris, and other impurities.
Other options are chemical peels, laser therapy, microdermabrasion, or dermabrasion. These are all options that work to rid the skin of hyperpigmentation. Those procedures work to gently remove the top layer of your skin where the dark spots lie.
Skin bleaching or lightning is a more natural and simple approach. This is the most common method used but probably the least effective in my opinion. Not that it’s ineffective probably the most time-consuming. People who go this route tend to have a lot of trial-and-error experiences with no resolution. And like I said before LOTS of trial and error to find the right products.
Initially, many people assume that a blog is a “website.” Yes, it definitely is a website to be as simple as possible. However, a blog is more than just a website; it is an online journal, in which people can share their thoughts and stories with the world. Learning how to start a blog or WordPress page can be both fun, challenging, and profitable. With the abundance of blogging platforms available today, it is easier than ever to get started with a blog.
The process of getting your page started is not as complicated as it may sound. It will be fun in the beginning stages if you are interested in becoming a creator. First, decide on a topic or theme that interests you. Once that initial adrenaline wears off, it becomes hard WORK. There will be many long hours of research, typing, retyping, proofreading, editing, re-editing, and publishing. Despite the hard work, becoming a creator can be incredibly rewarding.
After you develop a thorough plan for content creation and get the hang of it, everything starts to be enjoyable again. The challenge of creating something new and watching it come to life is worth the effort. Finally, when you have your plan in place, the profits begin to trickle in. Yes, I said “trickle” in. Of course, it won’t be a huge lump sum of money. If you focus on the long term, you’ll soon start to see steady and reliable income.
Yes, you can profit from having a blog or website, but it takes time and patience. Patience is key when it comes to profiting from your online presence. You have to remain consistent and stick to your craft. Once you develop a presence online and start to build your brand, you can begin monetizing it. There are many different types of blogs that you can create. You can specialize in a certain type of content, like fashion or health and wellness, or you can diversify and create posts on a variety of topics. This is all determined by your specific goals for the site.
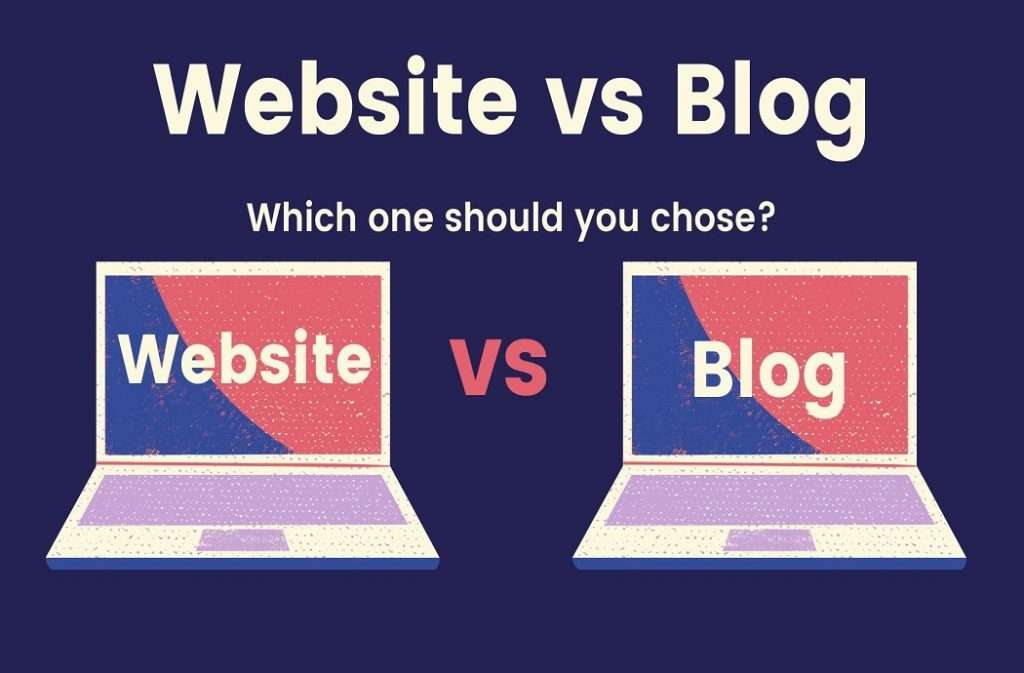
Regardless of what type of blog or website you create, the goal is always to create content that provides value for your readers. To get started, we should address the differences between blogs and websites to avoid confusion. Websites are often used to display a company’s services and products, while blogs are generally used to present news, opinions, or personal experiences.
What’s the Difference Between a Blog and a Website?
The main focus of any page should be the regular creation and distribution of content. Content is what drives people to visit and keeps them engaged. Creating content that is interesting, informative, or entertaining should be the top priority for any site. The majority of your posts should cover defined subjects and articles of interest. Content that you are passionate about ensures that posts are enjoyable to write and research. It also helps to make sure the content created is of the highest quality. This could be in any form or fashion.
5 Common Types Of Blog Posts
There are many different types of blog posts that you can create. These may or may not include:
Your page should be regularly updated with new content. To encourage the most repeat visitors, this content needs to be relevant, interesting, and well-written. It should be less formal than a website and allow readers the ability to interact with the posted content. This can be done through comments, reviews, and ratings of the content. When I say less formal than a website, I mean having the ability to properly engage with your readers. This is something that encourages people to come back, as it allows them to feel like they are part of the website and not just visiting an impersonal, static web page.
This can include asking questions, creating polls, or posting suggestions. It also allows your readers to easily comment and provide feedback, which can help you improve your content and make it more engaging for others. You can create interactive games for your guests or contests that they can enter. All of these things create a sense of community and make your website a more enjoyable and rewarding experience for the people who visit. Providing giveaways for your readers is a great way to engage with them and show your appreciation for their time.
A website, on the other hand, is more product- or service-focused. It will be more consistent with a store that allows guests to browse your content. It typically consists of a storefront with a shopping cart. It incorporates images, brief text, prices, and buttons for checkout processing. By designing the site in this manner, site visitors will be looking for more items to see rather than things to read. Their main goal when visiting your site would be to make a purchase and not read an article, take a poll, or play a game.
Visitors and guests aren’t able to interact with the content, although some websites allow you to do both. When creating an e-commerce site, the focus should be on simplifying the user’s experience. A website is basically for business purposes only and has less customer engagement. Thus, the main goal of an e-commerce website should be to provide the easiest path to purchase a product or service.
A blogger can literally publish content about anything. This could be a variety of topics, videos, tutorials, or photo collages. Blogging provides an avenue for self-expression, creativity, and communication with others. All of these can be considered the main content focus points. For the best engagement with your content, be sure to have a variety of each type in one post. This means, along with plain text, incorporating photos and videos within your post.
You can also insert polls or suggestion boxes. Widgets can be added to your page, which allows viewers to “like” your content. If you want to retain visitors and possibly build your subscription following, you need to first be consistent. Try your best to constantly create posts, videos, and photos. Update your posts regularly, reread them, omit some items, and refresh others. Second, you must share content that people find useful.
What to do before starting your blog:
Be sure to know the type of page you want to build before you start. Doing this step first will help you take a more strategic approach to your site. This is done by knowing the exact type of site you want to create. Before beginning your site, be sure to research the different types of blogs available for creation. After narrowing down your site options, pick the type you feel most comfortable with. This will ensure that you are actually interested in creating the content, and it will be easier for you to engage with your followers.
What are blog types?
1. Personal
These types of posts are more likely to be about a person’s daily life, hobbies, interests, friends, and family. They are filled with the most content due to the nature of the posts. These posts are always the easiest to write since they don’t require much thought or research. A personal blog page can simply be a few paragraphs about what you did that day. It can include any places you went, what you ate, or what you wore that day. It can also include details about your experience at that place and a review of your meal. They typically aren’t set up to generate income and are more socially oriented-than business-oriented.
Niche bloggers focus their content on a very specific section of a larger topic. They solve a particular problem and have a specific audience. The main goal of this site type is to create content for a targeted audience. When I say targeted, it is not meant to be a “selling point,” even though it would be considered as such. Most of the time, it is simply building or teaching. They are essentially experts in their field of expertise, shedding light on specific topics, products, and services.
For example, let’s say I started a food page. The category would be “food.” That category of food would just be the beginning of the niche blog. While food is the general niche type, I specialize in the “Bakery Department.” Now we can break that down once more. Let’s say I created a food page about baked goods. I own a bakery that specializes in the production of cakes and cookies. That’s it; I mainly post content about cakes and/or cookies.
This content can include recipes, baking tools, or even what items I have available for sale. It can also let the readers know the location of my bakery, what events we may have going on, or ask for customer feedback.
A business blog contains content focused on an area of specialty. This method is used to attract the attention of potential clients. Perhaps I have a company that sells smoothie makers. I would initially describe the smoothie maker that I sell and how it should be used. I could also start a section of the website that describes the types of smoothies that can be made. It can include specific recipes you may want to try. We could create additional content describing the ingredients needed to make the smoothie. Any health benefits the ingredients have may also be a great source of content. The business or blog owner makes money through the products and services they offer to the readers.
An affiliate blog is a blog that posts content promoting other products and services. You can create tons of posts describing the products you are affiliated with. This type of blog may also include writing product reviews or tutorials. Be sure to add the link for the reader to purchase the products or any available services.
The links provided are called affiliate links. When the link is clicked and a purchase is made, the blogger receives a small commission. Affiliate blogs rely heavily on search engine optimization to generate traffic to their site. When properly executed, affiliate blogs can be very lucrative. You also have the opportunity to generate significant income.
A news blog is the most intense and expensive type of blog to create. Readers of news blogs expect a higher level of professionalism and accuracy from the created content. This may be very time-consuming and require a large team to assist with the high content demands.
8 Questions To Get You Started
Before You begin your blog there are a few things you need to know. This includes the following:
Do you want to start a blog or create a website?
What will be your blog focus or niche?
Will you be writing articles, selling products or both?
Will this be a solo blog or are you working with a group?
Do you know what your domain name to be? (Your .com)
Where will you host your site? (Where your site “lives”)
Will you use a theme or template? (What will your blog look like)
Add plugins or widgets? (How to customize your site)
9 Aug, 2022
Blog Posts
Last night was a total SHOCKER. You know when we grow up we all have our favorite “People” ya know? Favorite movie stars, singers, actors, painters, entertainers all that good stuff. Of course, we probably will never meet these people in real life only on the big screen. (Most times some are more fortunate than others.)
The longer we favor these people the closer we tend to feel to them even though they probably don’t know we exist. (Okay duh they know they have fans and supporters.) Sadly enough when one of those icons passes away we feel it just as hard as their immediate family and friends.
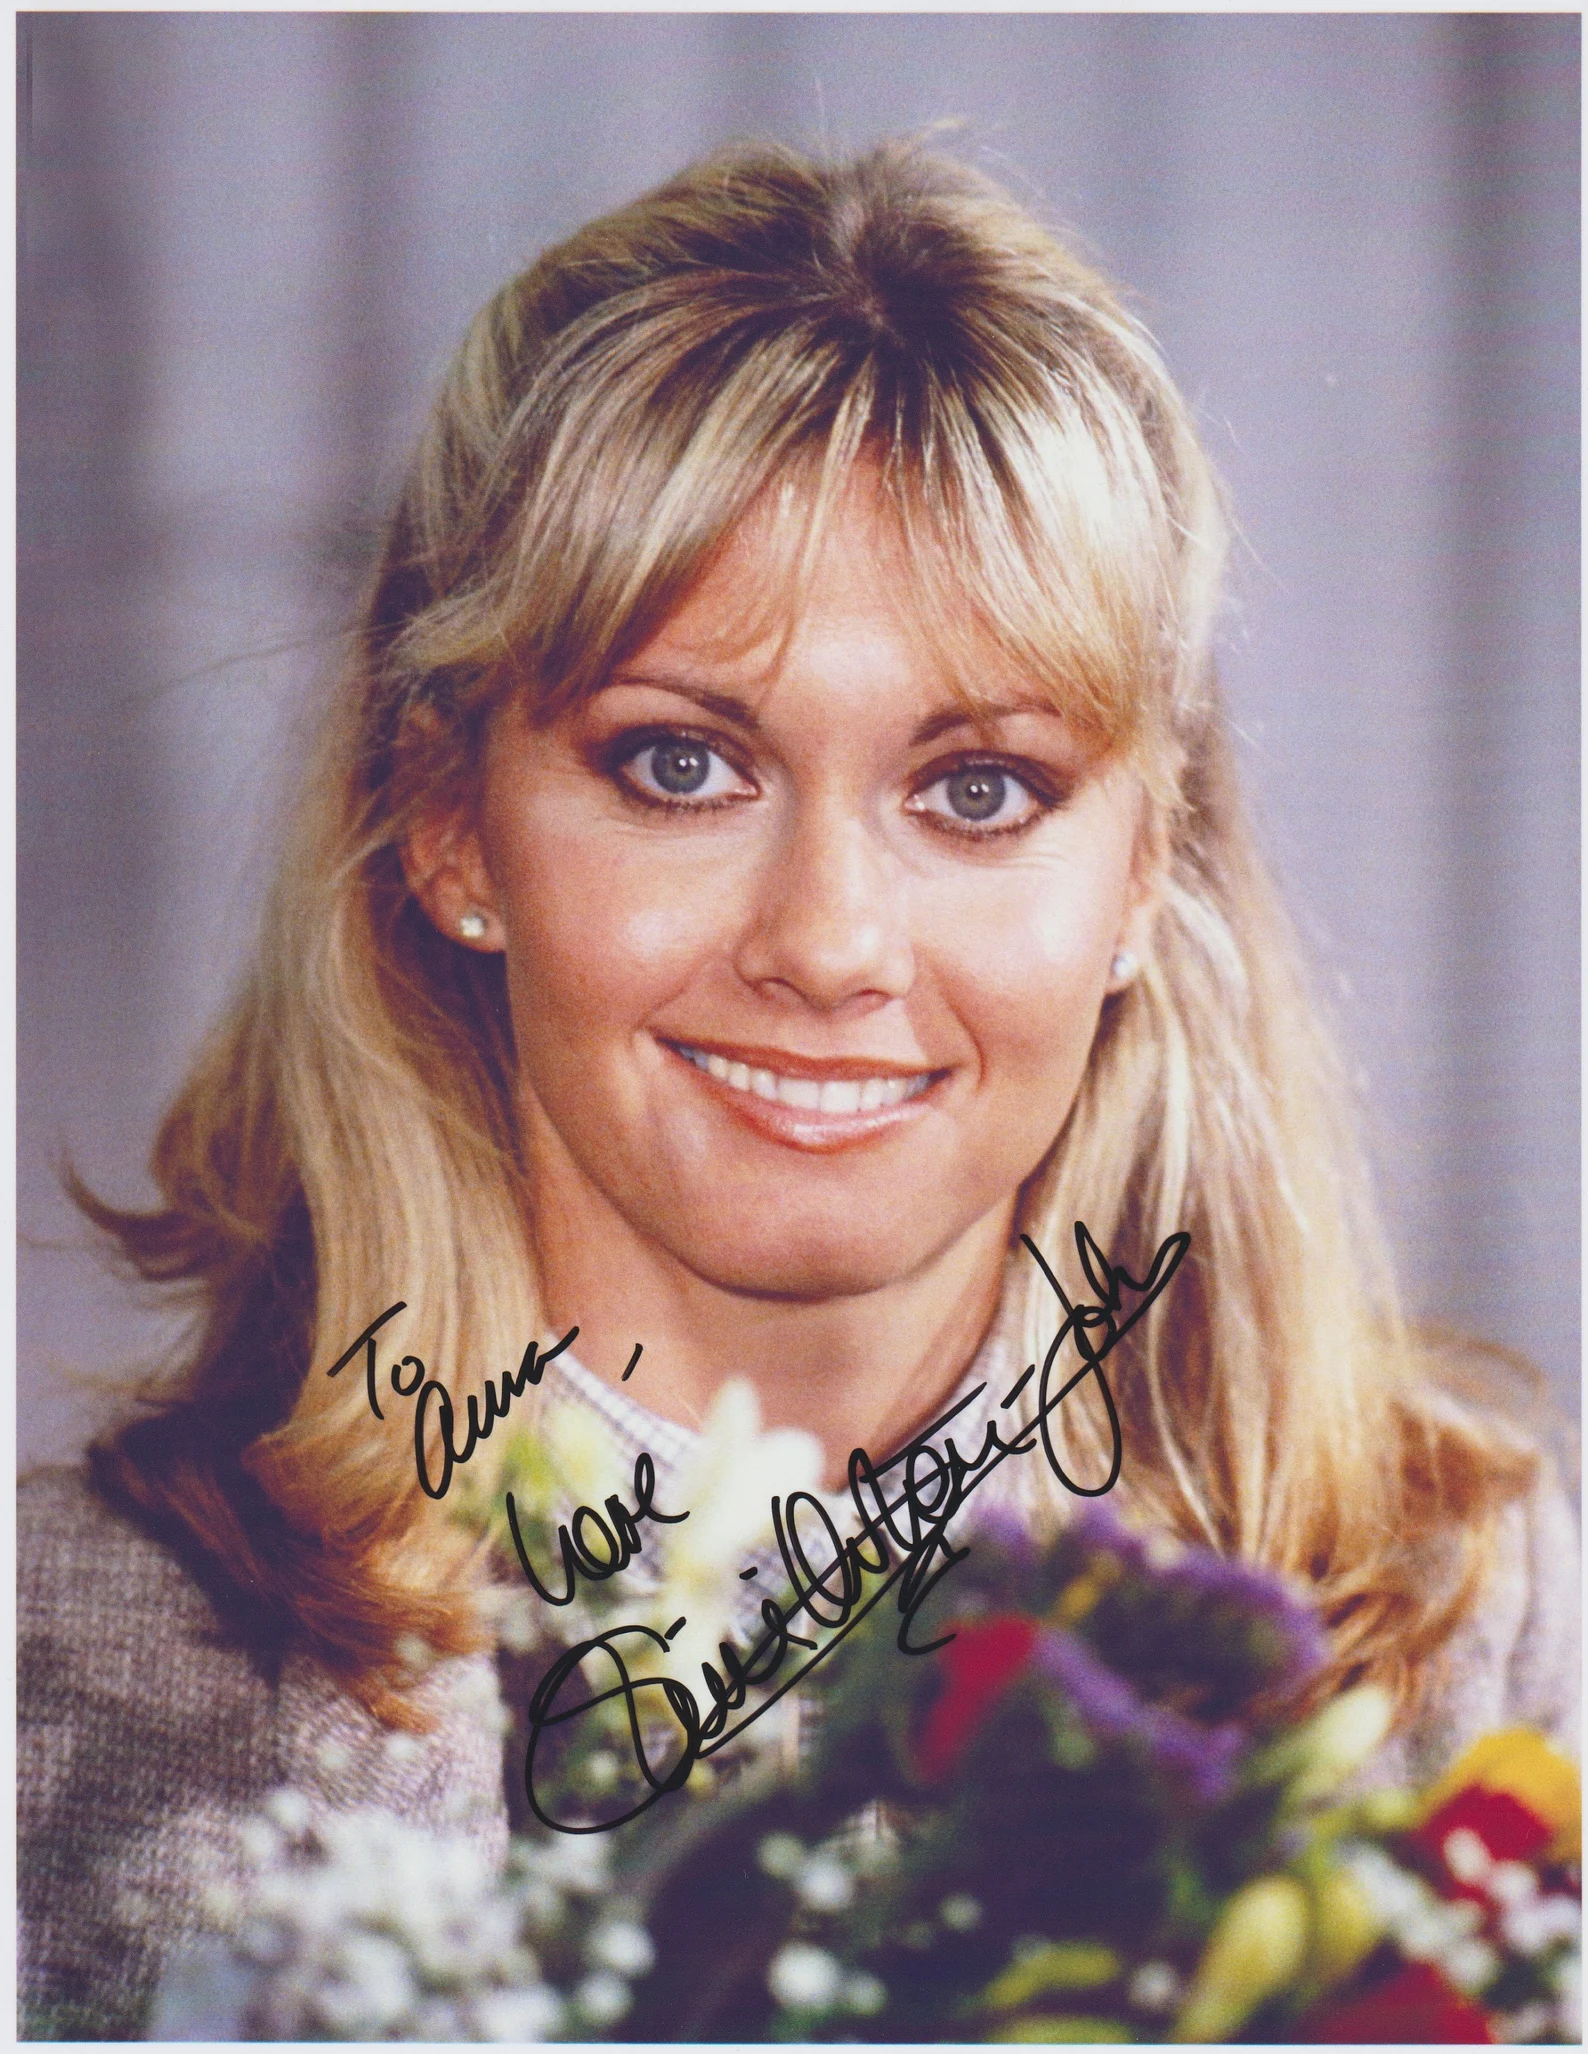
So last night I was VERY productive and happened to be on my computer. Doing a bit of research I took a glance at my email and saw that one of my ALL-time FAVORITE movie star actresses had simply passed away. I looked at the email. I read the title caption. I stared at it for a few moments. Said, “Nope this is a hoax.” Scrolled up and away from the entire email. Stopped midway through the thread and doubled back to it. Opened the email and began to read.
“Olivia Newton-John dead at 73.” That was it. Exactly how it sounded. TRAGIC. I can’t even believe this is going to be one of my posts on my website but I had to say something.
You know when you really love people and you wish you could tell them you love them. Or cry a few times with them. Or teleport through time and create your own post about yourself claiming an event that you are presently in. Yes, this is giving me ‘Sandra Dee Vibes.” Speaking of Sandra Dee these words on this page are flowing like GREASE LIGHTENING! (Just a bit of humor to lighten the mood here.)
About Oliva Newton-John:
Olivia Newton-John was born on September 26th, 1948 in Cambridge, United Kingdom. She is the youngest of three children, following her brother Hugh, who is a doctor, and sister Rona who is an actress.
She released her first solo album, If Not for You in 1971. In 1972, her second UK album, Olivia, was released but never formally issued in the United States. Her career struggled after the release. Her fortune changed with the release of “Let Me Be There” in 1973.
The song reached the American top 10 on the Pop charts and earned her a Grammy for Best Country Female. She also won an Academy of Country Music award for Most Promising Female Vocalist.
In 1974, she represented the United Kingdom in the Eurovision Song Contest with the song “Long Live Love”. The album was released in the US and Canada as If You Love Me, Let Me Know.
Her album Don’t Stop Believin’ was released in 1976. She headlined her first US television special, A Special Olivia Newton-John, in November of that same year.
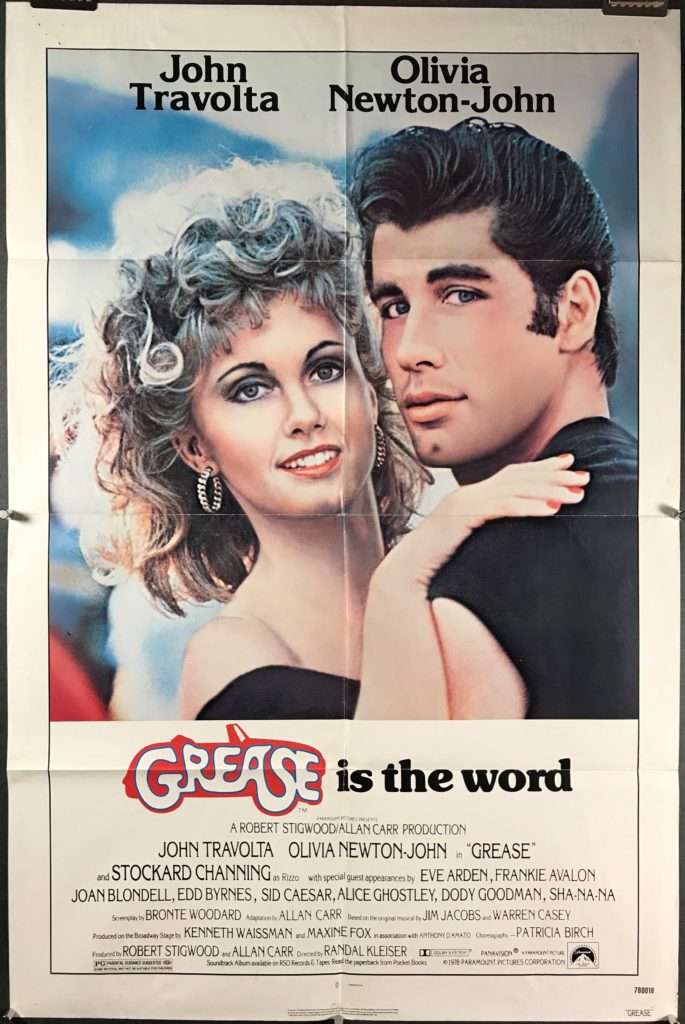
Grease The Musical:
Her career soared after she starred in the film adaptation of the Broadway musical Grease. She was offered the lead role of Sandy. Grease became the biggest box-office hit of 1978. The soundtrack album spent 12 non-consecutive weeks at No. 1 and yielded three Top 5 singles.
The platinum songs from the movie “You’re the One That I Want” with John Travolta, the gold “Hopelessly Devoted to You” and the gold “Summer Nights” with John Travolta and the film’s cast. “Summer Nights” was from the original play written by Jim Jacobs and Warren Casey, but the former two songs were written and composed by her long-time music producer, John Farrar, specifically for the film.
She sold over 100 million records worldwide, starred in one of the greatest musical films of all time, and was a general national treasure to the UK and Australia.
Health & Recovery:
Olivia Newton-John was diagnosed with breast cancer in 1992 and received her diagnosis the same weekend her father sadly passed away. She recovered and became an advocate for breast cancer research and other health issues. Proceeds from several of her albums have benefited breast cancer research.
In May 2017, it had been announced that her breast cancer had returned and metastasized to her lower back. In March 2018, she gave an update on her condition, saying she felt “really good”.
The Final Farewell:
In 2021, she gave another positive update, saying she felt “really wonderful”. On August 8, 2022, Olivia sadly passed away from cancer.
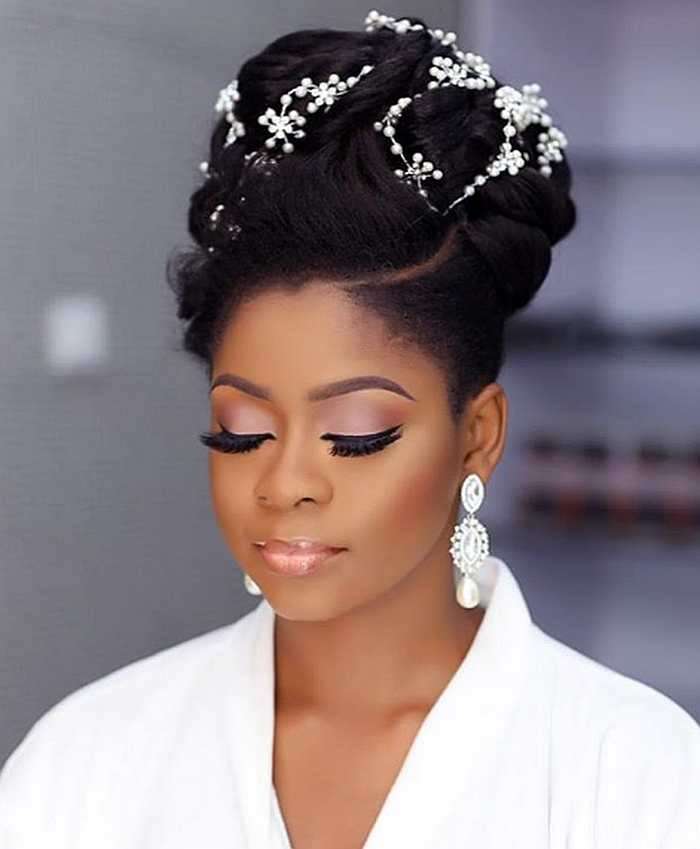
Okay so as you know from my previous social media posts I have NATURAL hair. (That and I almost ALWAYS start my post when I’m getting ready to ramble with “Okay.” )
“I receive a commission for purchases or clicks made through links in this post.”
Yes, I think I can actually say it’s 100% natural. For the majority of us when we say natural hair we just mean without a relaxer. In all actuality, I think it really means free from all chemical processing. I can’t be quite sure that’s true, it’s been a while since I graduated from cosmetology school. I do plan on refreshing my memory and Pinterest will be my BEST friend. Here are a few of my favorite Natural hair pins on Pinterest.
While the title of this post claims that these are my top 5 natural hair pins I did add one more just so that this is more aesthetically pleasing. As a natural girl, we tend to struggle with our hair. It’s always daunting tasks on wash day, bad hair days for wash & go’s and poof be gone silk presses.
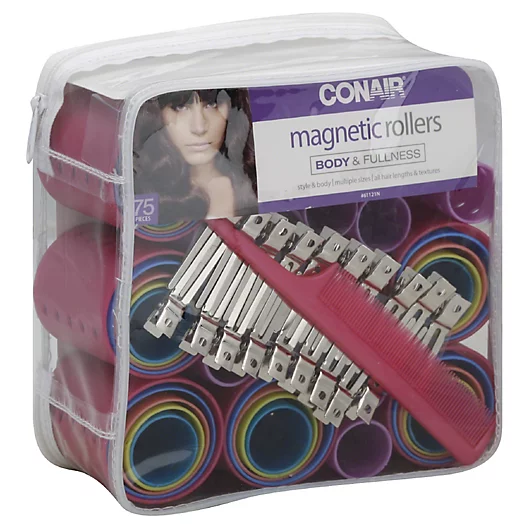
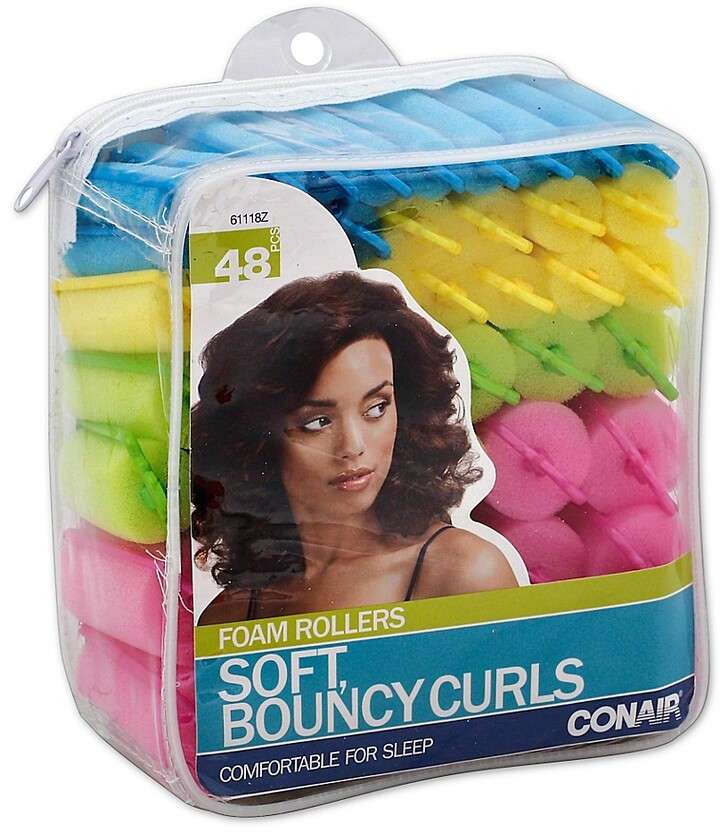
I thought this would be a great way to showcase some natural girls in the natural world with bouncy and disappearing curls. (I kinda tried to rhyme that accidentally but we’re gonna just roll with it. Lol.) While we are here let’s add a few bonus Roller Set pins.
Top 5 Roller Set Hair Pins:
This is the end of my Natural hair interest post but it will NOT be the last. (I kinda went overboard searching for my faves) I hope you find inspiration, try a new look and share it with your friends and family! Happy Pinning. LITERALLY.
How To Plan Your Yearly Blog Goals
7 Aug, 2022
“To Blog is a blog, but a blog has to post.”
“I receive a commission for purchases or clicks made through links in this post.”
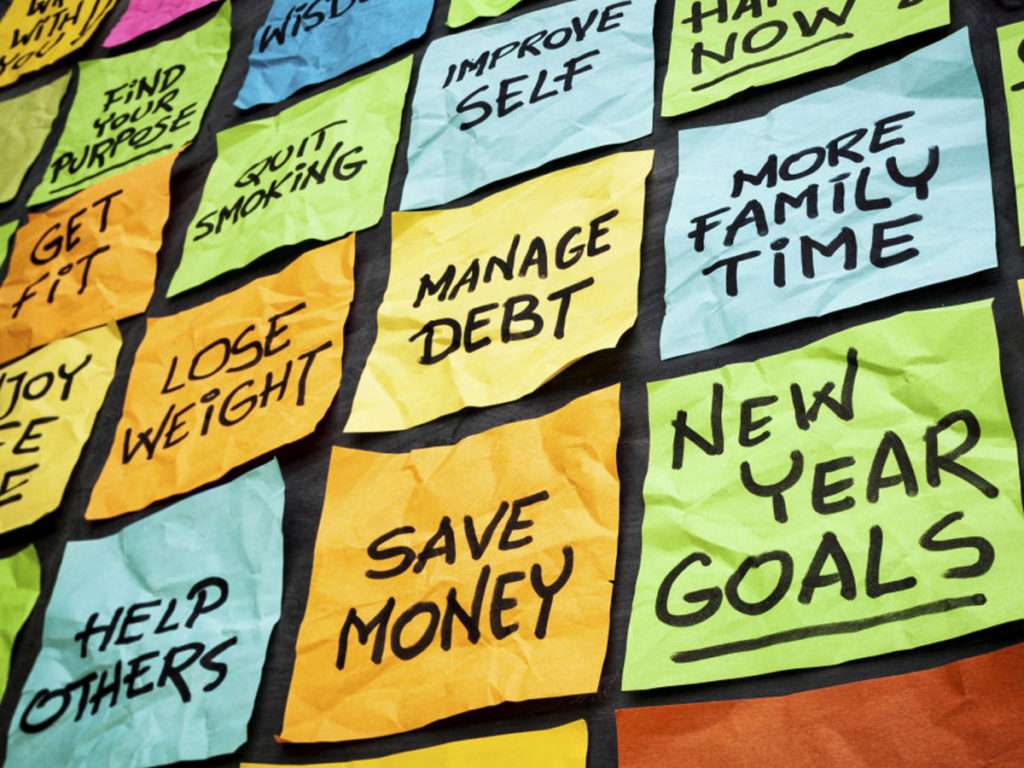
Every year we always tend to start with a New Year’s Resolution. If you aren’t quite sure what a new years resolution it all comes down to this “Things I say I plan to do differently but most likely won’t.”
Below is a quick clip of the Hallmark Movie called A New Years Resolution.
So how do we resolve this consistent issue? We FINALLY plan out our goals for the year.
Start off by asking yourself this one question.
What is it that I would like to accomplish in a year?
What would you like to accomplish this year? Use this time to break your goals down.
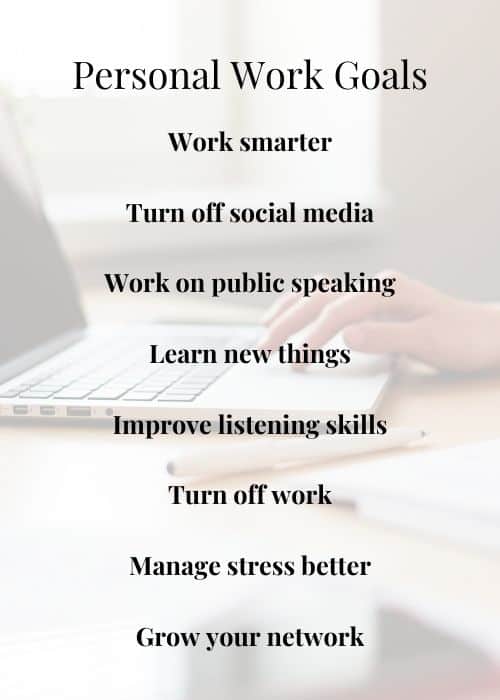
Social Media Goals:
Do you have certain goals for your social media accounts and presence? Perhaps you hope to grow to a specific number of followers. Do you intend to score sponsored posts and/or brand collaborations?
Maybe your goal is to be more personal and step outside your comfort zone by reaching out to your audience via Insta stories or creating a youtube channel! Whatever those social media goals happen to be, – WRITE THEM DOWN. Period.
Blog Goals:
Take this time out to think about what specific goals you have for your blog. Do you want to have a specific amount of blog traffic by next year? Do you want to make a specific amount of money through your blog?
What about your blog appearance? Do you want to rebrand your blog? Change the original theme? Be more consistent? Change your niche? WHAT ARE YOUR GOALS?!Write those down too!
Personal Goals:
Do you have any specific personal issues you are struggling with? Organize them as well. “Too many people use the New Year to beat themselves up for not being good enough.” Traci Stein, Ph.D., a psychologist says that’s not a good way to inspire yourself to change, and it just makes you feel bad.
Perhaps you want to eat healthier, quit smoking, drink more water, go out on more dates, and spend time with your kids. Write it ALL DOWN. Period, Period. (Yes that was twice.)
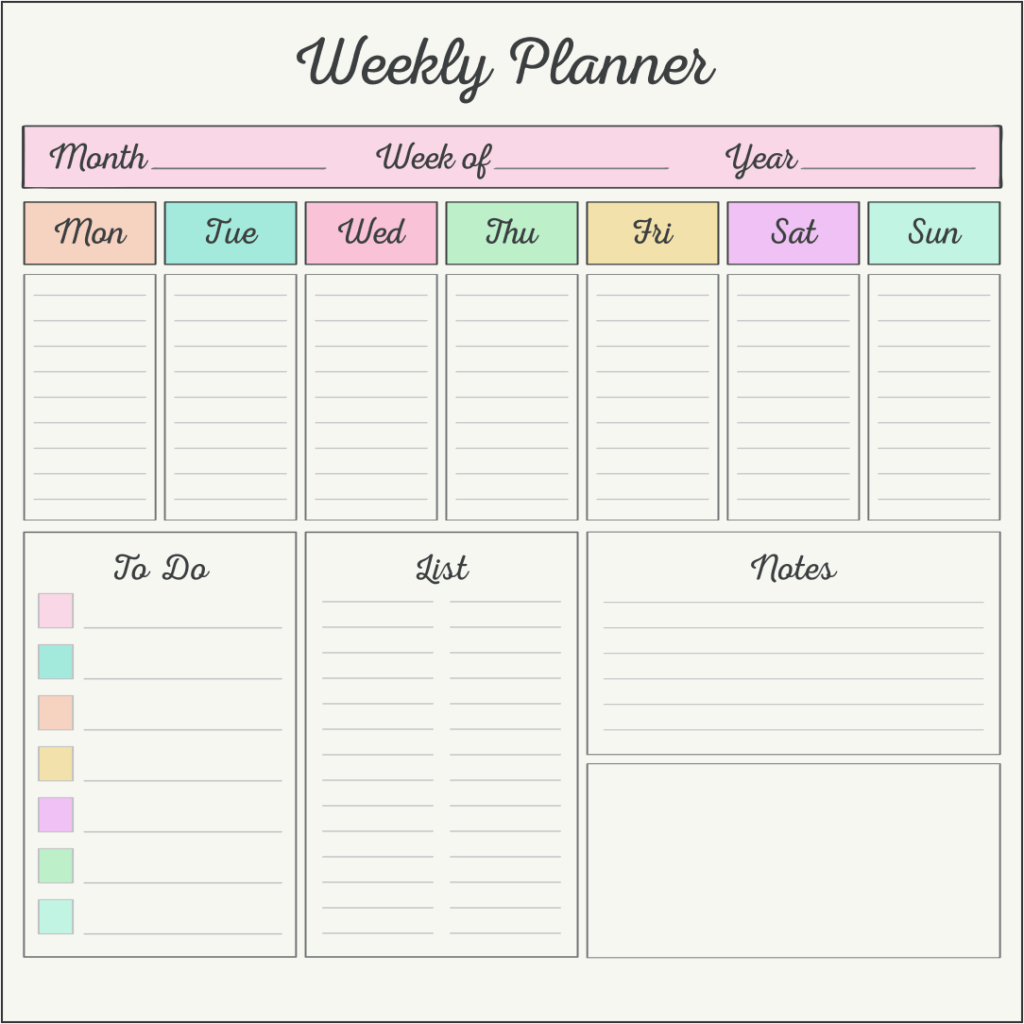
Utilize a Weekly Scheduling Template
If you aren’t someone who has spectacular memory you probably may need some assistance. You can use this to help schedule anything! Whether it be new or existing clients, blog post content, or even social media content!
Use a scheduling template to stay organized and to help make sure that you do not overwork yourself. If you need an idea of where to get started with this particular step click the link here for (WEEKLY SCHEDULING TEMPLATE)Use this guide for whatever you think works best!
Organize your Monthly goals into weekly goals. Plan out what you want to do for each week and what you want to accomplish. The best way to do this is to make a list and state what you plan on doing. Once your weekly list is completed organize what you want to do each day. This doesn’t have to be exactly the same each day unless that’s how you want to order and complete those tasks.
Create A Bucket List
You can use this to write down things that you wish to accomplish in the next year. It can be goals and adventures related to your blog OR just general things you want to accomplish.
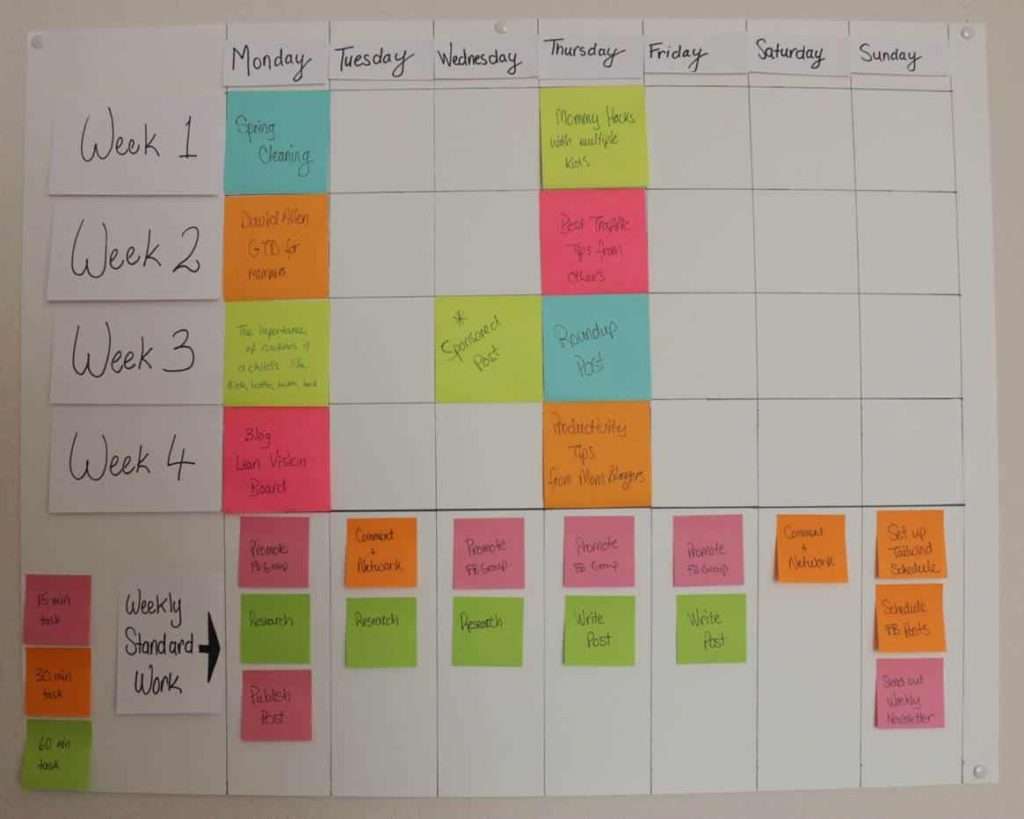
When planning out your content try your best to be as organized as possible. Normally I’m someone who likes to have their blog content planned out in advance. If my content is already planned out ahead of time, it allows me to have a more consistent schedule. I plan on using this method and checking to see if I notice an increase in my blog traffic because I am posting more consistently.
SO HOW DO I PLAN A MONTH IN ADVANCE?
FIRST – Throughout the month I collect blog post ideas. I typically write my ideas out as they come to me. I use my phone, and notes, or I use a planner if it’s in reach.
Before the end of the month, I look through my blog post title ideas and plan them out throughout the month. I then use my monthly calendar spread to plan when I want to have each post published. Depending on which site you are using there are tools available to you for easier post scheduling.
PRO TIP: If you blog about multiple niches/topics, try to dedicate specific days to each topic. For example, I chose Sundays for Self-care/motivation posts, Mondays for Skin Care, Tuesdays for Hair tips, Wednesdays for Nails, Thursdays for Fashion, Fridays for Social Media, and Saturdays for Relationships. Setting specific days of the week for each niche helps to make sure you aren’t ignoring any of your topics throughout the month.
As for writing the actual content, I try to write in advance. If I don’t write in advance I try to jot down some notes that highlight the main points I want to address. I create multiple drafts and add to them as I go along throughout the week. When it’s time to write the actual post I go to the document, open it up, and get to work!
Normally I go through 2 or 3 posts at a time and add a little to each post before publishing them on the publishing day. I read through the key points and write about the key points. I read over the content and check for errors before saving. On the final day before posting I gather all the photos and links, I will be incorporating into the post and save them to the document to buy time.
I know I will have my content written and ready to publish on the date it’s due to go live! It’s so important to stick to your schedule as much as possible if you want to stay consistent! When it comes to blogging it’s all about self-discipline. Always remember this “You get what you create and you create what you want.” Happy Blogging!