Blog Posts

How To Define Your Own Natural Hair Profile

This post is dedicated to guiding you through the beautiful journey of embracing and understanding your unique natural hair. Your natural hair profile is an expression of your identity, a beautiful manifestation of your cultural heritage, personal style, and self-confidence. By taking the time to establish a solid foundation and create your hair profile, you can unlock the full potential of your luscious locks.

To embark on this transformative journey, start by asking yourself some essential questions about your natural hair. What is your hair’s texture, thickness, and porosity? Do you have any specific concerns or challenges when it comes to managing and styling your hair? Understanding these key aspects will help you tailor your hair care routine to meet your individual needs.

Additionally, it’s important to recognize that your natural hair is unique and ever-evolving. Embrace the versatility and embrace the change—it’s all part of the beauty of natural hair. Experiment with different hairstyles, products, and techniques to discover what works best for you. Remember, there are no right or wrong answers when it comes to your hair journey—only the joy of self-discovery and the celebration of your natural beauty.

So, let this post be your guide, your support system, and your source of inspiration as you navigate the world of natural hair. Get ready to embrace your curls, kinks, and coils with confidence and pride. Trust in the power and beauty of your natural hair, and let it be a reflection of your true self. The journey starts now—unleash the magic of your natural hair!

Your Natural Hair Profile

In this section of your Natural hair profile, you should include your hair texture, your hair coil type, your hair density, and if you have any hair shrinkage and how much it shrinks.

Natural Hair Profile

What is your hair regimen? In this section, you should include how often you wash your hair, This would include daily, weekly, bi-weekly, once a month, every other month, or as necessary. You should also include why you chose this regimen or haircare routine. This would include your hair texture and type, your daily schedule, and the budget you have for hair styling. Such as doing your hair by yourself or going to the hair salon.

What products do you use on your wash day? This section should include the shampoos you use and any type of conditioner. Do you use a special conditioner? Do you use deep conditioning? Do you use a leave-in conditioner? Do you use hot oil treatments? Do you co-wash or pre-poo? Do you use a heated dryer or heated cap on your wash day? Do you use a deaman brush or a wide toothcomb? Do you blow dry your hair or let it air dry?

How do you style your hair? In this section, you should list the hairstyles that you wear on a daily basis. Do you wear a wash-and-go? A pineapple or afro Puff? Do you twist your hair in two strands or a three-strand twist do you wear a flat twist? Do you wear your hair braided? If so do you use one braid two braids plats, box braids, fishtail braids, and or goddess braids? Do you wear your hair in a bun? Do you wear sewn-in weaves, clip-in tracks or wefts, or clip-on ponytails? Do you wear your hair in a bun?

What products do you use for styling your hair? In this section, you would include all the products that you use for styling your hair. Be sure to name you’re leaving conditioners if you use them. Any curling creams curling puddings, or curling custards. Be sure to list any curl-defining creams, gels, or lotions. Do you use oil sheen or hairspray? Do you use Spritz or Moouse? Do you use age control or jam or hair gel, in this section you would also list which products you prefer and which ones are your favorite. You can also include the products that you tried on your hair that didn’t work.

Natural Hair Profile

Do you have any problems with your hair? In this section, you list any issues that you are having with your hair. Do you have frizzy unruly hair? Do you struggle with splitting? Is your hair thinning or falling out? Do you have a lot of breakage? Are you struggling with hair shrinkage? Is heat damage an issue that you tend to have a lot of?

A Low Budget: The Struggle Of Having Big Goals

Having a low budget is the worst way to plan big goals. Planning to increase your budget should be the first goal that you set. The best way for you to keep track of your money is by setting a goal. This can either be a goal for how much you plan to spend on a purchase or how much money you want to save. The same rules apply to both. Typically, when most people set a budget, they have a specific financial goal in mind. By doing this, reaching big goals on a small budget will be a bit more foolproof.

Elements of a successful budget

These could include paying down debt, planning a vacation, or starting a business. Your goals do not have to be that extreme. Simply saving up to pay off a simple credit card or layaway bill, will be good enough to get you started.

Using A Low Budget To Set Your Goals

Once you have your specific goal in mind, the next few steps toward reaching your goal will be that much simpler. Answer these six questions to get you started. Be sure to keep reminders of your goal everywhere. This can be done by creating a savings calendar.

  1. What is your goal?
  2. How much will it cost to reach the goal?
  3. When do you hope to reach the goal?
  4. How much do you need to save per month to reach your goal?
  5. How much do you have available now?
  6. What can you cut to acquire that money?
image

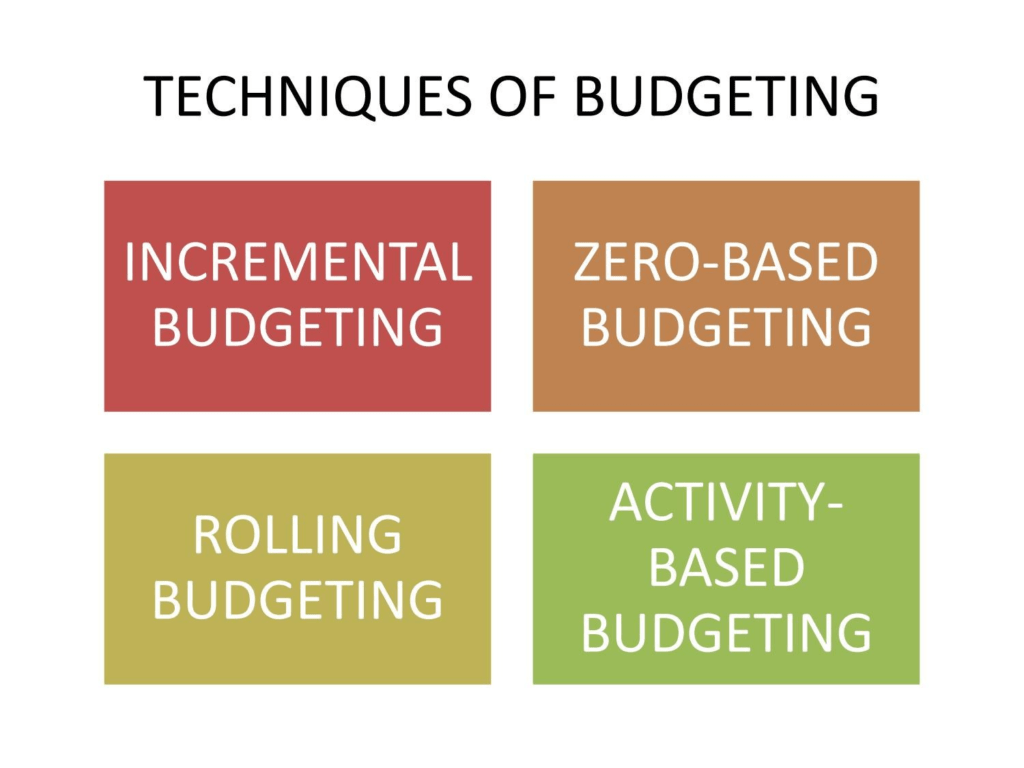
Budgeting is a great way to save money and reach your financial goals. It involves tracking your income and expenses so that you can make sure you are spending less money than you earn. Budgeting can also help you to identify areas where you can cut back on spending so that you can save more money. There are many different budgeting techniques, but some of the most common include:

  • The 50/30/20 budget: This budget allocates 50% of your income to needs, 30% to wants, and 20% to savings and debt repayment.
  • The zero-sum budget: This budget allocates every dollar of your income to a specific expense or savings goal.
  • The envelope system: This budget involves setting up individual envelopes for each of your expense categories. You then fill each envelope with cash at the beginning of the month and can only spend the money in that envelope on that expense category.

No matter what budgeting method you choose, the most important thing is to be consistent. Review your budget regularly and make adjustments as needed. Below are tips for budgeting to save money and reach your financial goals:

  • Set financial goals. What do you hope to achieve with your money? Do you want to save for a down payment on a house? Pay off debt? Retire early? Once you know what your goals are, you can start to create a budget that will help you reach them.
  • Track your income and expenses. This is the first step to creating a budget. You need to know where your money is coming from and where it is going. You can track your income and expenses using a spreadsheet, or budgeting app, or simply write them down in a notebook.
  • Set a budget. Once you have tracked your income and expenses, you can start to set a budget. Decide how much money you want to allocate to each expense category.
  • Review your budget regularly. Your financial situation can change over time, so it is important to review your budget regularly and make adjustments as needed.
  • Cut back on unnecessary expenses. Take a close look at your budget and identify areas where you can cut back on spending. Do you really need to eat out every week? Do you have subscriptions that you are not using?
  • Automate your savings. Set up a recurring transfer from your checking account to your savings account each month. This will help you to save money without even having to think about it.
  • Make extra payments on debt. If you have debt, try to make extra payments each month. This will help you to pay off your debt faster and save money on interest.

Budgeting and saving money can be challenging, but it is worth it in the long run. By following these tips, you can reach your financial goals and build a secure financial future.

Making extra payments on debts

The Best Nuts And Seeds For Adding To Your Diet

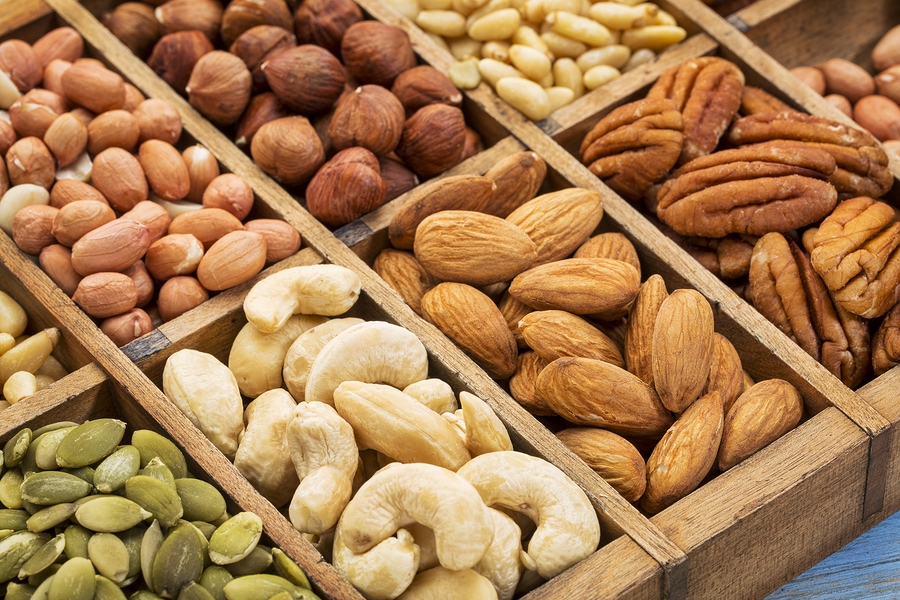
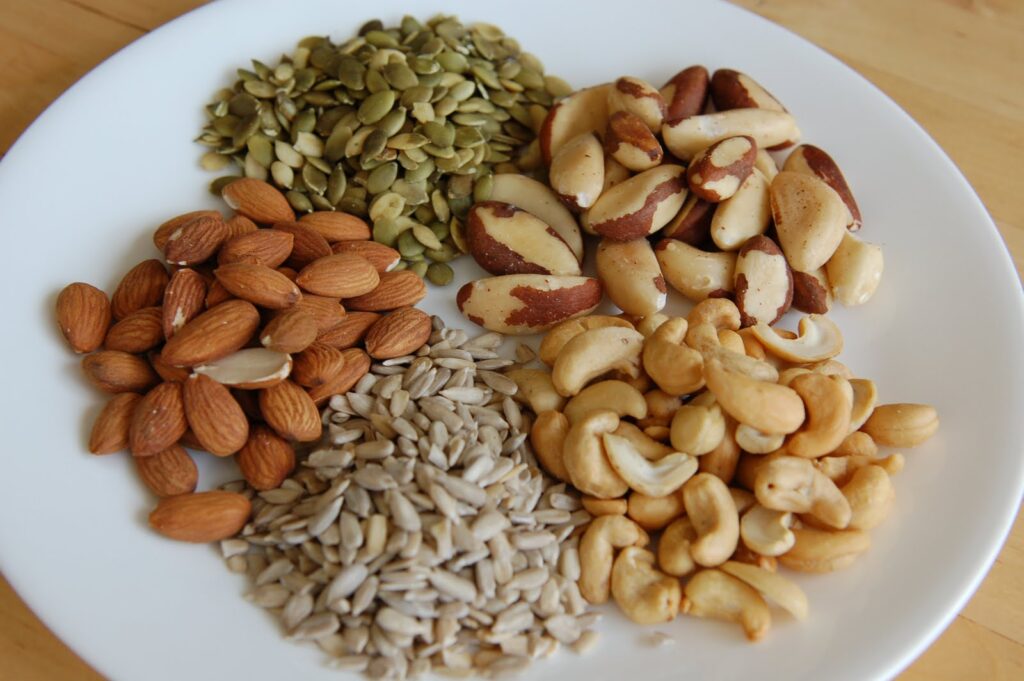
Nuts are a great snack for eating on the go. Eating nuts can assist you in reducing hunger as well as regulating your body weight. Eating nuts and seeds gives you a fuller feeling. Any diet would benefit from including nuts and seeds. They are loaded with vitamins, minerals, fiber, healthy fats, protein, and other nutrients. Additionally, they contain plenty of antioxidants, which can help shield your cells from harm.

Health benefits of nuts and seeds

  • Reduces the risk of heart disease: Nuts and seeds are a good source of monounsaturated and polyunsaturated fats, which can help lower cholesterol levels and reduce the risk of heart disease.
  • Lowers blood pressure: Nuts and seeds are also good sources of magnesium, which can help lower blood pressure.
  • Reduces the risk of type 2 diabetes: Nuts and seeds can help regulate blood sugar levels, which can help reduce the risk of type 2 diabetes.
  • Promotes weight loss: Nuts and seeds are a low-calorie, high-fiber food that can help you feel full and satisfied, which can help promote weight loss.
  • Improves brain health: Nuts and seeds are a good source of omega-3 fatty acids, which are essential for brain health.
  • Boosts immunity: Nuts and seeds are a good source of antioxidants, which can help boost the immune system.
  • Protects against cancer: Nuts and seeds contain compounds that may help protect against cancer.

Growing up I strayed away from eating nuts. This was because I didn’t like the taste. I was into eating everything sweet and everything that I didn’t need to be eating. Over time I began to actually enjoy the taste of nuts and seeds. These are a few of my favorite nuts and seeds and the health benefits that come along with eating these.

Cashew nuts and seeds

Cashews

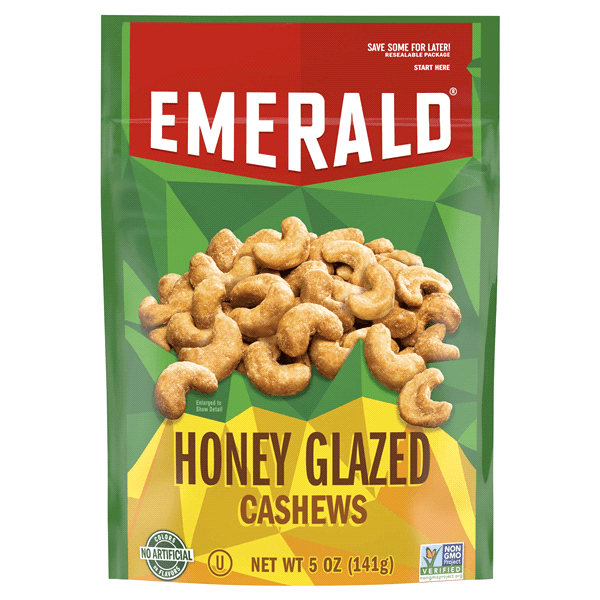
Cashews are a wonderful source of healthy fats and a modest source of protein. Cashews are a good source of copper, which is a mineral that is important for iron absorption and immune function. Cashews are a good source of dietary fiber including copper, manganese, and magnesium. This is a choice to add to your daily diet. These nuts can be eaten on their own, used in recipes, or processed into cheeses and butter. I typically like to eat my cashews roasted, honey roasted, or in butter.

While these nuts can be purchased from your local grocery store I like when my cashews or honey roasted at a peanut stand. I feel like they have the freshest taste and are healthier for you. One of my favorite cashew items is listed below.

Sunflower Kernels

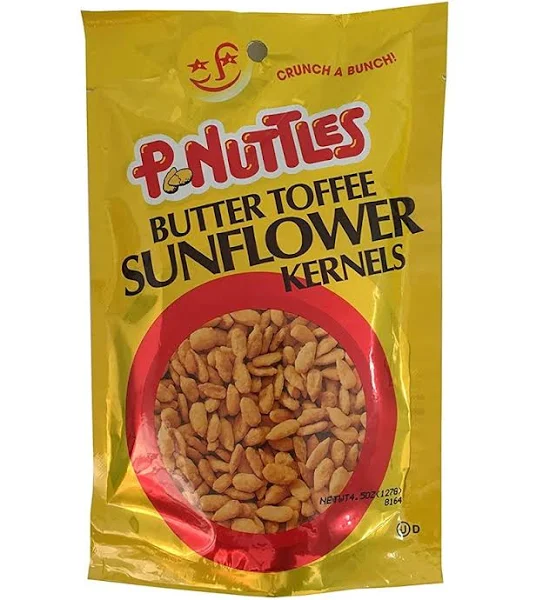
Magnesium, selenium, and vitamin E are all present in large amounts in sunflower seeds. These nutrients are necessary to keep bones, skin, and the immune system strong. Therefore, adding sunflower seeds to a balanced diet can have a number of positive effects on health. They can enhance cognitive function and lower cholesterol levels. Sunflower seeds are a fantastic snack choice for people trying to maintain a healthy diet because they are also a great source of protein and healthy fats. They are simple to incorporate into salads, trail mixes, or simply eaten by themselves as a quick and wholesome snack.

Pistachios

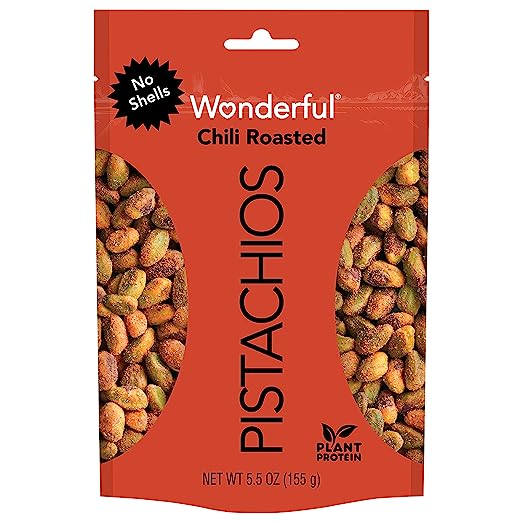
Pistachios are a good source of fiber, manganese, potassium, and vitamin B6. They can increase energy levels and help with heart health. Pistachios also have antioxidants, which may help to lessen inflammation and the risk of developing chronic illnesses. Due to their low calorie and high protein content, they are a great snack choice for those on a weight loss diet. Protein, fiber, and good fats can all be found in pistachios. Consuming pistachios may also help lower cholesterol levels and lower the risk of heart disease, according to studies. However, because they are also high in calories, it is crucial to consume them in moderation.

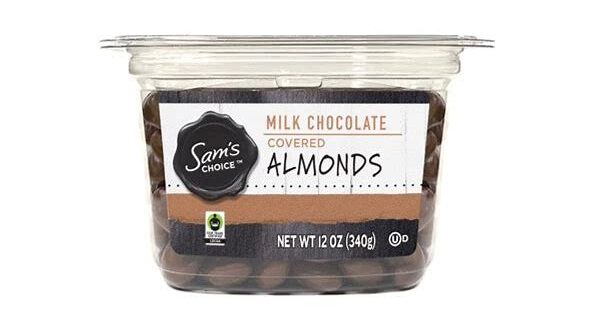
nuts and seeds, Sams Choice, Milk chocolate covered almonds

Almonds

Almonds are an excellent source of fiber, magnesium, and vitamin E. Additionally, They are also a good source of calcium, magnesium, and potassium. They can assist in lowering cholesterol levels and enhancing blood sugar regulation. Consuming these nutrients can also lower the risk of heart disease and stroke, according to studies. As a result, adding foods high in potassium, calcium, and magnesium to your diet can have a number of positive effects on your health. They are also high in fiber, which promotes digestive health and aids in weight control. When included in a balanced diet, they can offer a number of health benefits.

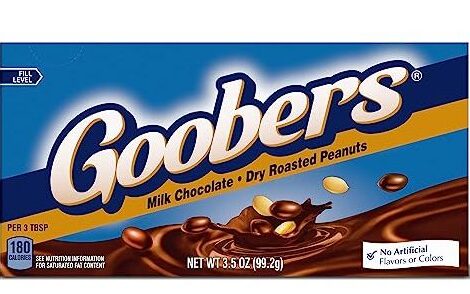
Nuts and seeds, Goobers Milk Chocolate Dry Roasted Peanuts

Peanuts

Peanuts can help improve blood sugar regulation and lower cholesterol levels. Protein, fiber, and good fats can all be found in peanuts. Additionally, they are a good source of vitamin E, folate, and niacin. In terms of flavor and nutritional content, peanuts are comparable to tree nuts like almonds and walnuts. Additionally, peanuts are a fantastic snack choice for those trying to maintain a healthy diet because they are high in protein and fiber. However, it is important to note that some people may have allergies to peanuts and should avoid consuming them.

In West Africa, India, China, and the southern United States, boiled peanuts are common snack foods. Eating peanuts and peanut butter can be a great way to prevent malnutrition in adults and children. Consuming 1.5 ounces of most nuts (such as peanuts) daily as part of a diet low in saturated fat and cholesterol may reduce the risk of heart disease, but scientific evidence is inconclusive in this regard. I personally don’t eat peanuts. I just don’t like the taste of them, but I do enjoy peanut butter. If I do eat peanuts I will eat them covered in chocolate.

Adding Nuts To Your Diet

If you are looking for a healthy and delicious way to add more nutrients to your diet, consider adding nuts and seeds to your meals. Nuts and seeds are versatile foods that can be added to many different dishes. Nuts and seeds are a healthy and delicious addition to any diet. By adding them to your meals and snacks, you can improve your overall health and well-being. Here are a few ideas:

  • Add to your cereal or yogurt for breakfast.
  • Sprinkle on your salad or soup for lunch or dinner.
  • Add to your trail mix or protein shake for a snack.
  • Use as a topping for your baked goods.
  • Grind into butter or flour to use in cooking.

List of Nuts And Seeds

There are many different types of nuts and seeds to choose from, so you can find ones that you enjoy and that fit your dietary needs. Some of the most popular nuts and seeds include:

  • Almonds
  • Brazil nuts
  • Cashews
  • Chia seeds
  • Flaxseeds
  • Hazelnuts
  • Macadamia nuts
  • Peanuts
  • Pecans
  • Pine nuts
  • Pumpkin seeds
  • Sesame seeds
  • Sunflower seeds

How To Make Honey Garlic Brussels Sprouts

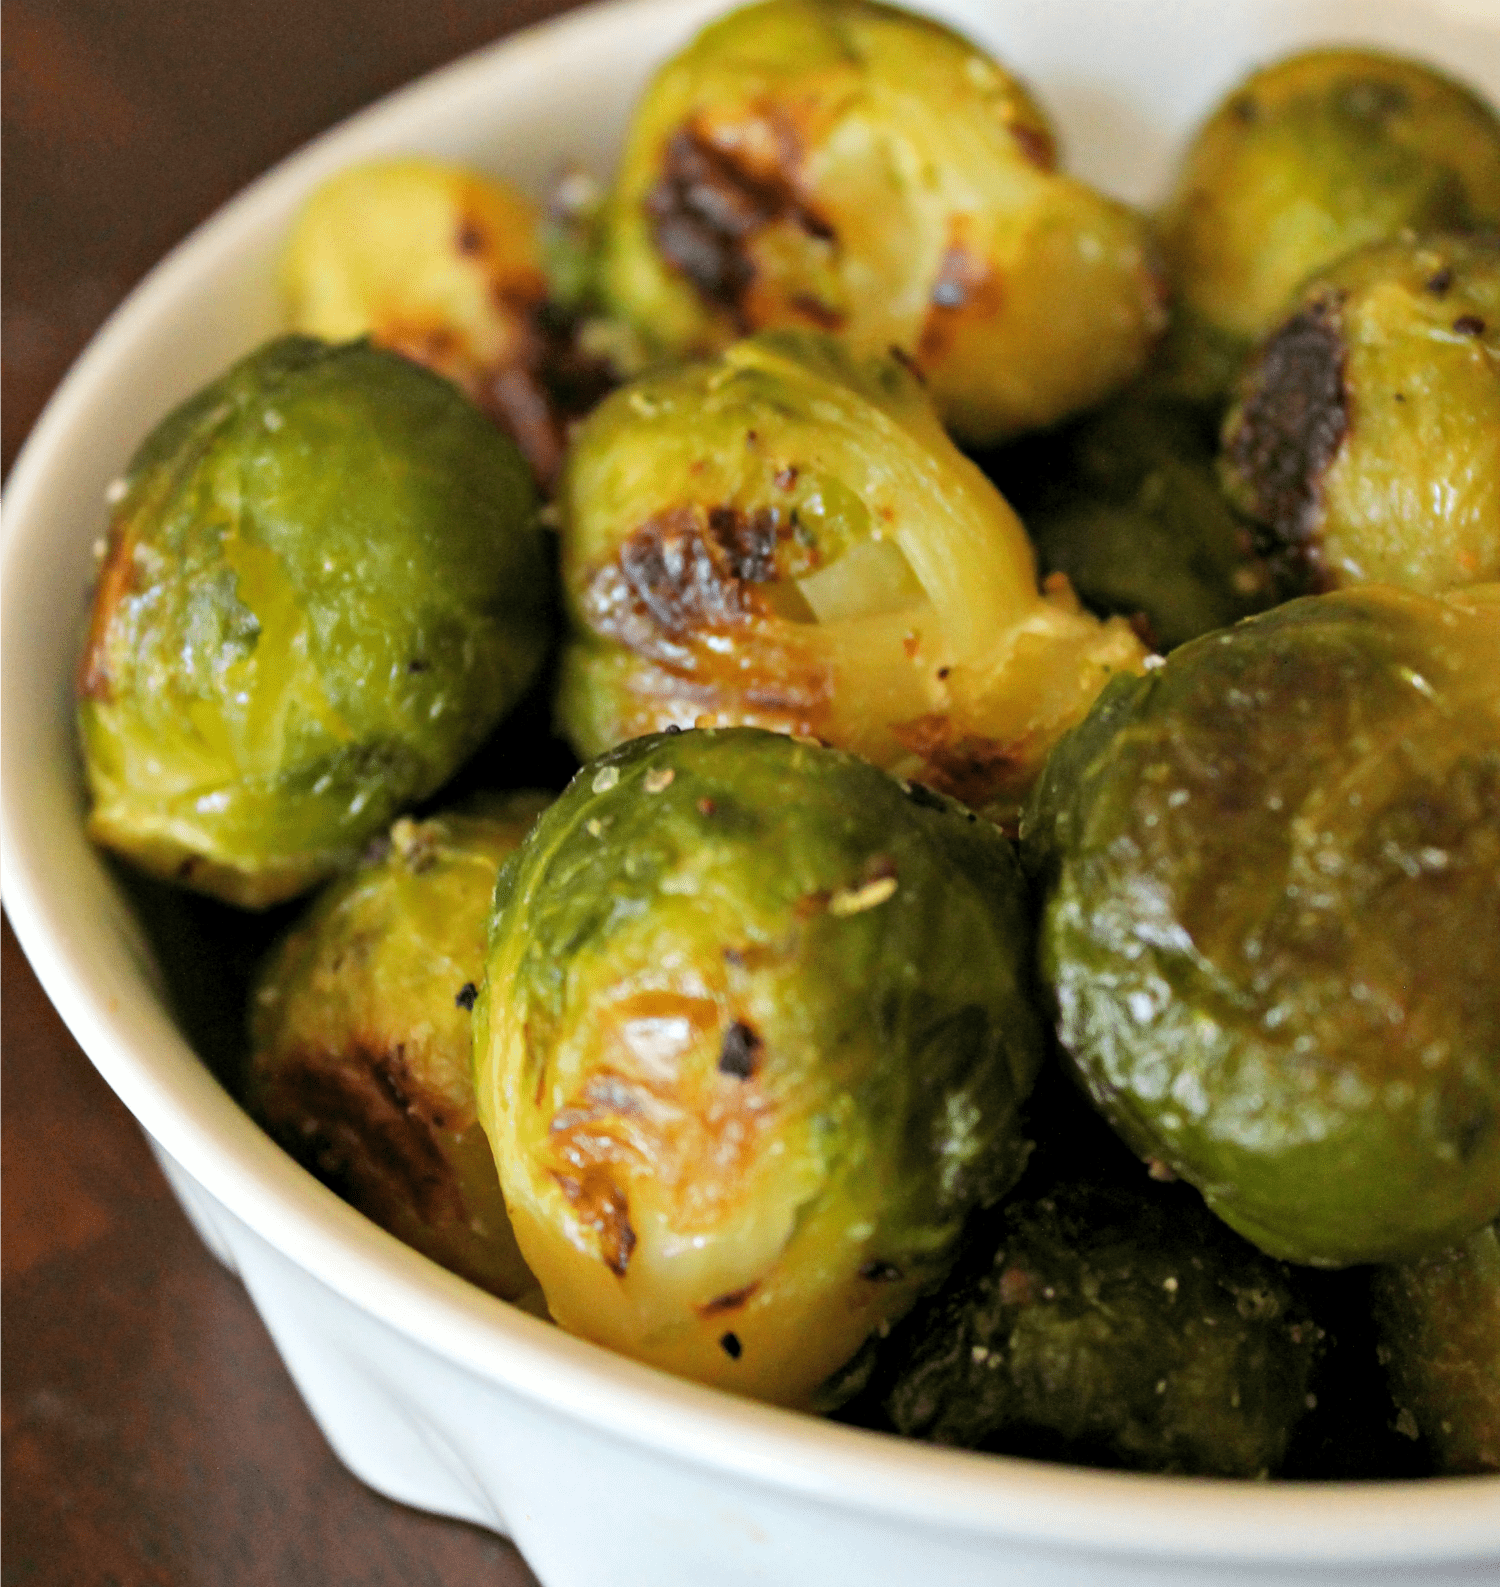
One thing about me I love green vegetables. When I was a kid I never wanted to eat brussels sprouts because I didn’t like the taste. This was very ironic because cabbage was one of my favorite vegetables to eat. As a child, my mother used to tell me that I should eat brussels because they’re basically baby cabbage.

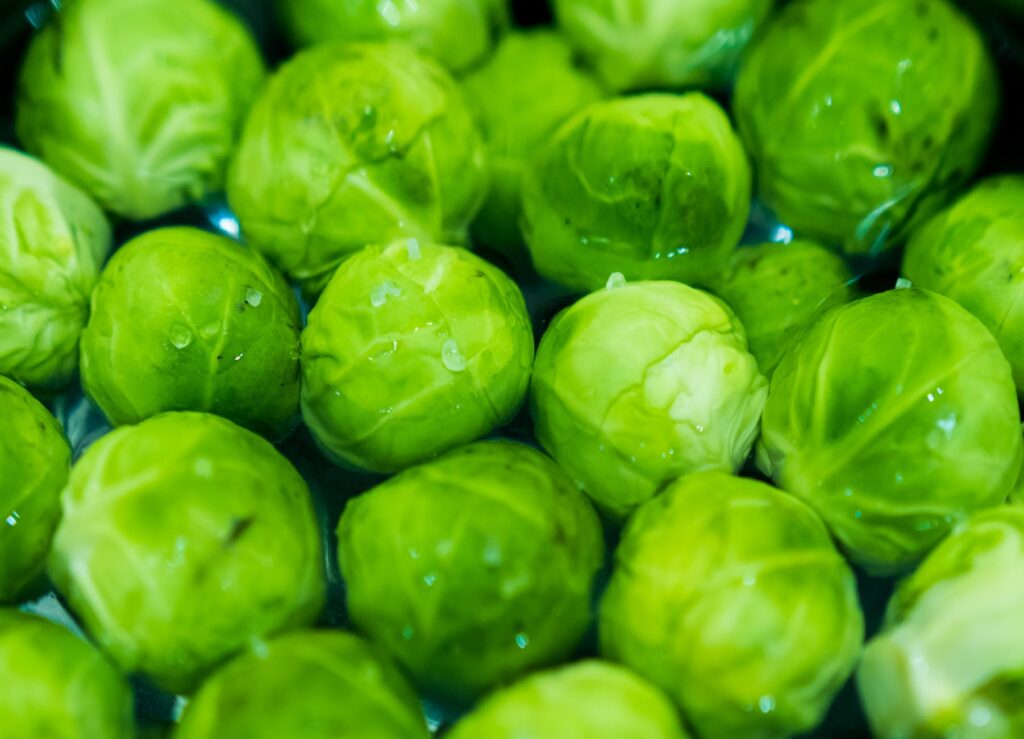
a close up shot of brussels sprouts
Photo by Adrian Frentescu

I wasn’t so sure about that. Then one day I tasted the best brussels sprouts I’ve ever eaten in my life they were very buttery and green. And ever since that day, I’ve been obsessed with brussels sprouts. I find new ways to cook them and I create new recipes for them. I will say that this vegetable is an acquired taste so this recipe is very important to me.

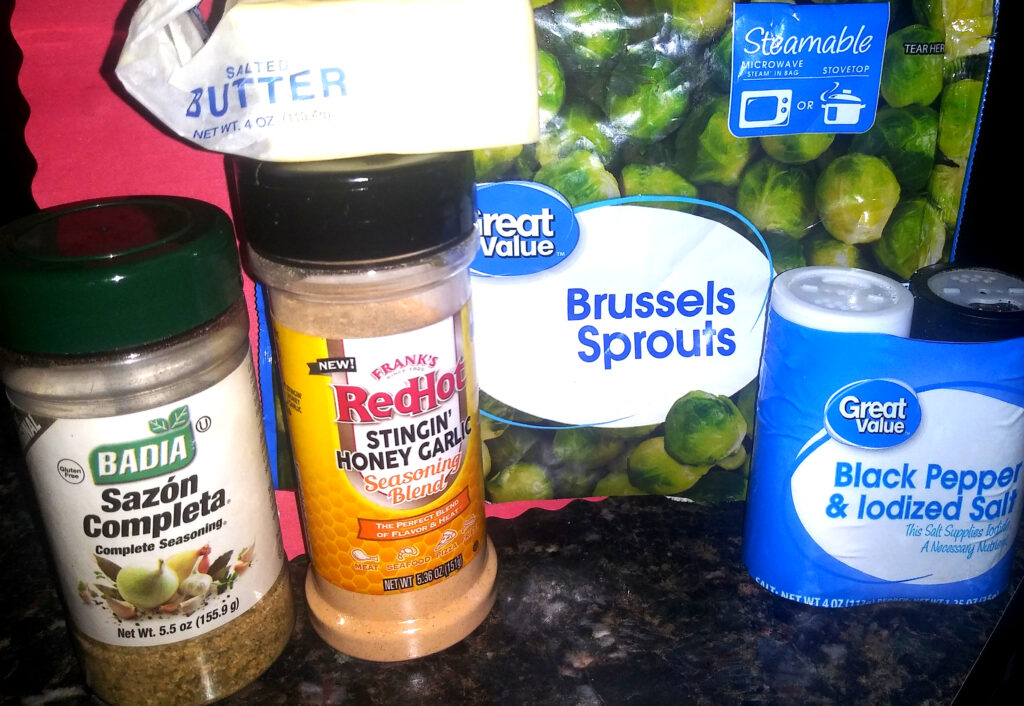
To create this recipe you only need a few items. I used a bag of steamable Great Value brussels sprouts. If you like. You can use fresh brussels sprouts. I chose these because it was easier and would allow me to have a lesser cooking time. You need salt and pepper, even though this is optional, and seasoning salt. I use the Badia brand as a seasoning mixture. I also used Frank’s Red Hot Stinging Honey Garlic seasoning blend. Also, you need bacon and butter as well. The bacon is also optional but it adds additional flavor.

Honey Garlic Brussels sprouts

Honey Garlic Brussels Sprouts

In a saucepan, add your chopped bacon and let it begin to saute. Add about a teaspoon of oil to your pan with your bacon. When your bacon has cooked for a few minutes prepare to add your sprouts. To begin cooking your sprouts, you want to fill your saucepan with about 1 to 2 cups of water. This all depends on the amount you will be cooking. After placing your water into your saucepan, add your brussels sprouts.

Season your brussels sprouts with about two tablespoons full of red hot stinging honey garlic seasoning blend. Add a dash of your Badia complete seasoning, a dash of black pepper, and a dash of salt. You can add salt if you like. I really don’t typically use salt in my cooking. It’s just a personal preference but I don’t think you would actually need salt for your brussels sprouts.

After adding your seasoning and about two tablespoons of butter cook on medium to low heat. Allow your brussels sprouts to cook until they reach your desired texture. You don’t want them to be too hard and you don’t want them to be too mushy. You want them to be a firm, medium texture that is flavorful to the taste.

Simple Country Fried Steak With Mushroom Gravy

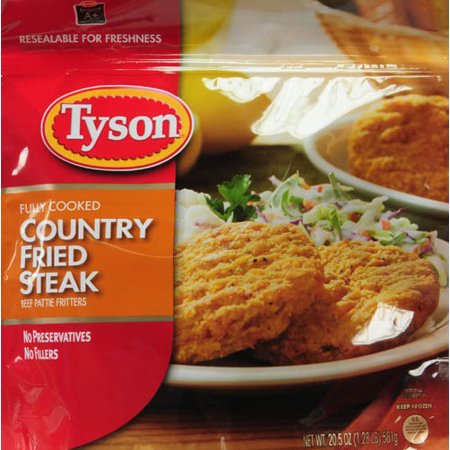
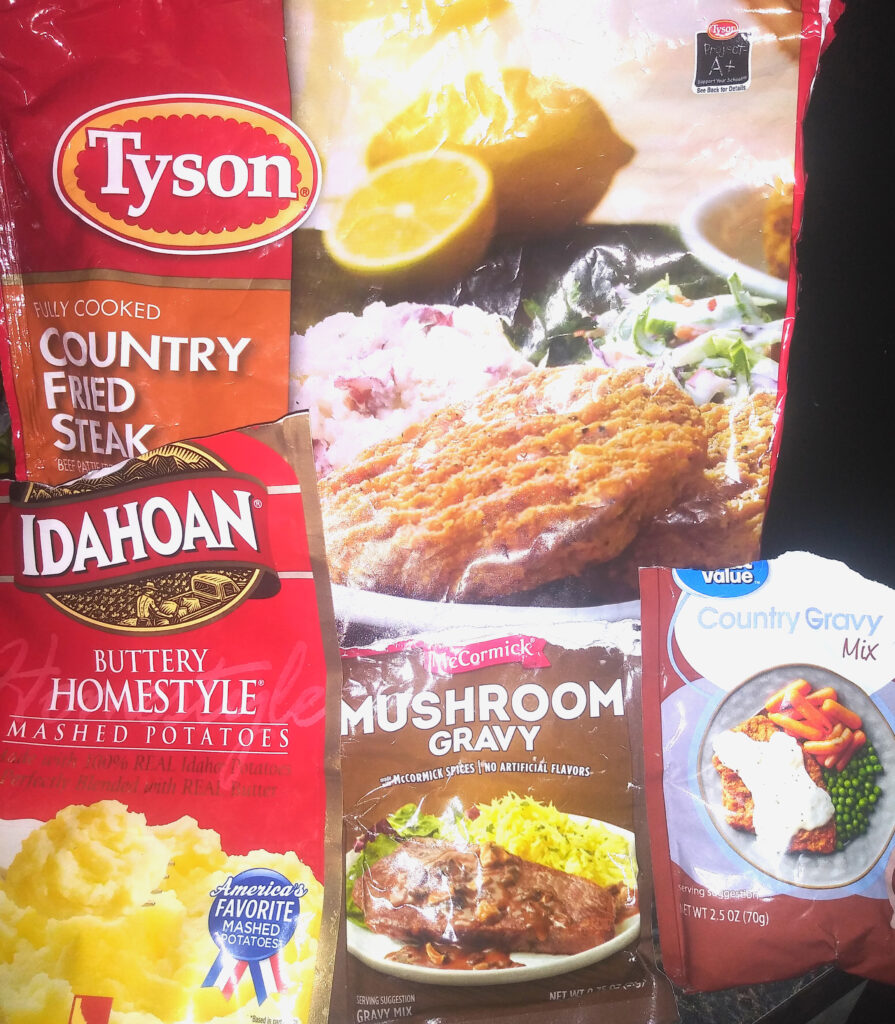
This Country Fried Steak is one of my favorite quick meat entrees for dinner. This recipe is very simple and easy to make with minimal ingredients. For this recipe, you will need country-fried steak for the meat and two gravy packs. I used the Tyson brand fried steaks since they are already cooked. This helps me save time since I don’t have to cook it myself. I used a package of Great Value Country gravy mix for the base of my gravy. Then I added a package of McCormick mushroom gravy for a bit of extra flavor.

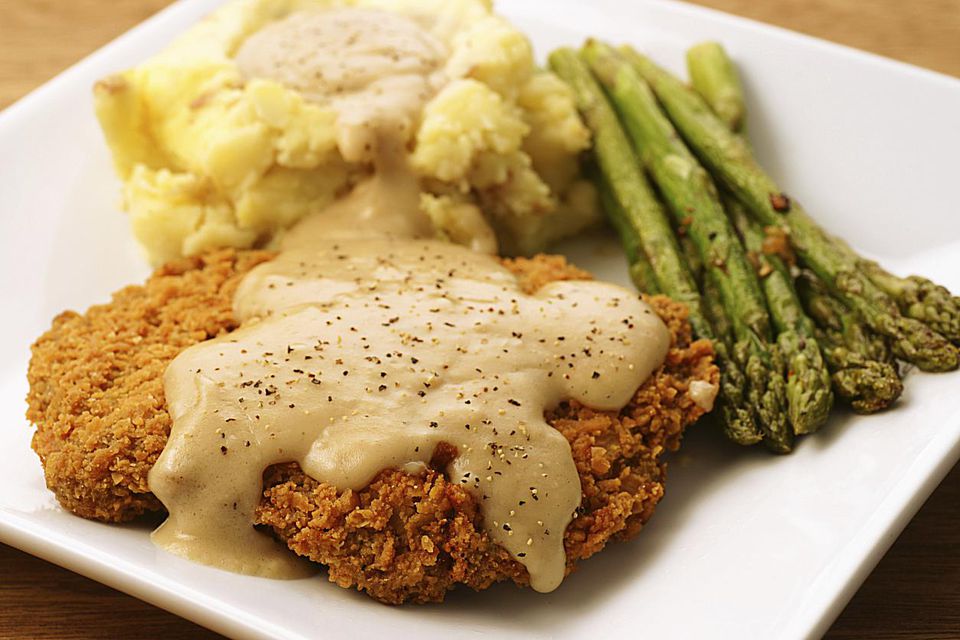
country fried steak with gravy

What Is Country Fried Steak?

Chicken-fried steak, or country-fried steak, is an American-breaded cutlet dish. It consists of a piece of beefsteak (most often tenderized cube steak) coated with seasoned flour. The country-fried steak is either deep-fried or pan-fried.

To create this meat you need to warm your Country fried steak. Simply follow the directions on the back of your package. This will require placing your country-fried steak in the oven or air fryer for about 15 to 20 minutes. This is all dependent upon the texture you want your meat to be. Flip your country-fried steak halfway through the cooking process. If you are using an air fryer to cook your meat flipping it over is optional. This is done to ensure that your meat is thoroughly cooked on both sides and ready to eat.

Mushroom Gravy

While your country-fried steak is in the oven this will be the perfect time to create your mushroom gravy. Normally you would use this meat is eaten with country gravy on your country-fried steak. Country gravy is typically a white creamy opaque consistency. I wanted a little more flavor this time, so I added mushroom gravy to my dish. I usually used peppered country gravy when I’m using the country gravy mix by itself. The mushroom gravy was used because I intended on eating this dish with mashed potatoes and brussels sprouts. I wanted the gravy to have a more brownish color over my mashed potatoes.

To make your gravy you will first want to add about 1 cup of water to a saucepan and allow it to boil. Once it begins to boil add your country gravy mix first. I added the country gravy mix first because the mushroom gravy might be too much salt for my liking. I want to keep the flavors about the same using the country-fried steak but I wanted a hint of mushroom and my gravy.

Country fried steak with mushroom gravy mix

Once your country gravy begins to form, add two or three tablespoons full of mushroom gravy to your saucepan. (You can alter this to your desired taste). Stir or whisk this mixture well until you reach your desired consistency. This should take about 3 to 5 minutes to cook. When your mixture is cooked you can allow it to simmer until your country-fried steak finishes cooking.

I usually wait until the timer for my meat is about 5 minutes to complete. Then I begin to make my gravy for my country-fried steak. After your steak finishes cooking spoon the gravy over your country-fried steak and that really all there is to it. Pair your country-fried steak with mashed potatoes or rice and add green beans, broccoli, or brussels sprouts to complete your meal.

Simple And Easy Sweet Orange Shrimp Penne With Cheese

This Shrimp Penne dish is actually one of my favorite recipes. I actually created this recipe from scratch. I was hungry one day and I just had a taste for something new and fresh. I went in the cabinets and I just started pulling things out and pairing flavors together and I came up with boom a masterpiece.

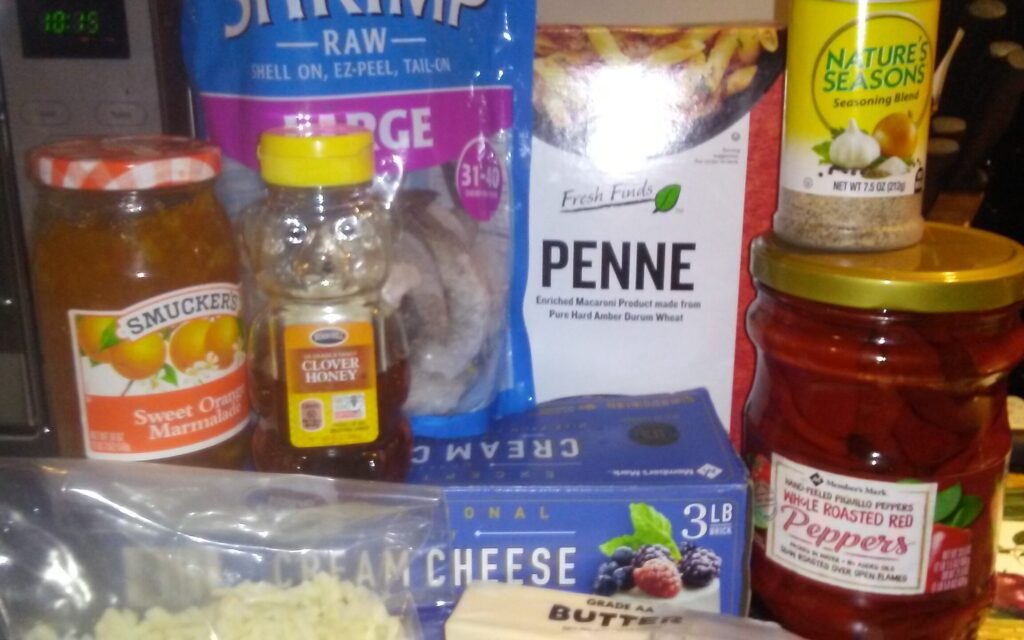
This recipe is absolutely great it’s one of my favorite things to eat and one of my favorite things to cook and I love it. So let’s get started with this sweet orange shrimp penne pasta. This recipe only calls for 10 simple ingredients and it’s not too hard to make. The ingredients you need are listed below.

  • Large raw shrimp with the shell on or off
  • Penne pasta
  • Seasoning blend (Whichever flavor you prefer.)
    • I use nature’s seasoning by Morton for this recipe
  • Sweet orange marmalade
    • I used the Smuckers brand
  • Honey any brand
    • I used clover honey for this recipe
  • Butter
    • I used sweet cream butter salted or unsalted will work. It has to be butter and not an oil spread
  • Cream cheese
  • Red peppers
    • I used whole roasted red peppers for this recipe but you can use regular red peppers. The Member’s Mark brand was used.
  • Mozzarella cheese
    • I used shredded mozzarella cheese for this recipe but any form of mozzarella cheese can be used.
  • Chopped chives for topping and garnish
  • Milk
Shrimp Penne Pasta

Sweet Orange Shrimp Penne

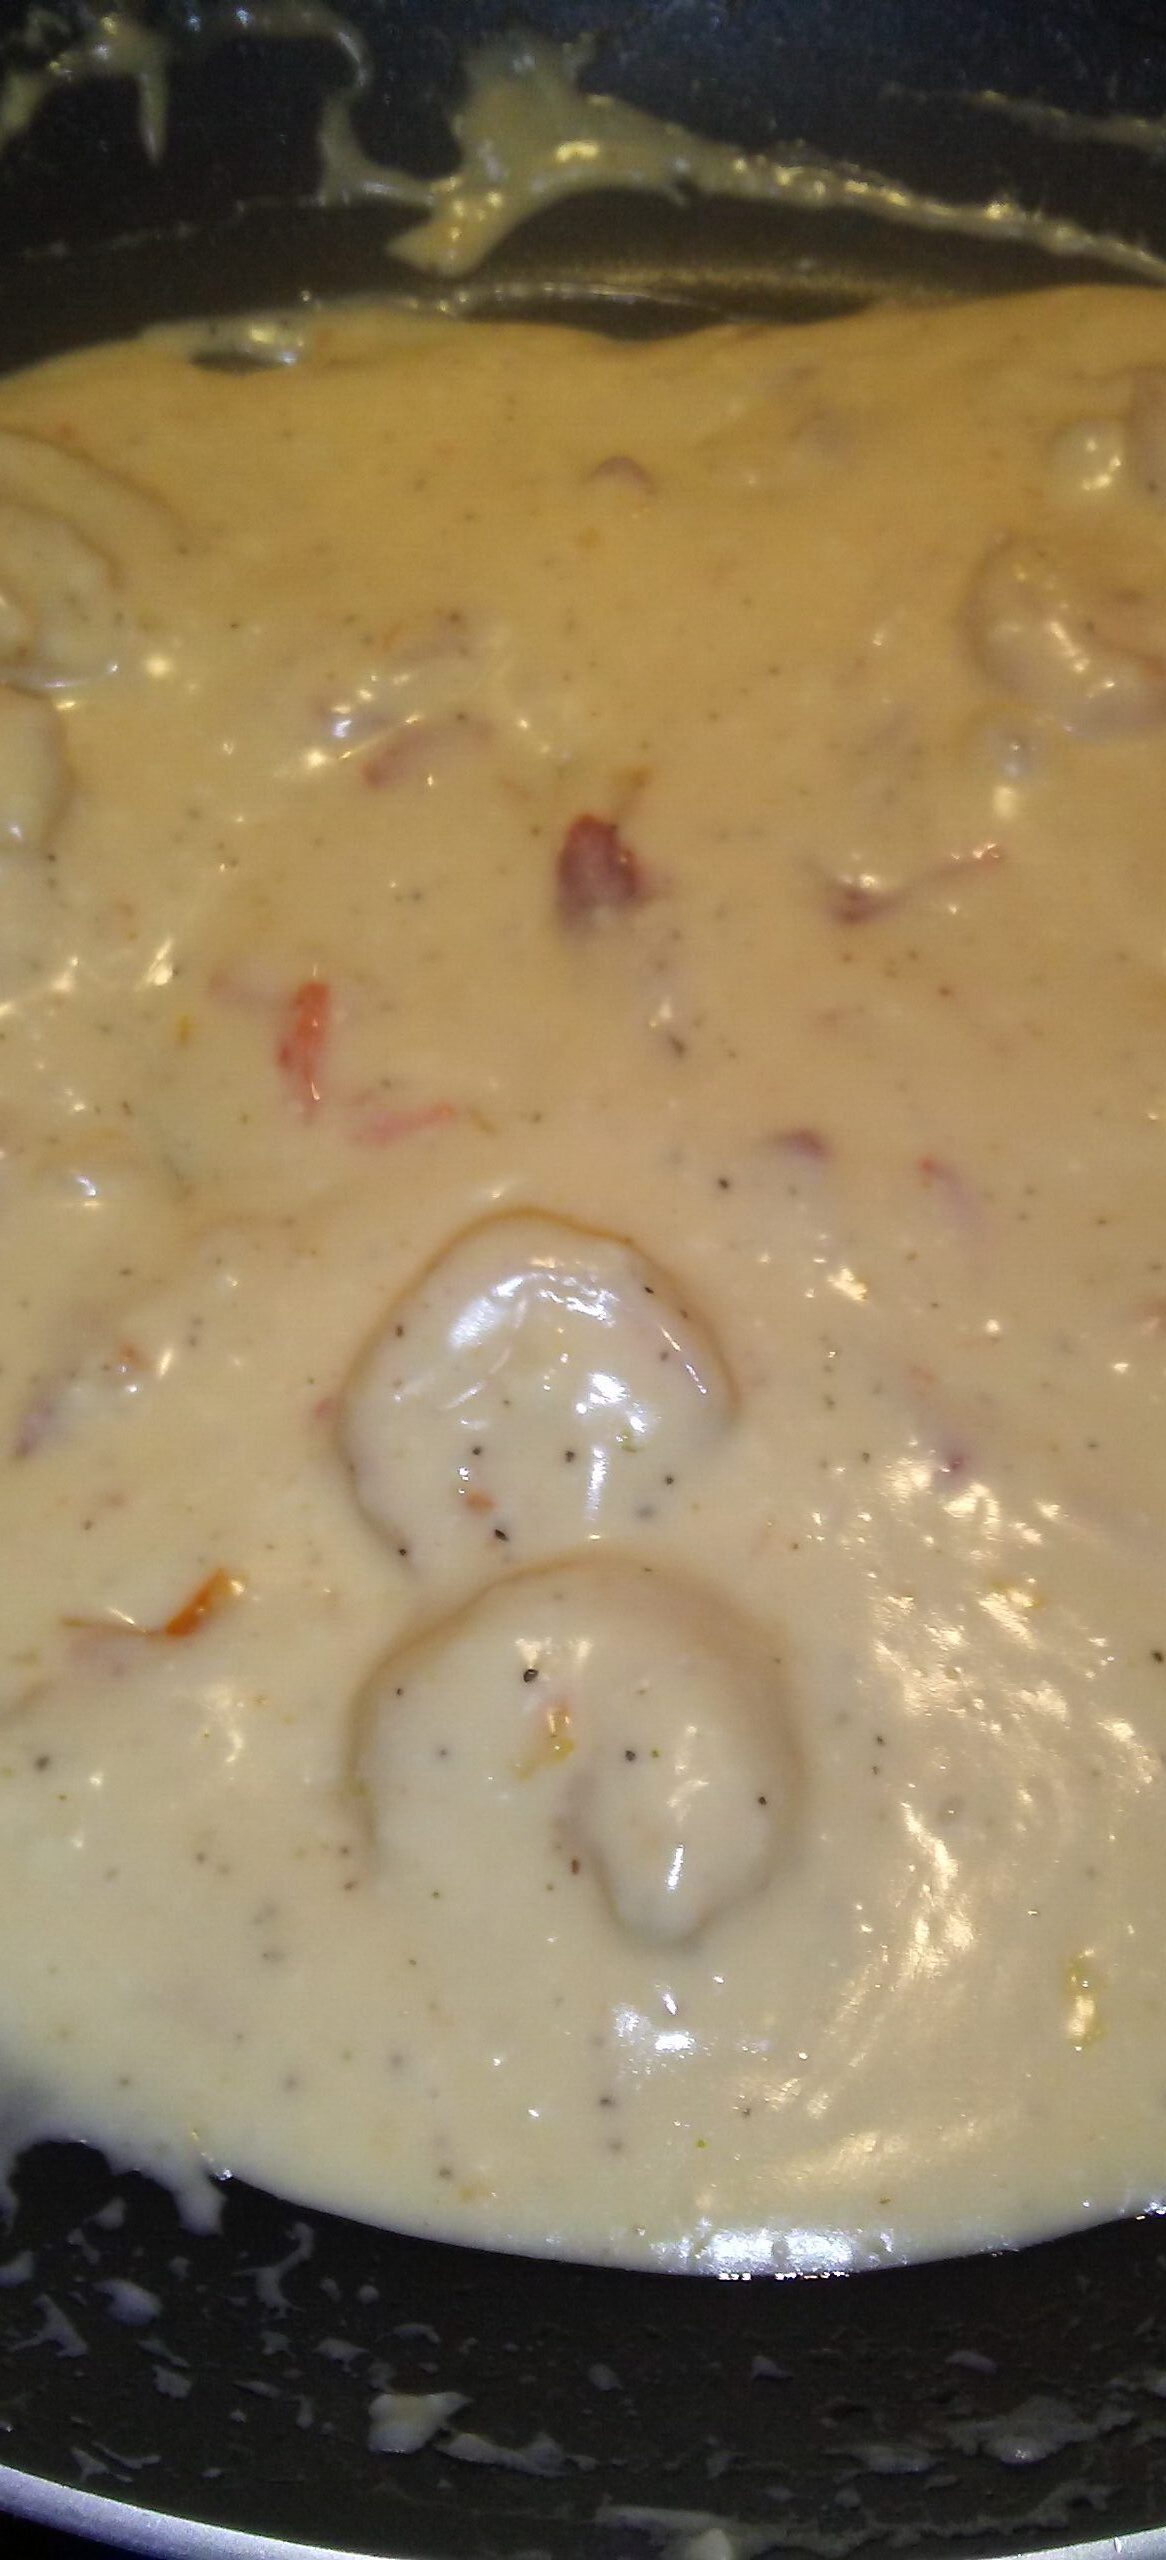
Wash your shrimp in cold water. Remove the shell and devein your shrimp before seasoning. Generously season your shrimp with your Morton’s seasoning salt and sit to the side. After seasoning your shrimp chop your peppers and add them into a saucepan large enough to hold your pasta.

In the pan with your peppers and your marmalade add your honey, butter, and water. Saute your mixture while you boil your noodles. In a separate pot add your noodles and one tablespoon full of olive oil or butter. Let your noodles boil for 5 to 6 minutes. Drain the water from your pasta.

Add your pepper mixture to your penne pasta and stir well making sure that all your penne pasta noodles are coated. Add your cream cheese and simmer for about 4 to 5 minutes. While stirring your penne pasta, add your shredded mozzarella to your sauce.

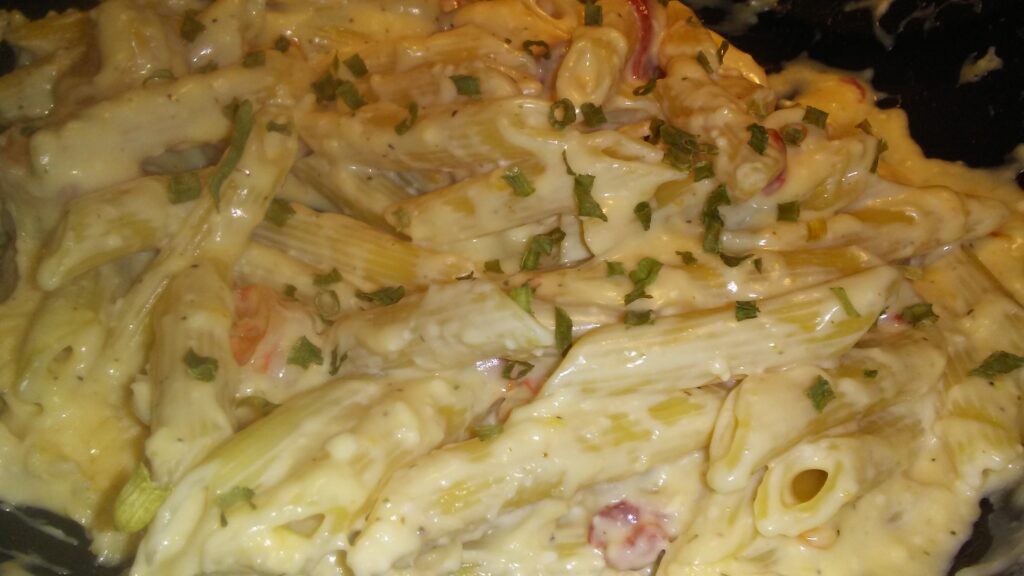
Saute your seasoned shrimp with butter until they are opaque in color. Once they turn opaque in color add them to your penne pasta mixture. Stir them in well and allow your pasta to cook for an additional two to three minutes until you’re done. Spoon your pasta onto a plate and garnish with chopped chives. This step is optional. You can serve this pasta with most seafood dishes such as fish crabs or crab cakes.

Simple Coconut Creme Marble Cake A la Mode With Yogurt

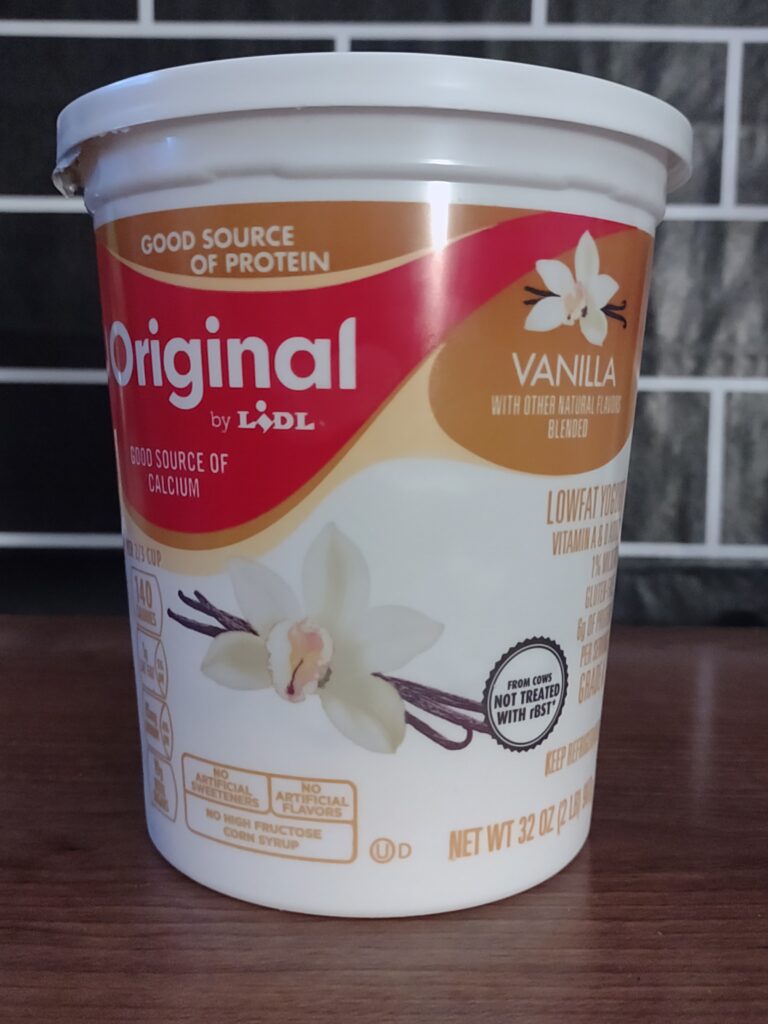
This is a great snack that I eat very often. It’s quick and easy to make. This recipe is a twist on the cake and ice cream. It’s even though you’re eating cake it’s a healthier alternative to eating cake and ice cream. With this recipe, you will essentially be substituting your ice cream for a flavor of yogurt that you choose.

Coconut Creme A La Mode

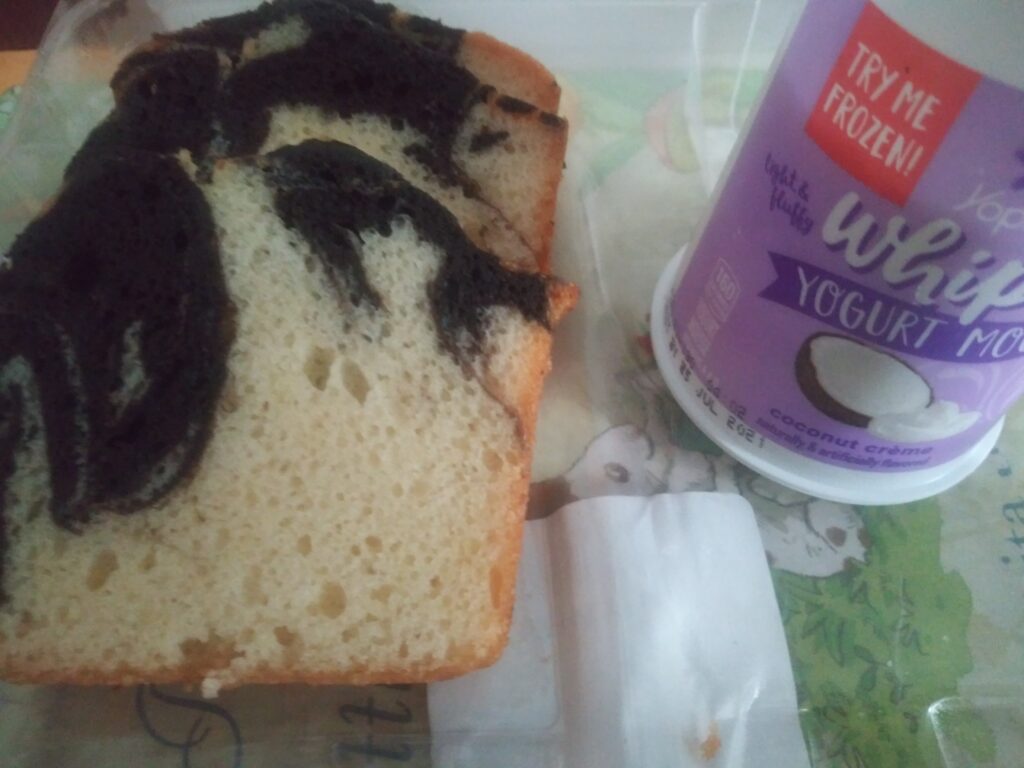
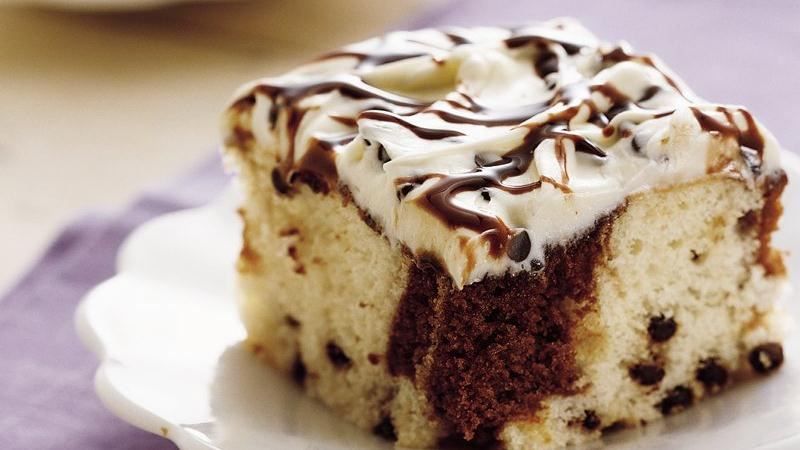
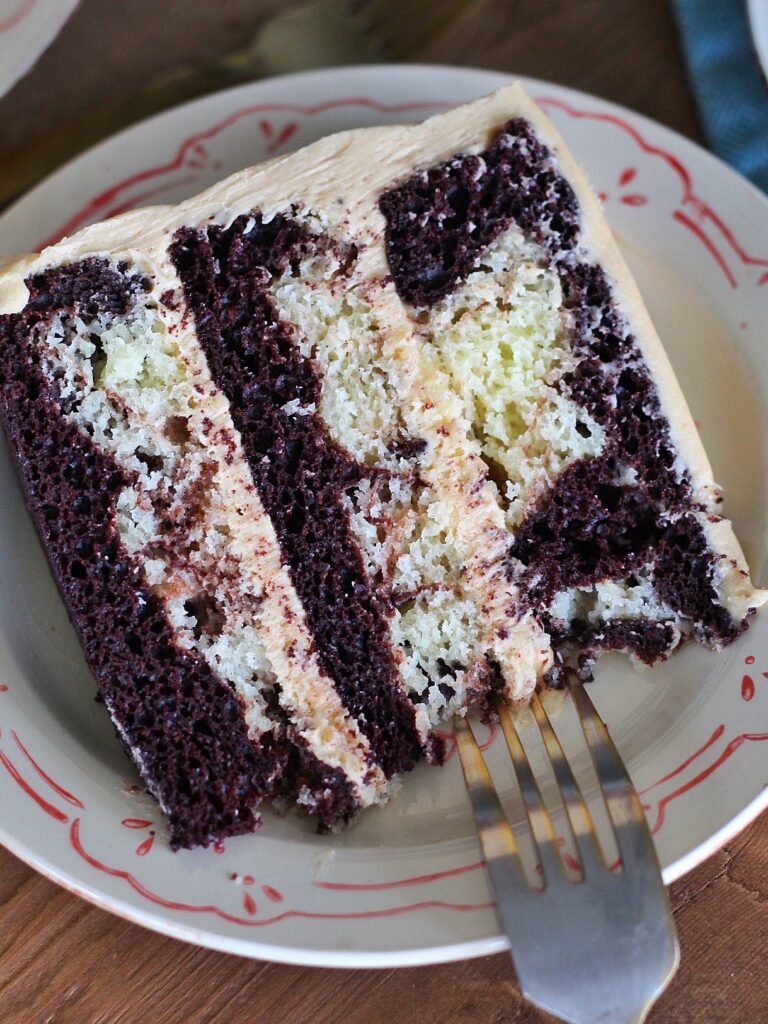
For my cake, I chose a marble cake that you can get from the bakery at Walmart. It’s actually one of my favorite cakes I do eat this cake with ice cream even though for this recipe I’m using yogurt. A marble cake (or Marmor) is a cake with a streaked or mottled appearance (like marble) achieved by very lightly blending light and dark batter.

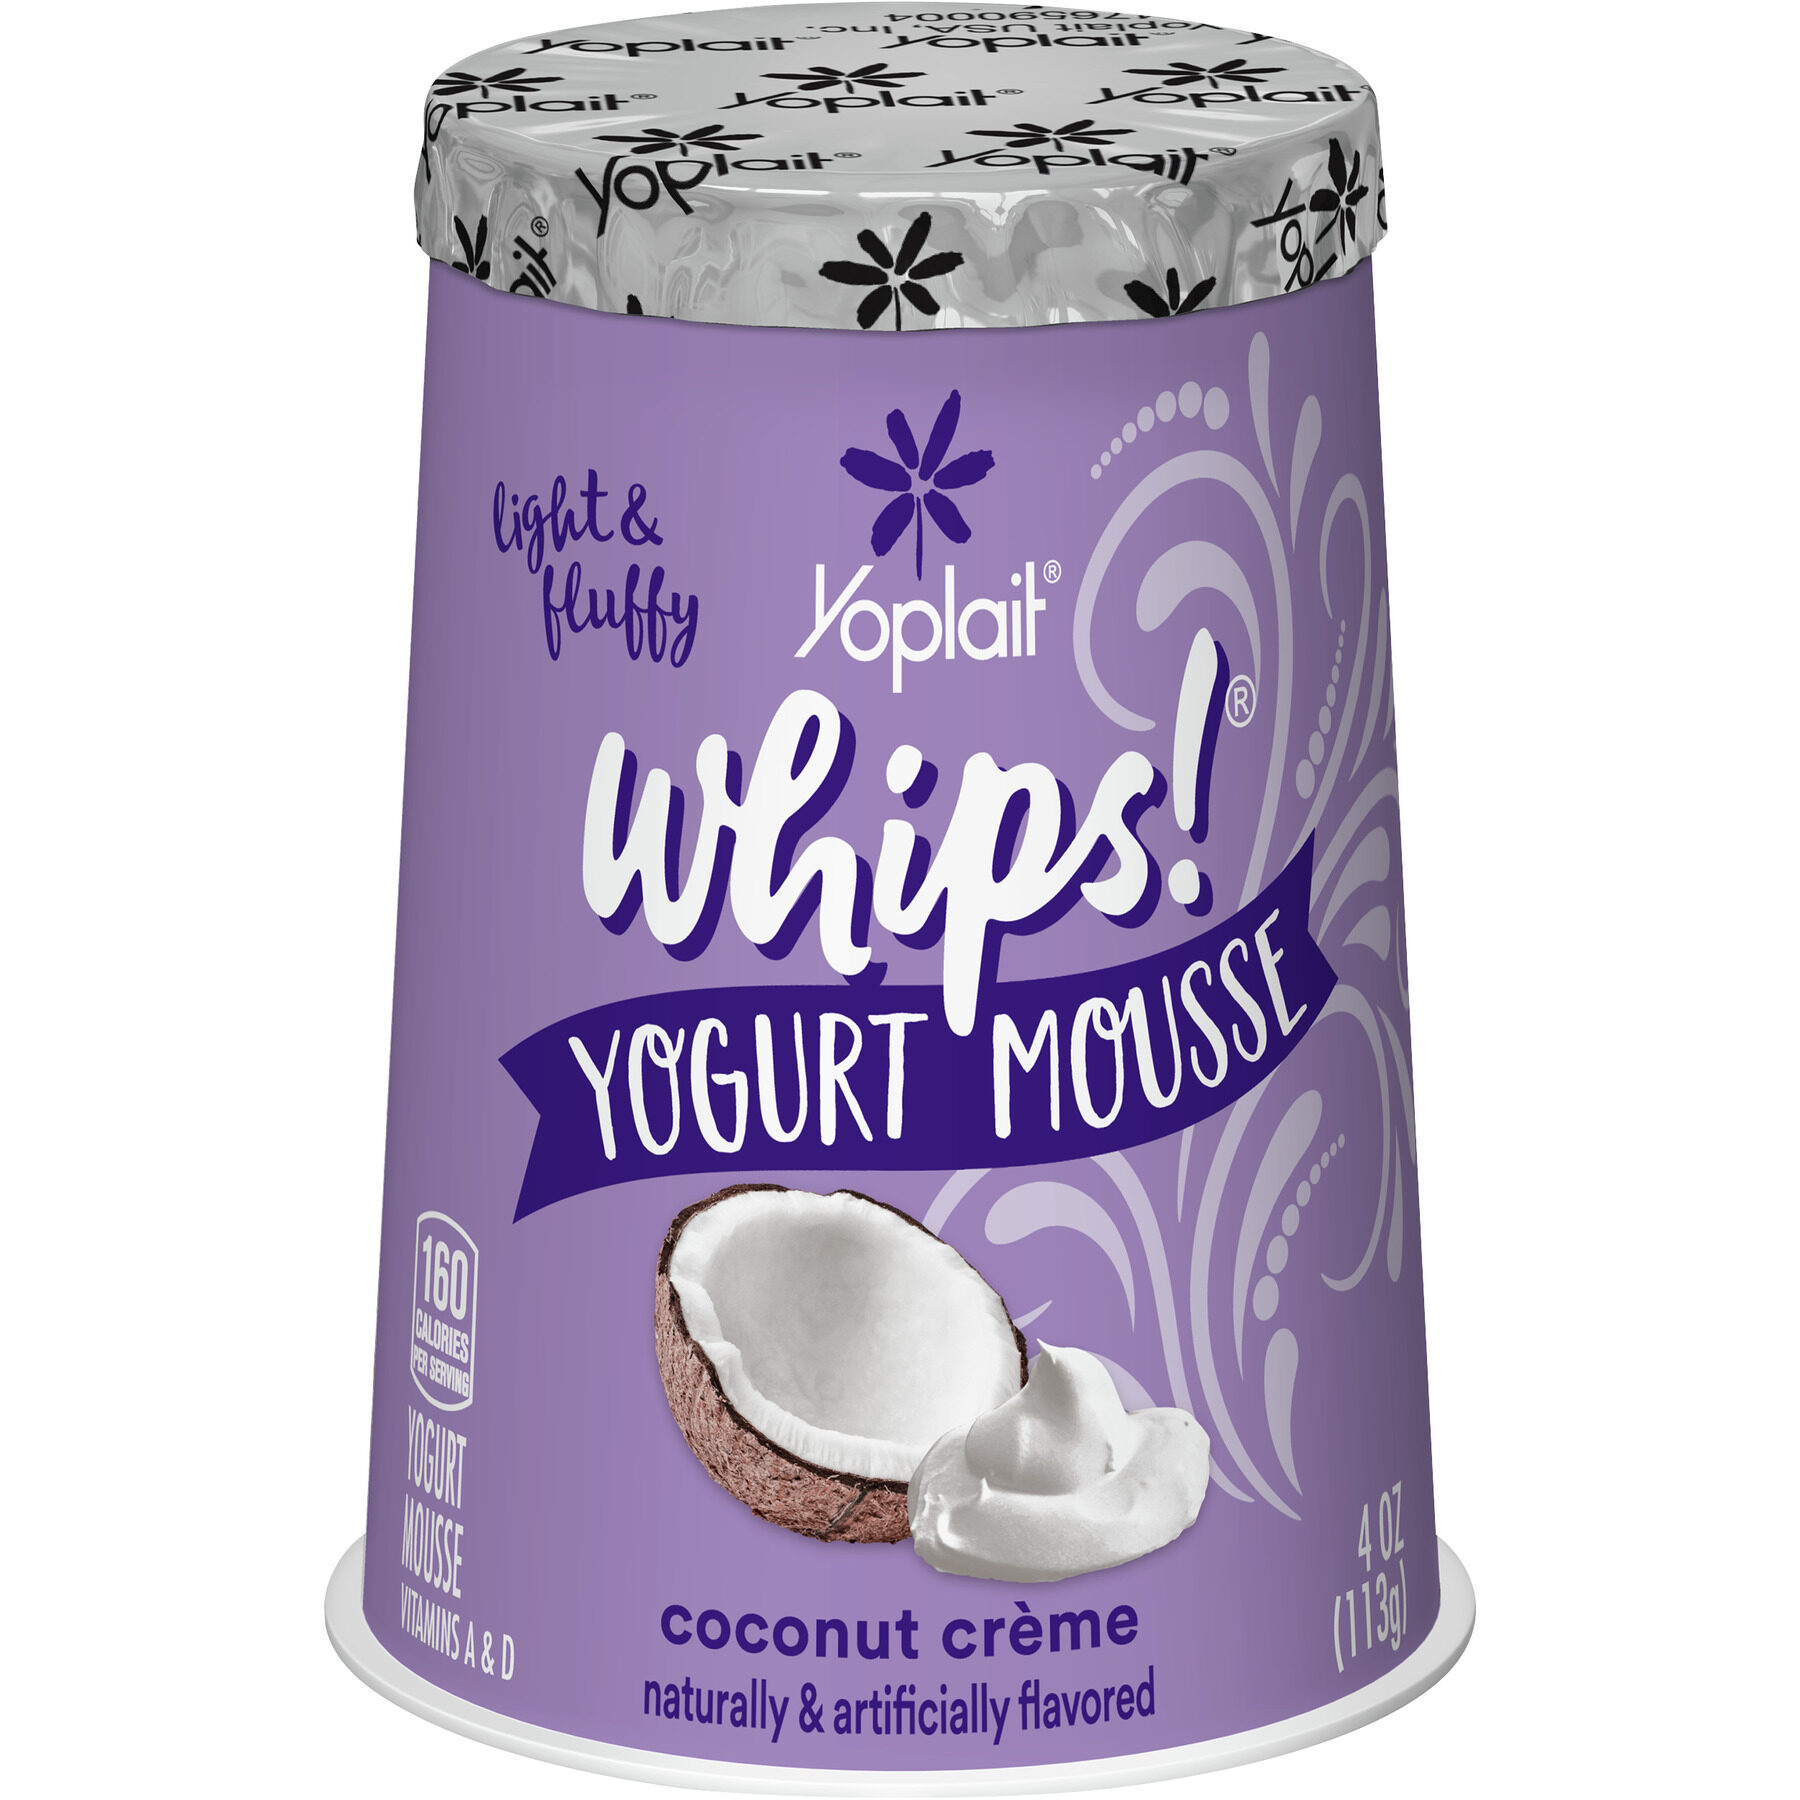
The yogurt that I’m using for this snack will be the coconut creme whipped yogurt mousse from Yoplait. Normally I don’t like whipped yogurts but I tried this one and I fell in love with it. It’s very light and airy with a sweet taste. You start this off by getting your marble cake slice and placing it on a microwave-safe plate. Place your cake in the microwave and eat for 15 to 20 seconds.

Simple Coconut Creme Marble Cake A la Mode With Yogurt

After your marble cake has warmed take your yogurt and scoop it out onto your plate placing a bit of the yogurt onto your cake to warm it. This gives the illusion of icing as well as ice cream. For the A la mode effect you can freeze your yogurt slightly before eating.

Take your spoon and digging. Be sure to get equal amounts of cake and equal amounts of yogurt on your spoon. This will produce the most flavorful experience on your tongue. While I love this recipe it’s hard finding the coconut creme-flavored whipped yogurt. You can experiment with this recipe by changing the cake flavor and pairing it with a different yogurt type.

Simple Coconut Creme Marble Cake A la Mode With Yogurt

Easy Pumpkin Spice Oreos And Chobani S'mores Flip

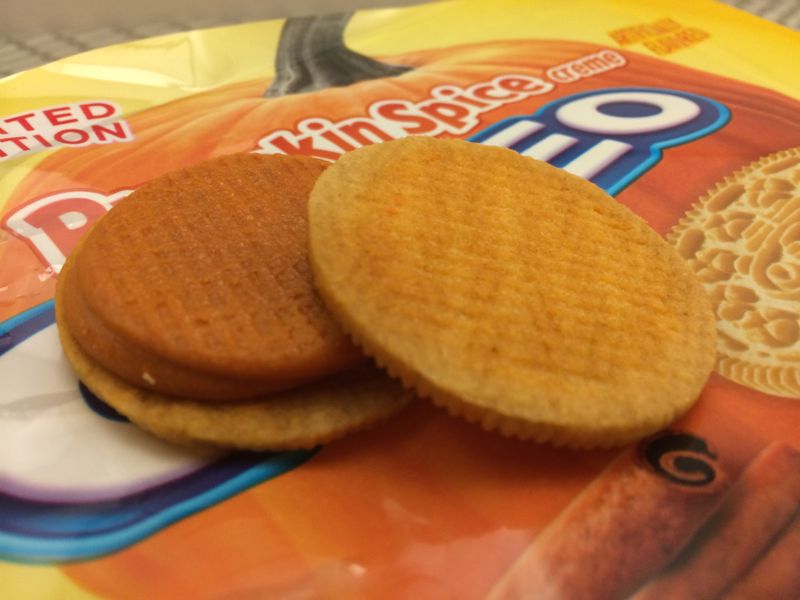
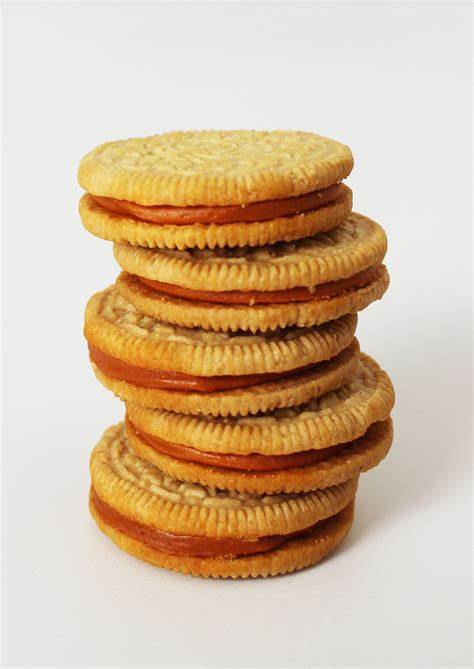
This is my review of the Pumpkin Spice Oreos. Here is one of my favorite simple, yet delicious snacks. I love yogurt and all the different flavor choices available for tasting. I also love Oreos, I mean how can you not love them? I enjoy all the times they create new flavors. Some of my favorites are the fireworks, pistachio, golden oreos, lemon, confetti, and mint chocolate chip. The pumpkin spice oreo flavor is another one that will be added to my collection.

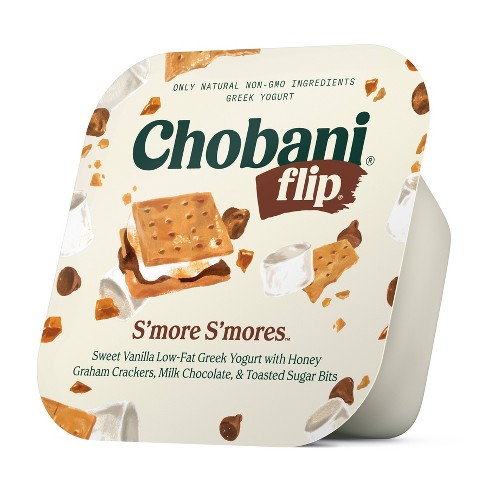
I enjoy experimenting with new Oreo varieties and exploring other flavors. This simple recipe is one of my own, but I can’t claim ownership of the products used. For this recipe, all you need is two items. One you need the Chobani flip S’mores S’mores yogurt flavor. The other item for this recipe will be the pumpkin spice-flavored Oreo cookies. And that’s pretty much it.

Pumpkin Spice Oreos, Chobani S’mores Flip

To create this recipe, you must first flip your s’mores pieces into your Chobani yogurt. You want to stir that up and get those pieces mixed together. You can create this recipe and multiple ways. You can grind your Oreo cookie pieces and add them to your s’mores mixture. Drop them into your yogurt and mix them together. You could separate your Oreo cookies and dip your Oreo cookie into your s’mores yogurt. You could even take some of your yogurt and place it inside your Oreo cooking and eat it that way.

I ate this snack in a couple of ways. I broke my Pumpkin Spice Oreos down into smaller pieces. Then I added them to my yogurt. I also separated my remaining Oreos so I had two cookies. And I used my s’mores yogurt as a dip for my cookies. Using this method of snacking seemed like I was eating a cookie nugget with a yogurt sauce. You can alter this recipe if you need to. You can add chocolate or caramel sauce if it’s your desired taste.

This is actually one of my favorite snacks. I love the flavor combinations. I also enjoy this yogurt flavor. I would also try this Oreo cookie with the Yoplait Boston Creme yogurt. I believe the flavor notes would be similar. I appreciate pumpkin flavors, so having a pumpkin Oreo was heaven on Earth. This was an excellent snack for the fall and winter, even though you can eat it year-round. The only issue with this flavor combination is that these pumpkin spice Oreos were limited edition. The Chobani s’mores flavored yogurt is a standard yogurt so you probably can find it anytime during the year.

Pumpkin Spice Oreos and Chobani S'mores Yogurt Flip

If you can’t find the pumpkin spice Oreos, you can use any flavor of Oreo to complete your recipe. If you actually try this recipe let me know how you like it. If you have any other flavor combinations that you would like me to try leave them down in the comments below please and thank you I hope you enjoy it.

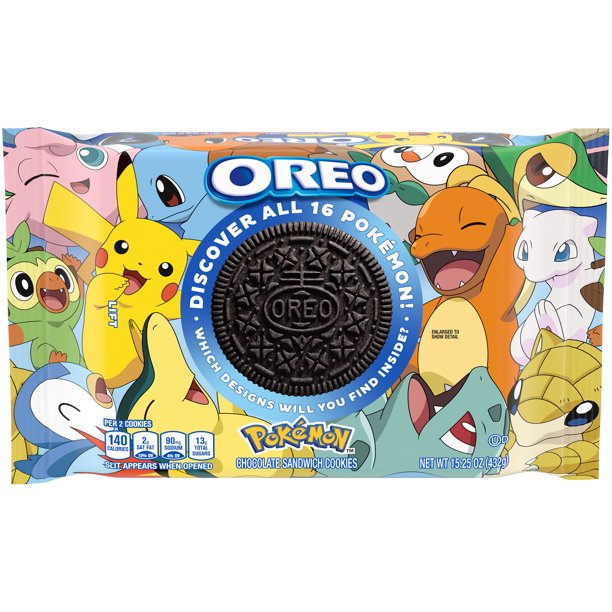
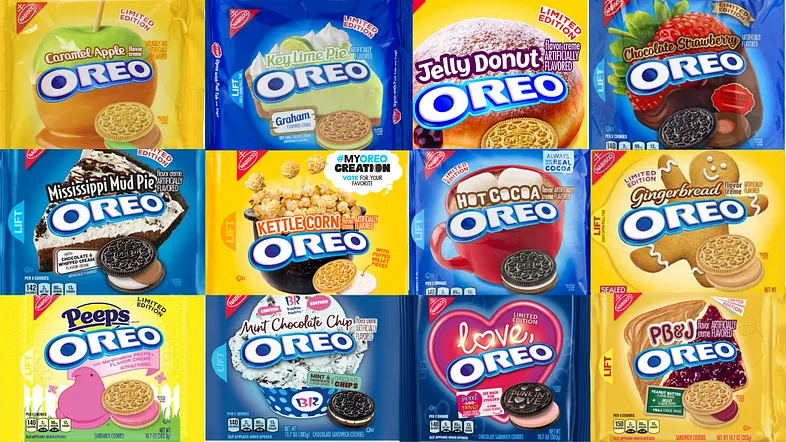
So in the conclusion of this post, I wanted to do a quick search. In this search, I wanted to find out how many Oreo Cookie flavors were actually created. First I browsed the actual Oreo Cookies website and realized they only had about 11 cookie flavors listed. So I had to further my research. That’s when I stumbled across an article called “The complete list of all Oreo Flavors”. There were 85 flavors listed there. Upon reading a few of the Oreo flavors, I realized that I had a ton of cookies to eat. While some of the flavors are pretty standard and simple others are very intriguing.

All in all, I will probably have a hard time finding most of them due to being Limited Edition. What a bummer! I also learned that the Oreo cookie is manufactured by other companies, which could explain why the Oreo website only listed 11 Oreo Flavors. Scrolling down the list made me extra hungry and a bit peeved. Feeling like I missed out on a lot of great cookie memories. There must be a poll or voting session held where we can choose which cookies we want more of from the flavors already introduced to the public. Here is my suggestion list below. (I’m only speaking for myself here!)

Oreo Cookies I want to try

  1. OREO Caramel Coconut Flavored Creme
  2. OREO Chocolate Hazelnut
  3. OREO Java Chip Flavored Creme
  4. OREO Toffee Crunch Chocolate
  5. The MOST OREO Cookies-N-Creme Cookies
  6. Nabisco Oreo Cookie Butter Creme
  7. Mondelez Oreo Strawberry Cheesecake
  8. Nabisco Carrot Cake
  9. Nabisco Kettle Corn Oreos
  10. Nabisco Oreo Thins Pina Colada
  11. Nabisco Oreo Icecream Rainbow Sandwich Cookies Limited Edition
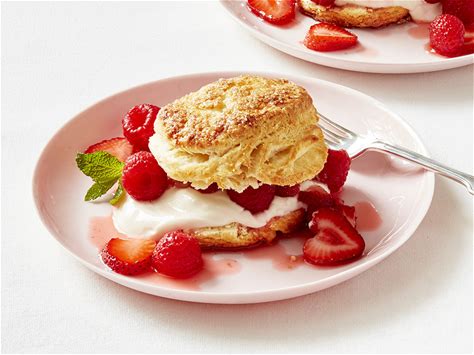
  12. Nabisco Oreo Good Humor Strawberry Shortcake
  13. Nabisco Oreo Brownie Batter Oreo Limited Edition
  14. Nabisco Oreo Toasted Coconut Oreo Limited Edition
  15. Nabisco Oreo Berry Burst Ice Cream Limited Edition
  16. Nabisco Watermelon Oreos Limited Edition
  17. Nabisco Banana Split Oreos Limited Edition
  18. Nabisco Creamsicle Oreo Limited Edition

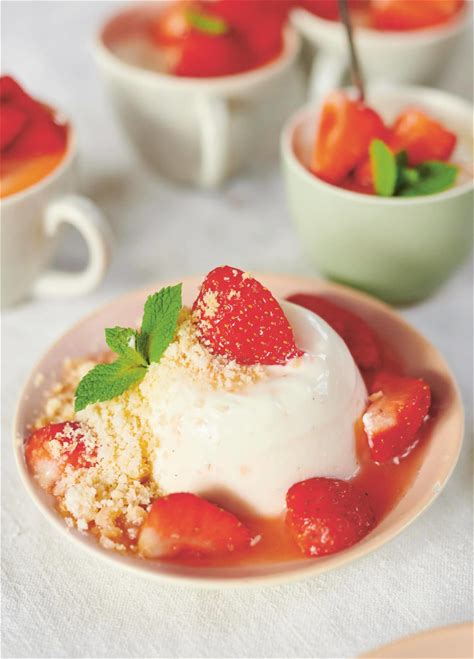
Simple Strawberry Cinnabon A la Mode With Yogurt

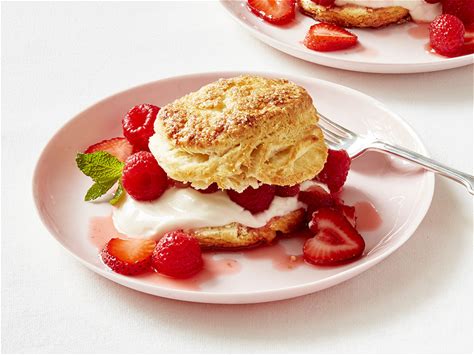
This sweet treat was inspired by a late-night snack. I had a few biscuits left over from dinner and I wanted something sweet but didn’t have anything to eat. So I raided the refrigerator and I came up with the Strawberries Cinnabon A la mode recipe.

Strawberry, strawberries and cream, strawberries and yogurt,

Strawberry Cinnabon Ala Mode

This recipe is simple and very easy to make. It only requires a few ingredients. While other ingredients may be optional this one only requires five items. These items include yogurt, sugar, pancake syrup, biscuits, and butter.

The first step that you should do in this recipe is to create your biscuits. You can buy a biscuit from a restaurant to use or you can bake your own. After your biscuits are baked top them with butter.

Add a few scoops of yogurt to a bowl or plate. Sprinkle a bit of cinnamon sugar over the top. Place your strawberries on top of your yogurt in your bowl. Sprinkle sugar over your strawberries.

Drizzle syrup over your strawberry-covered yogurt. Place your biscuit on the side or in the middle of your bowl or plate. You can drizzle syrup over the top of your yogurt and biscuit or you can place a bowl of syrup on the side.

And just like that you have a strawberry Cinnabon alamode. You can add additional items to your recipes such as whipped cream powdered sugar or chocolate syrup instead of regular pancake syrup etc.

The prep time for this recipe would be 10 to 15 minutes depending on how long it takes to make your biscuits. If your biscuits are every pre-made this recipe should take you anywhere between 5 to 6 minutes to create.

You Must Be Chicken To Eat Fish Free Tuna

This post is a review I completed about a fish free Tuna alternative. Social nature is a place where you can discover better-for-you products. All of the products available for testing are natural products. They are products that benefit the community and promote wellness. Social nature is a website in which you can sign up to be a product tester. When signing up for these products to test you will gain access to exclusive free trials and exchange them for your review.

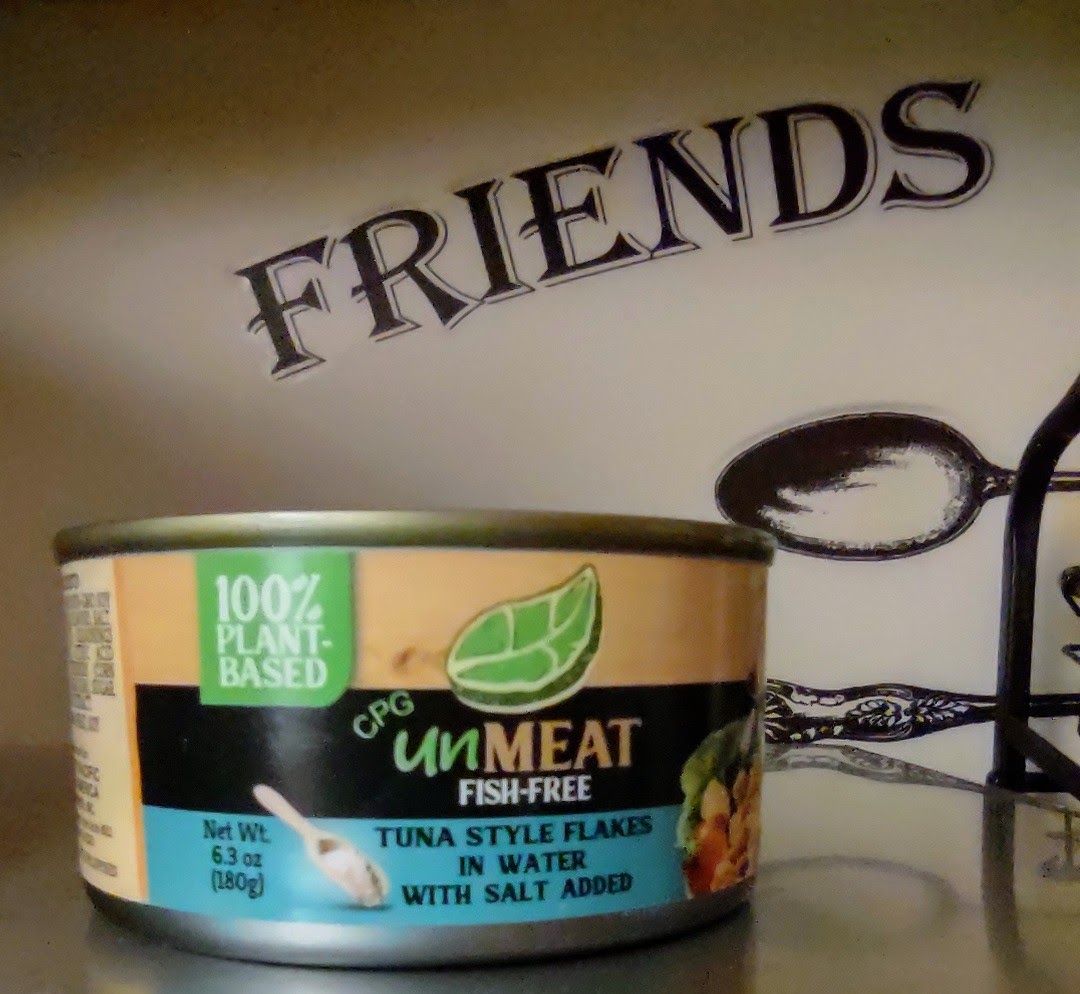
The first product that I tried after applying for its social nature was by a company called spudsy. After trying these snacks I was very impressed. Later on, I received an email to try a fish-free tuna alternative. The brand that I will be testing will be a product called unMeat. After you accept to test the product they will send you an email letting you know when your voucher will arrive. After you receive the voucher they will show you all the locations in which you can find the product. This product was only located in the Harris Teeter store.

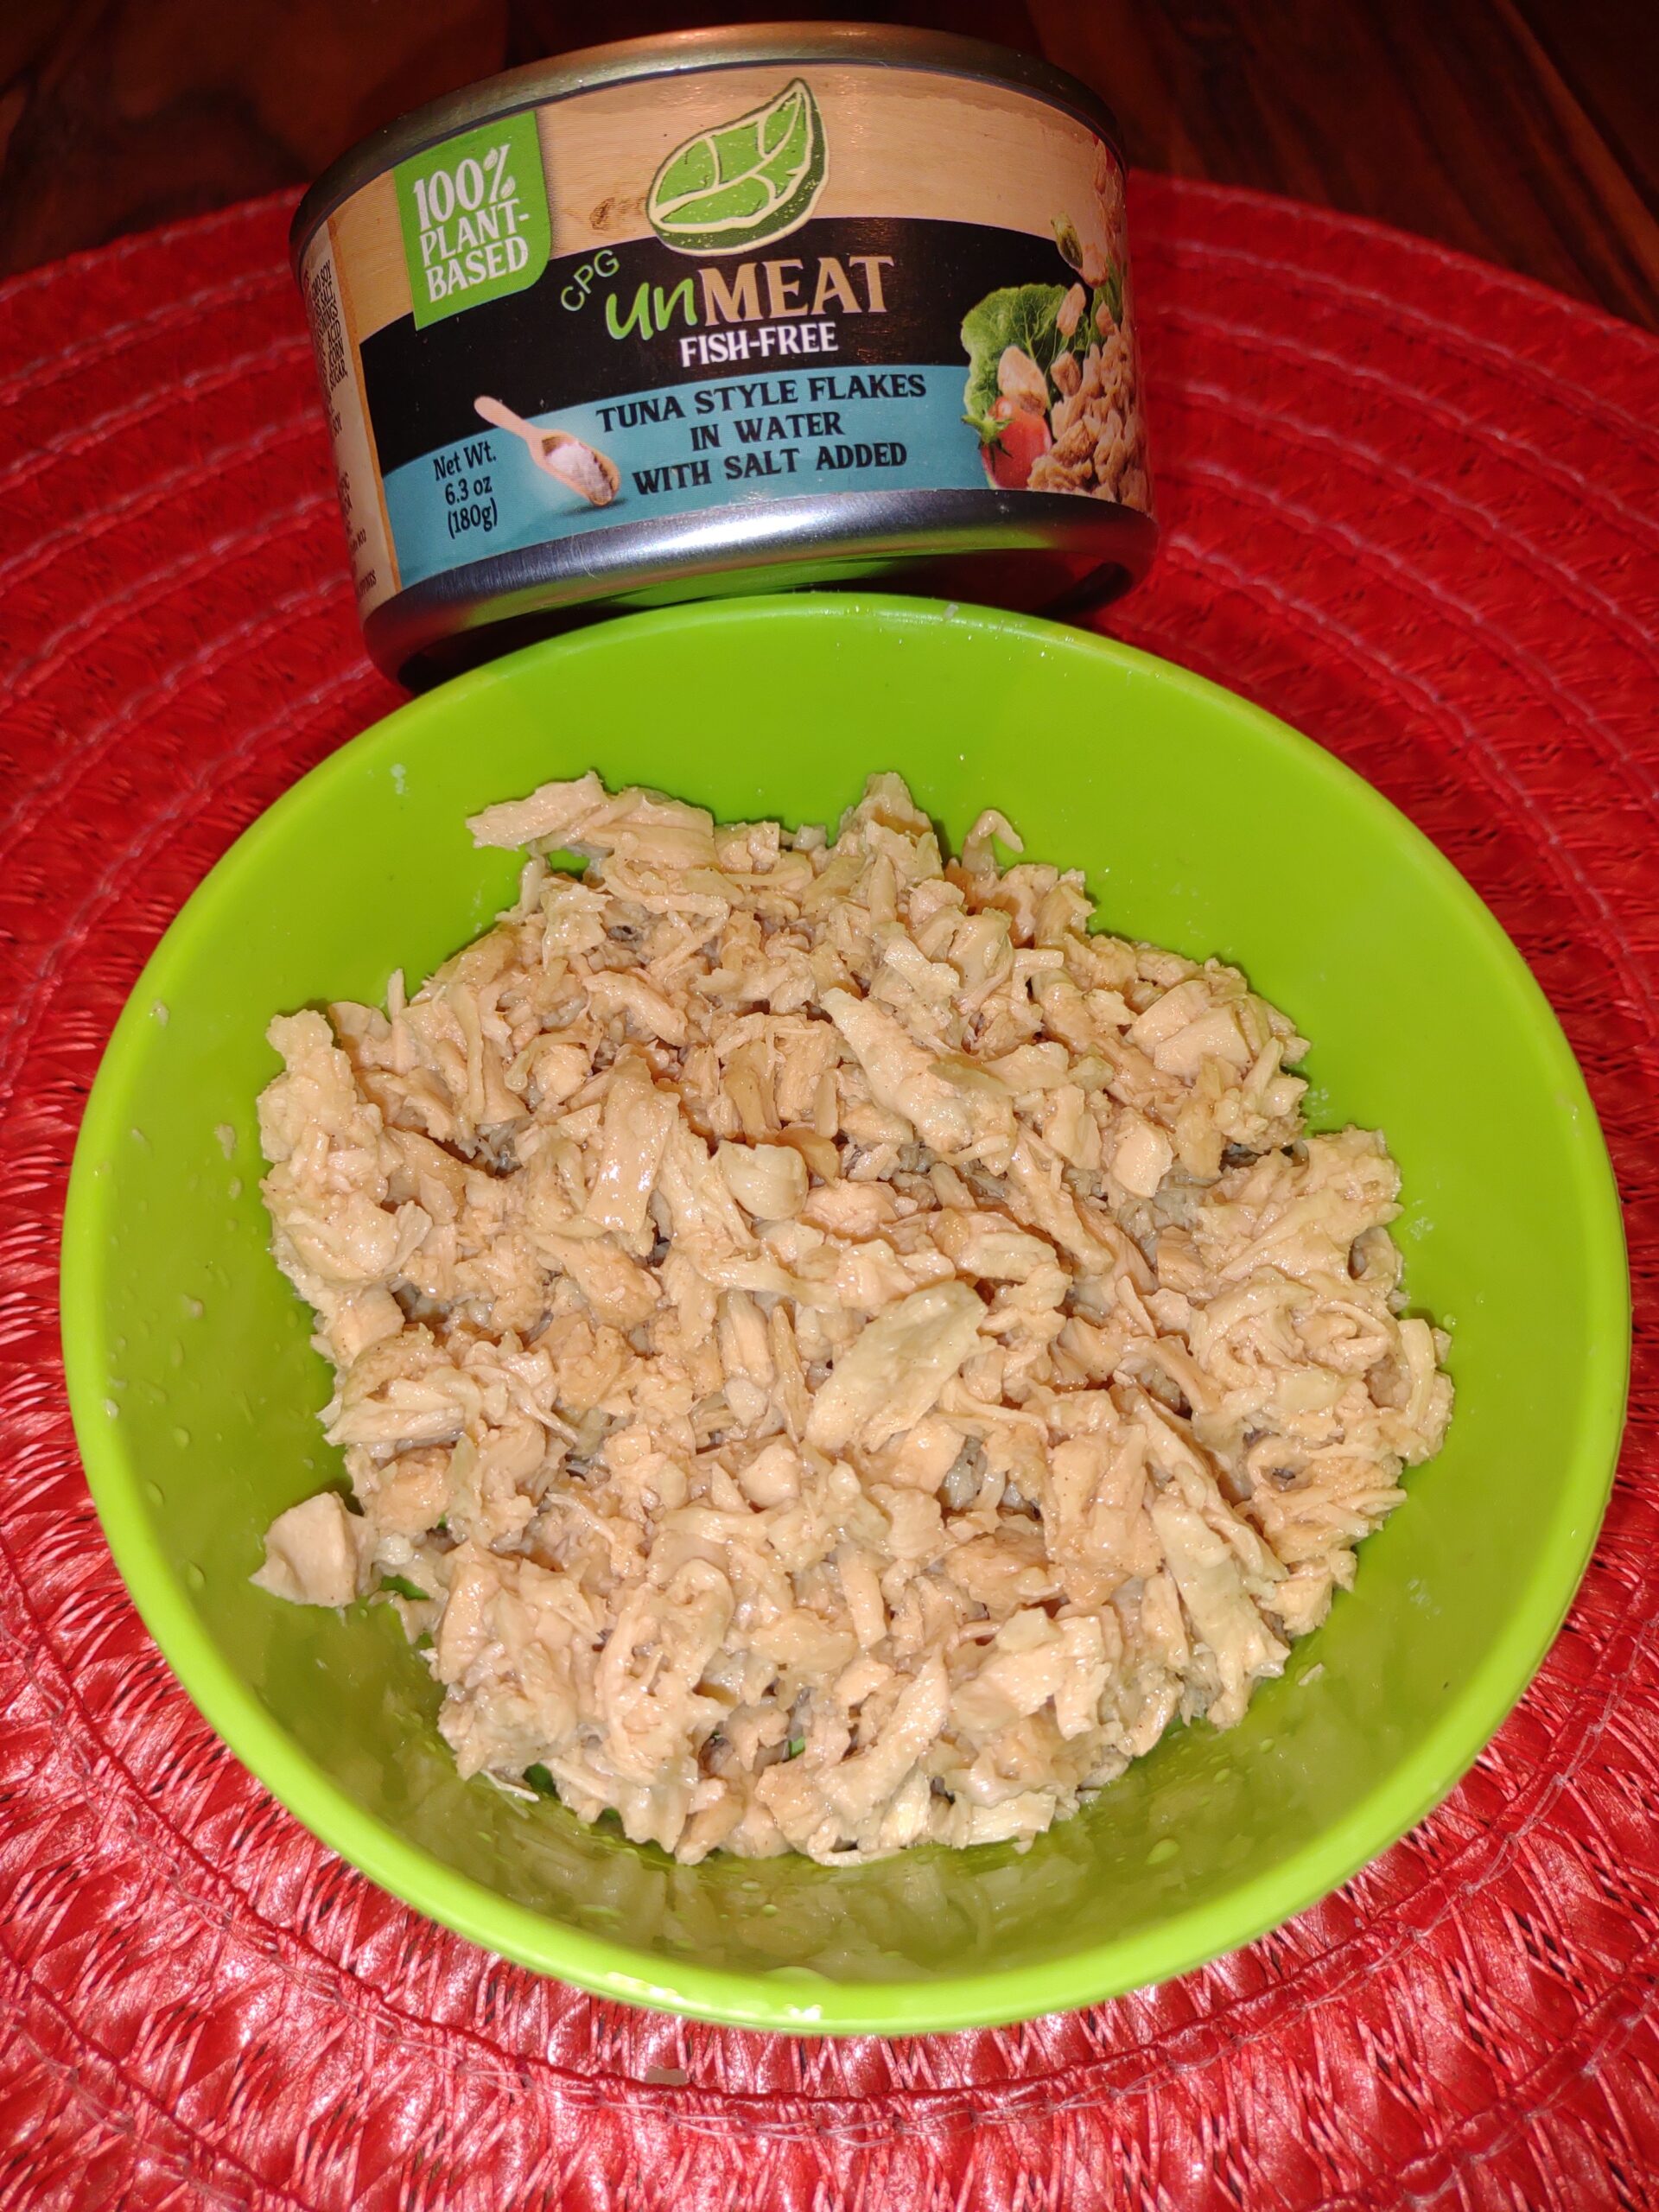
Fish free unMeat Tuna Alternative

unMeat Fish Free Tuna Alternative

I received my voucher in the mail and headed to Harris teeter to go pick up the product. You can find this product located in the seafood or canned seafood aisle in your grocery store. The un-Meat tuna alternative is 100% plant-based in NON-GMO. It is lower in sodium and includes more fiber with no preservatives added.

You can choose from two different types of this product. One is a tuna-style unMeat product in water and then you have the tuna-style unMeat product in sunflower oil. I chose to grab the tuna alternative in water. This is because it’s typically the way that I eat tuna if I was actually eating regular tuna. I like this product for a few different reasons.

Features I Like About unMeat Products

I like the packaging of the product. It has nice warm vibrant colors on the packaging. I also like the fact that it has a pop-style top. Having that makes it easy to open without a can opener. This can make eating this product on the go very simple and easy.

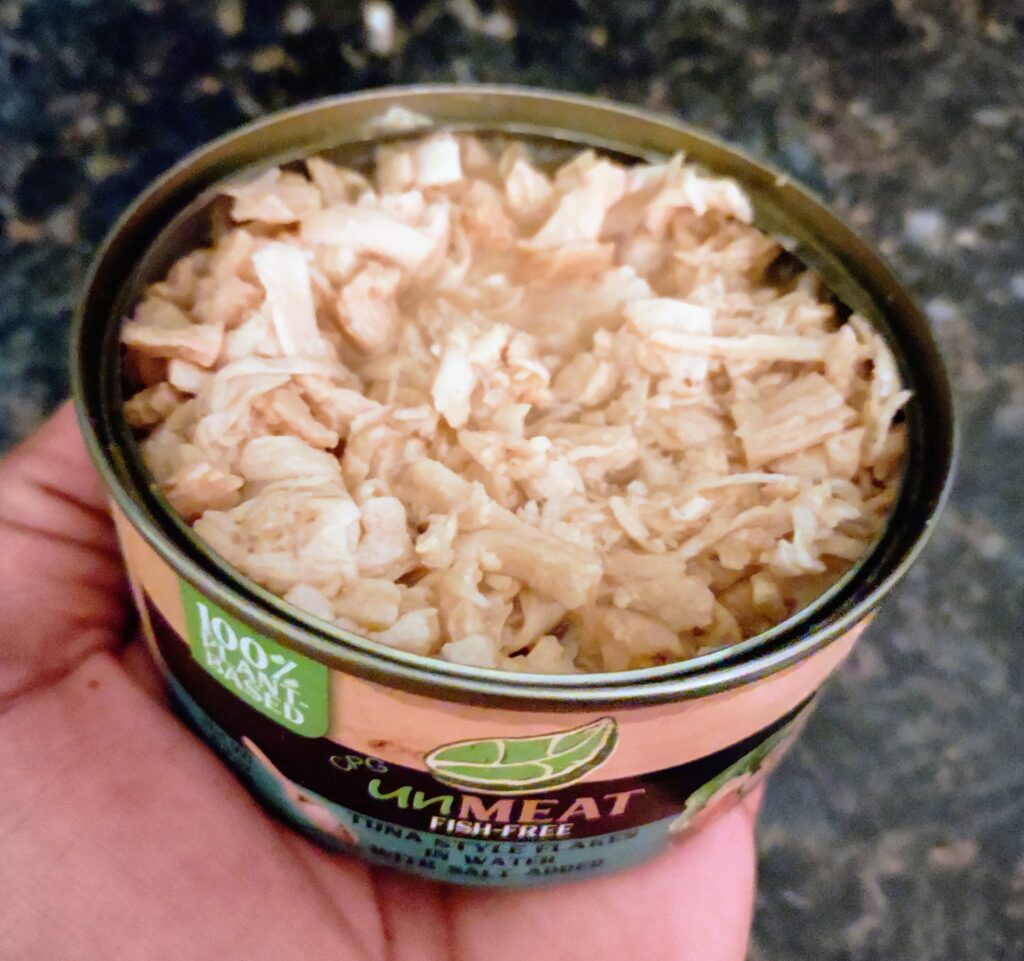
Upon opening the can, it doesn’t have a fishy smell. This is great for eliminating odors from the trash can after use. The contents were perfectly shredded, not too mushy or chunky. The taste may take some getting used to but closely resembles a beef jerky flavor.

fish free unmeat tuna alternative

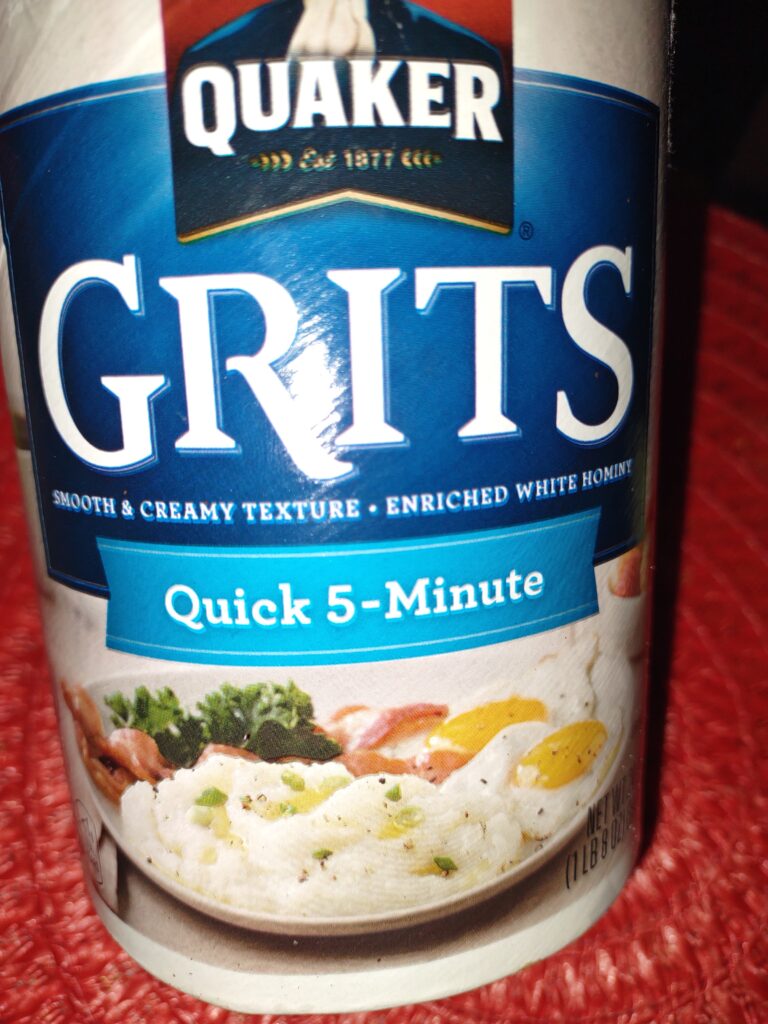
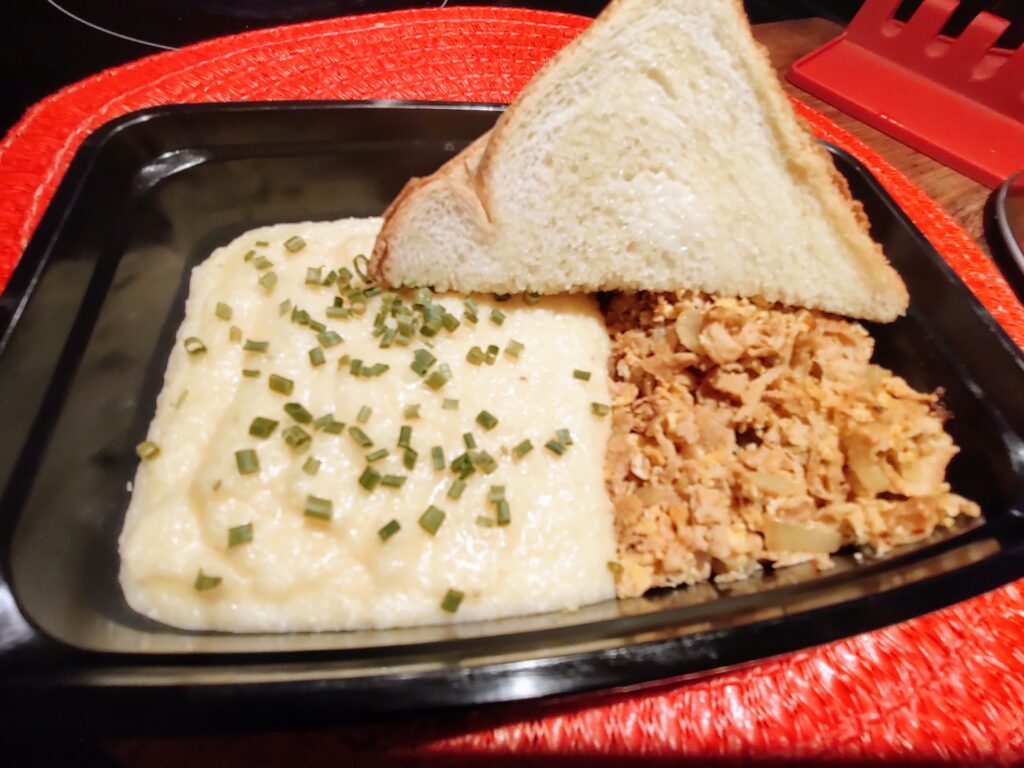
The tuna alternative is already seasoned. It’s made with delicious natural flavors so you can either cook it or mix it up and eat it straight out of the can. I was a little bit skeptical about trying a tuna-based alternative so of course, I had to cook it. I plan on eating this product as a tuna and grits meal with toast. I cooked this item in a saucepan with an egg, onions, and seasoning served with grits. It was very edible and pretty tasty.

Overall I actually like this product. I wouldn’t say that it would be my go-to product if I was in the market for tuna. But I wouldn’t say that I wouldn’t try this product a second time. It’s actually good. The taste is good. It’s just something that you may have to acquire the taste of. It’s not yucky, but it’s also not the best food I’ve ever eaten.

It’s possibly because it’s plant-based and the taste may seem a little weird to some people, mainly for people who are used to eating tuna. This product doesn’t actually taste like tuna or fish it tastes more like beef jerky. Which would be more chicken rather than fish. If I was in the market for a tuna alternative I would definitely purchase this product a second time. If you would like to try this product or join social nature you can click the link below.

  • Get a voucher for a FREE tin of Fish-Free Tuna Alternatives, 6.3oz (180g)
  • 100% Plant-Based fish alternative
  • Wins in taste, texture, and benefits
  • Choose from Tuna Style in water and Tuna Style in sunflower oil

5 Simple And Easy Hairstyles For Natural Hair

There are many different types of hairstyles that enhance your overall appearance. Most of them are simple and easy to do. Other hairstyles may require additional skills. Many people struggle with their hair and aren’t quite sure what to do with it. This article is intended to assist you in how to perform simple and easy hairstyles in little to no time.

Things You’ll Need

  • Comb 
  • Hair clips 
  • Holding agent (moisturizer, pudding, or lock gel)
  • Flat Iron (If hair will be straightened)
  • Heat protectant
  • Accessories (bows, ribbons, beads, rubber bands etc. ) -Optional

Types Of Hairstyles

Natural hairstyles

1. Two Strand Twists

This style can be worn in many different ways. You can have one single two-strand twist or multiple twists. Essentially you will be creating “two-strand” twists over your entire head. This method requires a minimal amount of tools to get started. You will need a comb, a brush, and a styling pudding or curl-defining cream or gel.

  1. Use your comb to section hair off about an inch or two wide from top to bottom. This can also be done using your fingers as well. It will allow you to avoid combing your hair or having harsh lines and parts. The size depends on the style you are going for, the time you have to do your hair, and how long you will keep it in.
  2. Take two strands of hair between your pointer finger and thumb.
  3. Apply the holding agent and twist the hair until you reach the end.  Make sure to use an equal size of hair in each twist to make it look even and uniform.
  4. You can apply an edge control or hair gel to your edges for a more polished look.

Dreadlocks

To create a dreadlock hairstyle you will first start off by “rolling” the hair between your fingers. Use a holding agent similar to a hair pudding or a locking gel.

  1. Section the hair off according to the desired size of the dreadlock. Create larger sections if you desire thicker dreadlocks. Smaller sections will create smaller dreadlocks.
  2. Apply the holding agent to the sectioned hair and twist the hair between the pointer finger and thumb.
  3. Start twisting from the scalp and work your way down to the end of the hair shaft.
  4. Once the hair is tightly twisted use a metal hair clip to keep the roots of your dreadlock neatly in place.

Natural Afro

A natural afro is one of the easiest and most versatile hairstyles. It can be accomplished simply by washing and conditioning your hair. After you wash your hair you can apply a leave-in conditioner and let it air dry. Comb or pick your hair out to resemble an Afro style. You can add a part to your Afro style on the side or down the middle.

If you want to add design or spunk try going for zig-zag parts instead of straight down the middle.  Gently pat your Afro down to give it form and shape. Make sure your hair is moisturized and well-nourished. If you want a curlier afro style, you can apply a curl definer gel and finger coil or use hair rollers.

A braided style can also be a quick and easy choice for your hair care. If you want something simple and non-time consuming you can try one single braid. Depending on the style you are going for one or two french braids. Creating a braid on your own hair is fairly simple.

  1. To begin your braid, part the hair from the front of the head to the back. Create parts according to desired braid size or design you would like to achieve.
  2. Use three strands of hair in a section and weave them together along the scalp. (How To Cornrow Your Own Hair
  3. Continue braiding the hair until you reach the ends.
  4. Add a rubberband or hair tie to secure the ends and keep them from unraveling. Design the cornrows in different styles to give them distinction and create multiple braided styles.

Straightened/Silk press

A straightened look might also suit you. Heat is not recommended on natural hair because it can cause damage and breakage. If you do choose to flat iron your hair, try to use the lowest setting to avoid burns. Also, make sure that a heat protectant spray or serum is used during the straightening process. 

  1. To begin your straightening process you need to heat your flat iron and grab your heat protectant.
  2. Section your hair and clip it away so that straightening is done more accurately.
  3. Part your hair using your comb and spray it with your heat protectant. A cream or lotion heat protectant will work as well. Be sure to use a small amount of the lotion to avoid burning your hair or making it too greasy.
  4. Starting at the roots use the chase method to straighten your hair while flat ironing your hair.
  5. Glide your flat iron down your hair all the way to the ends and repeat the same process for each section of hair.
  6. Finish off the style with an oil sheen or hair shine serum. This step is completely optional but highly recommended.

Is Half An Inch Of Hair Growth A Month Enough?

So I came across a post on a natural hair care forum, nappturality.com. The post itself was about natural hair growth. While this was a natural hair site the question was a general inquiry. The question asked was “Is it possible for your hair to grow more than 1/2 an inch of hair each month?”

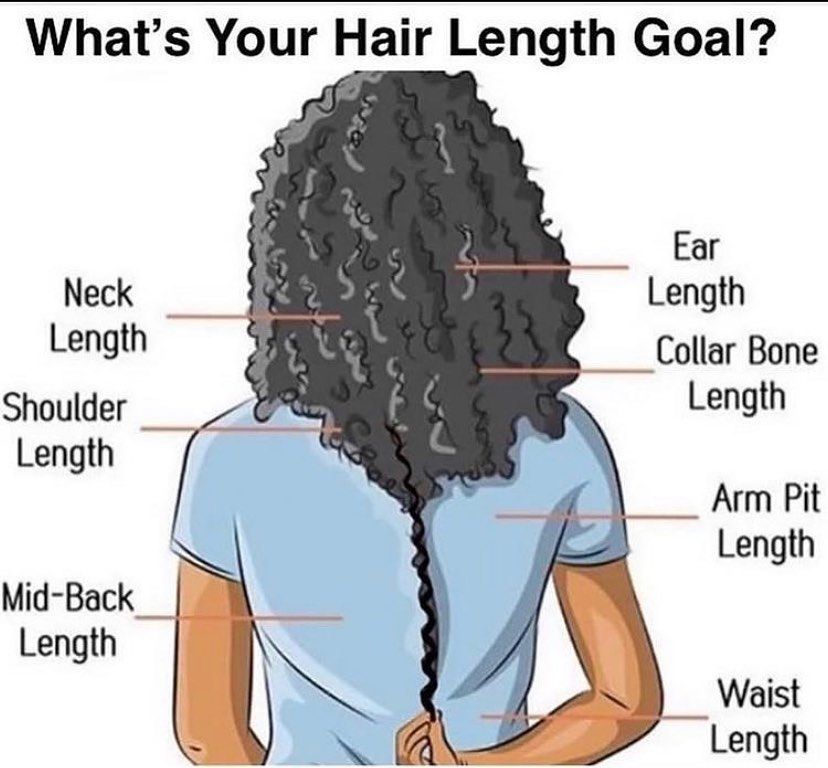
In the post, she gave a bit of background information about her natural hair journey. While doing that she stated that she had a complete head of natural hair for 20 years. Her hair had grown to about mid-length, down your back, just past the shoulders. In the natural hair community, it would be similar to the equivalent of “bra strap length.”

Hair growth cycles

Hair Growth Cycles

There are four stages of hair growth in the hair growth cycle. The first stage is the anagen which is the growing phase. The second is catagen the transition phase. The third is telogen, the resting phase. The fourth is estrogen, the shedding phase.

Anagen: The Growing Phase

This stage normally lasts between three and five years, making it the longest stage of hair growth. Your hair follicles are pushing out during this stage. This is a continuous stage of growth and will increase until they are cut off. Essentially at the end of the hair growth’s lifespan, they will reach the end, at which point they will fall out. On average, 90% of the hair on your head is in the anagen stage.

Catagen: The Transition Phase

Typically, this phase lasts for about one week to up to 10 days. This phase begins once the anagen phase has come to a close. During this period of time, the hair follicle shrinks and hair growth begins to decrease. In spite of separating from the hair follicle’s base, the hair continues to grow for a few more days. On average, 5% of the hairs on your head are in the catagen phase.

Telogen: The Resting Phase

No hair typically grows in this phase. You don’t actually lose any of that hair at this time either. This is the phase when new hair starts to form. All of this is done in place of the hair-releasing follicles from the catagen phase.

Exogen: The Shedding Phase

This stage of hair development is a continuation of or a component of the exogen stage. Hair sheds from the scalp during the demanding phase, which is aided by washing, brushing, combing, and manipulation. During the exogen phase, it is common to lose between 50 and 100 hairs every day. New hairs can sprout in the old follicle gaps during this time, lasting between two and five months.

Hair Growth

Hair Growth Challenge

She said she had attempted to start a natural hair growth challenge with some of the other girls in the group. This was done to see how long their hair could grow. This was basically just to see if your hair only grew half an inch a month which would technically be 6 inches per year.

Given that I’ve been utilizing a new hair care regimen designed to promote hair growth, I found her challenge to be really intriguing. After utilizing the items for a few weeks, I observed that my ends appeared thinner than usual. The new shampoo, conditioner, and leave-in I’ve been using might be to blame for this. Then I started gradually clipping away my ends as they began to thin out. I wasn’t really paying attention to what I was clipping off as I was trimming my hair.

hair growth length check 2022
September 2022 Length Stretched
Hair growth length check 2022
September 2022 Length Untoched
Hair Growth length check 2023
March 2023 Length Untouched

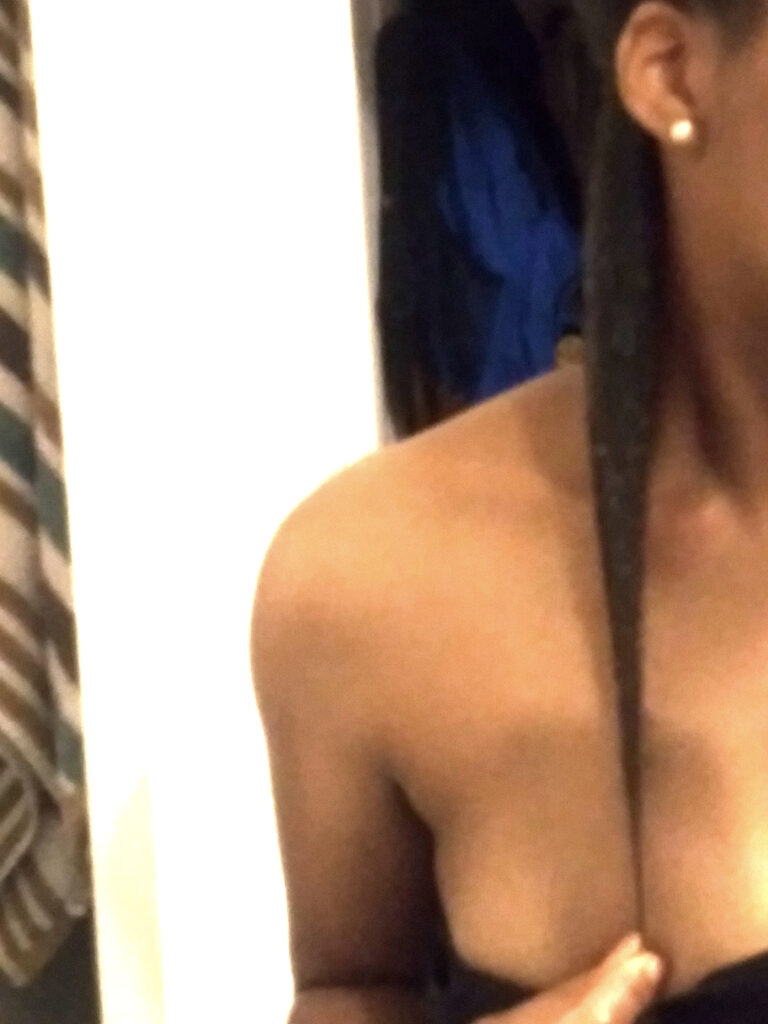
So I made the decision that it was now time for me to straighten my hair. I didn’t do this very often because I wanted to prevent heat damage. So I straightened my hair and did a length check. I measured the length of my hair after straightening it. My hair didn’t appear to be growing. As I extended my hair out, I noticed that it was actually mid-length down my back. I thought this was very intriguing because it seemed as if my hair wasn’t growing at all. Similar to her inquiry about the amount length that you would have at the end of the month each month.

Hair growth length check
March 2023 Length Check

As I very recently—maybe a few days ago—checked my length, I made the decision that I would be interested in taking on this challenge. I’ll start keeping track of my actual length at the start of the month. I’ll post a brief video and snap photos of my hair each week, at least once in the same place, to measure and document how long it is. And at the end of maybe a 90 Day challenge, I will see how long my hair is and actually measure it for the best chance at accuracy. This will let me know if your hair is able to grow longer than 1/2 an inch a month.