Creating your own nail art can be fun yet challenging as a beginner nail artist. While a fresh set of polished nails is nice it can also be a bit simple, plain, and boring. DIY nail art could be an easy fix to your nail care woes with a few basic nail art tools. You can find many of these items online, in-store, or at a friend’s house. If you aren’t able to purchase these items a separate post will be made for items you can use instead of buying them from the store. These are 5 essential DIY nail art tools for all your designer needs.

1. Nail Polish
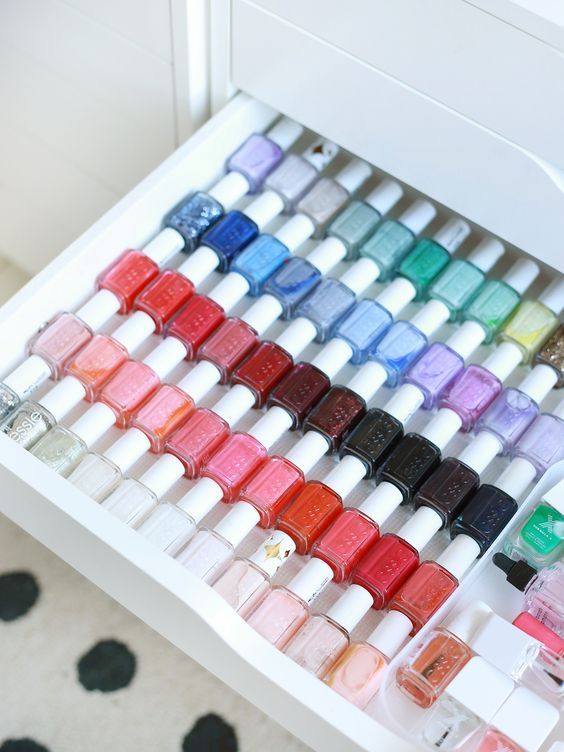
Nail polish is the most important component of nail art and design. It is the beginning and end of any nail care service. A base coat is usually the first step to applying polish to your nails. This is used in order to prevent nail discoloration and staining. It allows your nail polish to glide on more smoothly. While it is important many people do not use this as the first step.
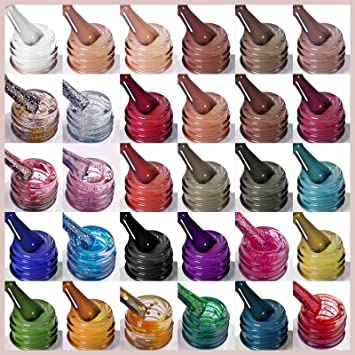
Colored nail polish is also a must-have nail tool. It can provide you with a variety of different nail design options. You can paint them all one color mix and match the colors or settle for clear polish. A top coat is the final step in your nail care routine. This is used to ensure that you are able to have a longer-lasting manicure.
I will be the first to admit when it comes to nails, hair, or skin I am a bit of a product junkie. What do I mean by “Product junkie”? Basically, this is a nicer way of being called a hoarder. I have tried loads of different products and brands. Investing in a good set of nail polish is the best thing you can do. It’s also a good idea to test out a polish from a brand you haven’t used before you begin buying a large quantity of them.
Expensive brands of nail polish should be better for your nails but that isn’t always the case. They are worth the price if they are longer lasting, faster drying, and don’t get bubbly or lumpy. This can happen more often if you are using gel nail polish and have to cure them under a UV/LED lamp. When you find a few reputable brands that you like stick to those brands. Some of these brands can include Orly, OPI, China Glaze, Sally Hansen, and Essie.
2. Liner Nail Polishes

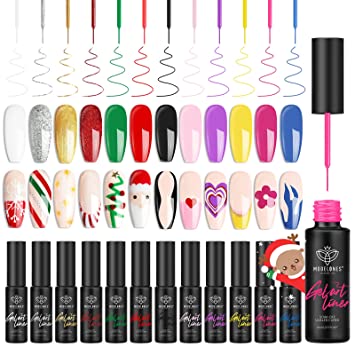
Having a set of liner nail polish is essential but not necessary. For many people, this may be challenging to use even though it is a simple tool. A nail liner is similar to a standard bottle of nail polish. The only difference is that they are smaller in size and have a thinner, longer brush. These are used for painting lines and adding random flicks of color. They can be used to create dots as well, but the dotting tool will create more uniform shapes.
When you first start out, I recommend purchasing at least a white and black liner polish. These are the standard colors, and they can be used to create lines on most of the colored nail polishes in your collection. Using a gel liner nail polish works best for beginner techs. The gel liner nail polish needs to be cured to dry. This gives you more time when creating your nail designs. You shouldn’t have to buy a new liner polish every time you want a new color. You could simply get a nail liner brush instead.
A nail liner brush is an art tool that had a long thin brush head used for nail designs. Not all brushes are good for nail polish. Some nail polishes will completely ruin the hairs on the brush. Some nail polish brushes will get clumpy if they are sitting in the paint for too long without use.
Other nail brushes will have thin or stringy brush hairs. You can clip them but they will make nail art a bit less precise and more challenging to use. Use water-based nail paint if you must. This makes it much easier to clean the brushes. If you’ve used nail polish, use acetone, some soap water, and a paper towel to clean your brushes. Brands like LA Colors have a wide range of colors and come pretty cheap, so have fun with them!
3. Nail Art Brushes

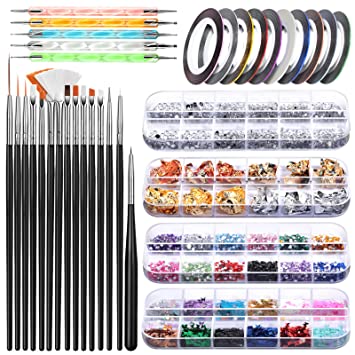
If you’re really serious about doing nail art, you might want to consider investing in a good set of nail art brushes. These will be very helpful when you begin designing nails. They come in a range of sizes and styles. The main types of brushes for nail art are fan-shaped brushes, flat brushes, flat angled brushes, thin brushes for detail, and long-liner brushes. These brushes can be purchased conveniently and rather affordably in a set.
3. Liner Tape
Ever wondered how DIY nail artists create super neat and straight lines and stripes? Using tape you can create many different geometric and striped designs.
Stationery tape is one of the best tools EVER for nail art. Any sort of normal scotch tape is fine, but you can experiment and see which gives you the best results. They’re great for creating neat lines and geometric shapes. Just cut the tape into the desired strip/shape, paste it onto your nail and paint over it. Easy as that!
4. Nail Dotting Tools
Dotting tools can be a great help when it comes to creating dots and circle patterns. They come in a few different sizes which can help you find the exact dot size for your design. These are extremely helpful when making simple polka-dot designs. They are also helpful when you are placing your rhinestones or nail sequins. Starting out, it would be in your best interest to get a dotting tool that has a medium-sized round on one end and a small one on the other.
This will allow you to choose the size of the dots you want to create. I use the smaller end of the dotting tool when I add my rhinestones. I place a bit of nail glue on a piece of plastic or plate first. Then I take the end of the tool and dip it into the glue. Then I dig into the decal box to pull the decals out and place them on the nail. Be sure to apply your glue to the nail before doing this though. I just use the tool to make getting them out easier and for better placement of the decals.

One thought on “The Best Basic Nail Art Supplies For Beginners”